Provide quick instructions or background on an action being performed and other ways to use this versatile field.
Explain Why the Record is Being Modified
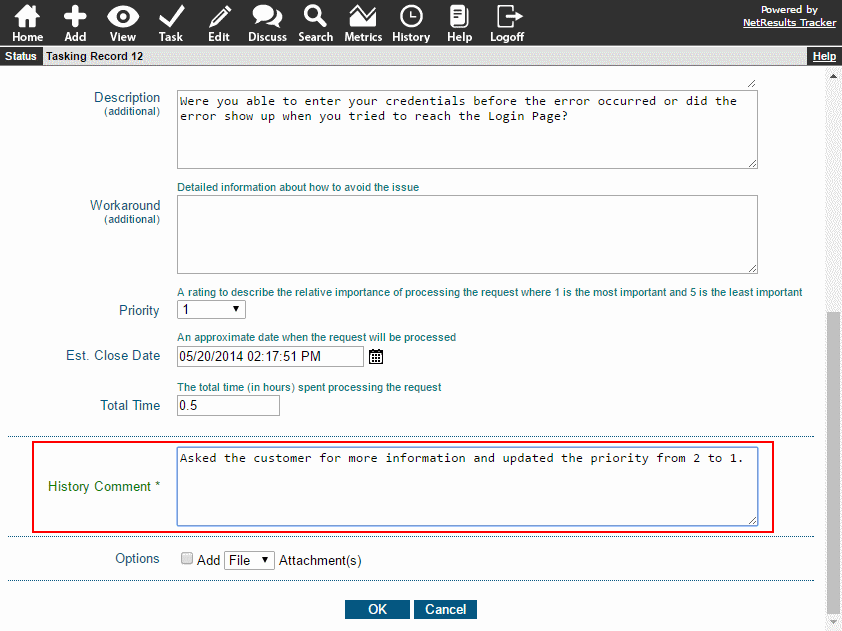
The History Comment is available during the Task and Edit operations. You can configure it to be required so that a user is forced to enter something when they are modifying a record. One reason to require a History Comment is to explain why a record is being updated. For example, if you have a transition called "Update" where a user can note progress made on a record, the History Comment can be used to specify what was changed ("Added more detail to requirements" or "Changed the test plan").
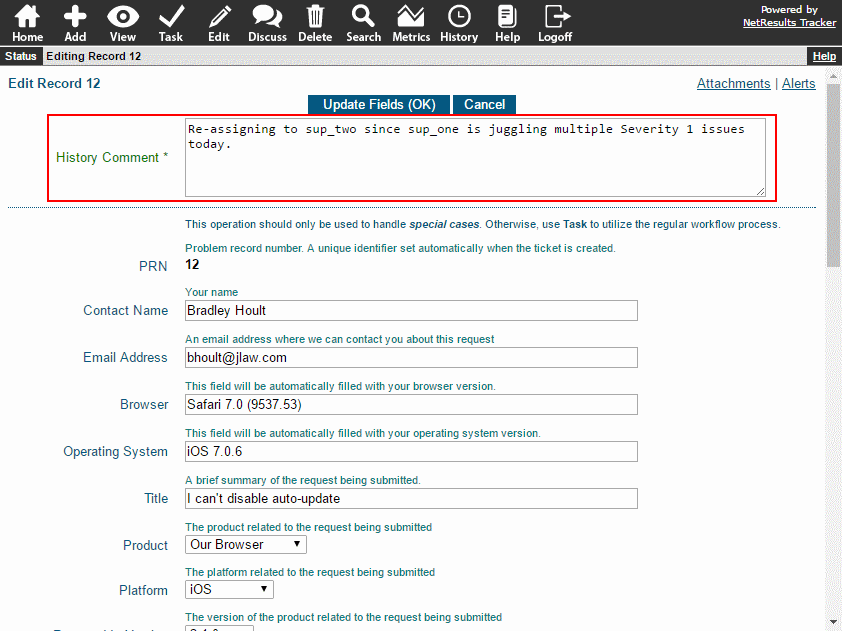
Another example: Perhaps the Edit operation is reserved only for special cases. You can require the History Comment for the Edit operation so the user can make note of the circumstances.
Make the History Comment Required
During the Task Operation:
- Login as Admin and click on the Admin icon.
- Click on the Workflows link.
- Select the desired workflow in the pulldown at the top.
- Locate the States section and click on the Manage link to the right.
- Click on the state that has the transition you want to modify, then click on the Transitions button.
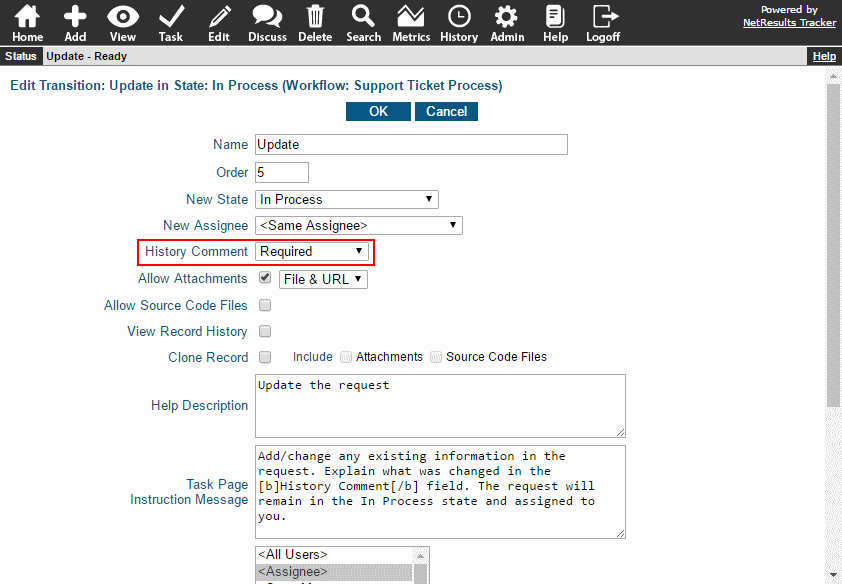
- Click on the Edit button to the left of the transition.
- Set History Comment to "Required" and click OK to save the change.
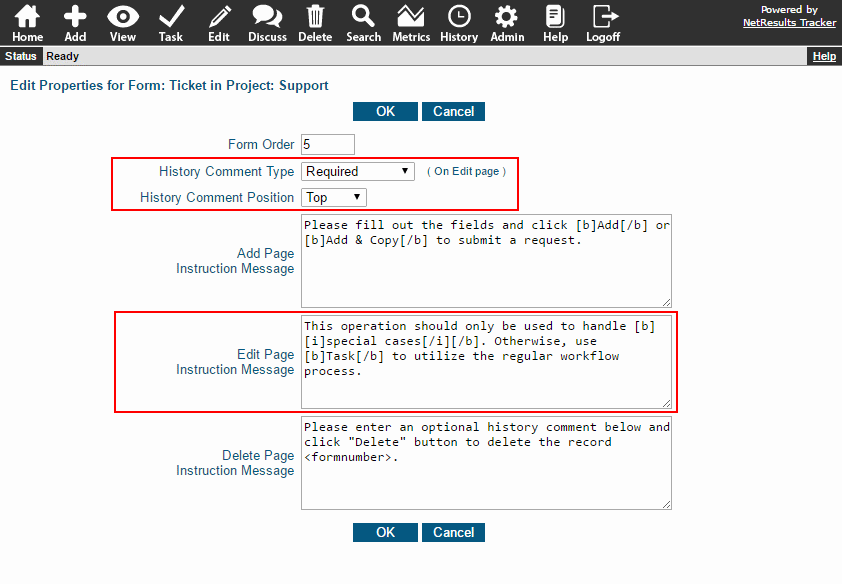
During the Edit Operation:
- Login as Admin and click on the Admin icon.
- Click on the Projects link.
- Select the desired project in the pulldown at the top.
- Locate the Forms section and click on the Manage link to the right.
- Click on the desired form, then click on the Properties button to the left of the Forms list.
- Set History Comment Type to "Required". Optionally, you can set the History Comment Position and modify the Edit Page Instruction Message.
- Click OK.
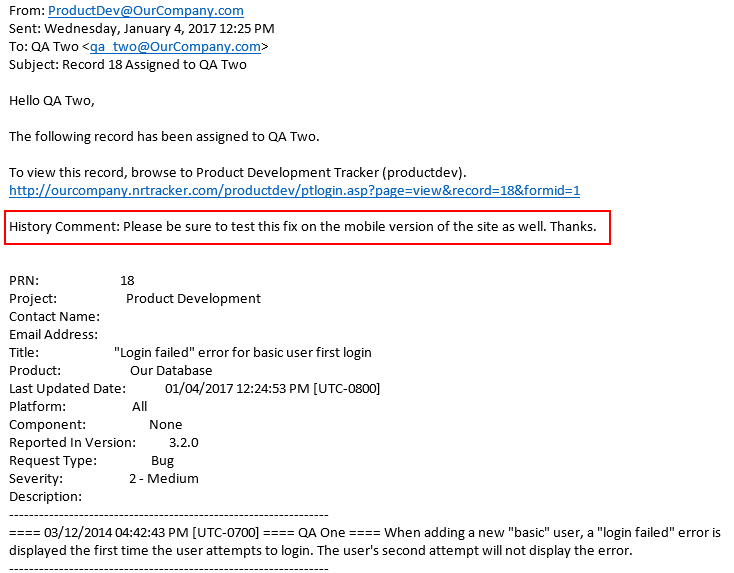
Provide Instructions for the Next Assignee
The History Comment can be displayed at the top of email notification messages, providing an easy way to include background or instructions for the next user assigned to the record.
Include the History Comment in Email Notifications
The History Comment can be included in email notifications based on user group privileges. Therefore, you can show the history comment for some user groups and hide it from others.
- Login as Admin and click on the Admin icon.
- Click on the User Accounts link.
- Click on the Manage Groups button.
- Click on the Edit button to the left of a user group.
- Locate the Email Content Privileges section at the bottom of the page.
- Check the box for History Comment to include it in the email notifications.
- Click OK to save the change.
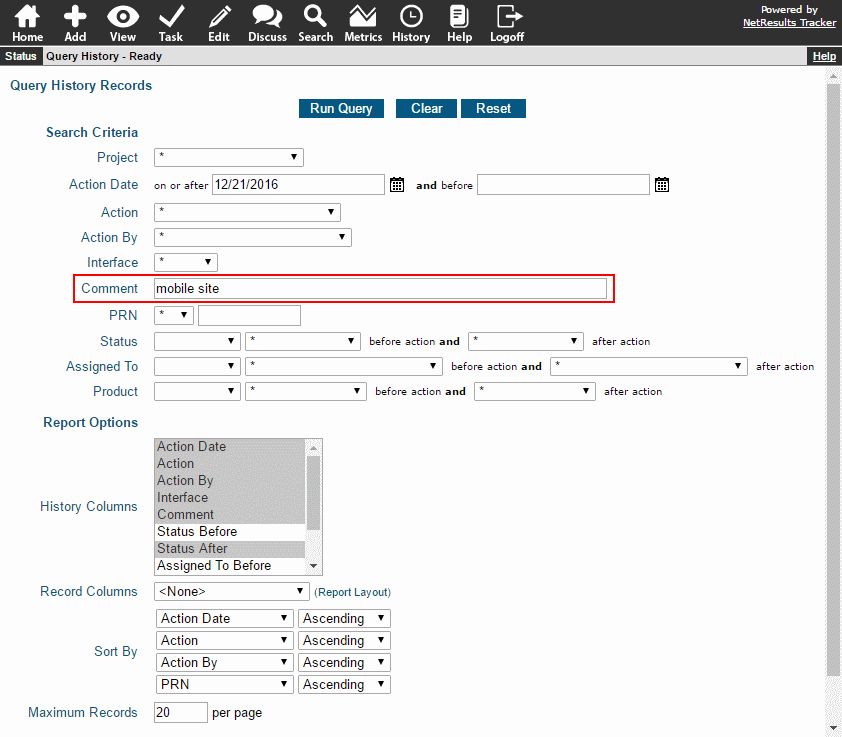
Use Key Words to Search the History
You can search for specific entries in the history using key words in the History Comment field. Information about running a history query can be found in the Online Help Guide.