Creating a new field is simple.
Add a Field
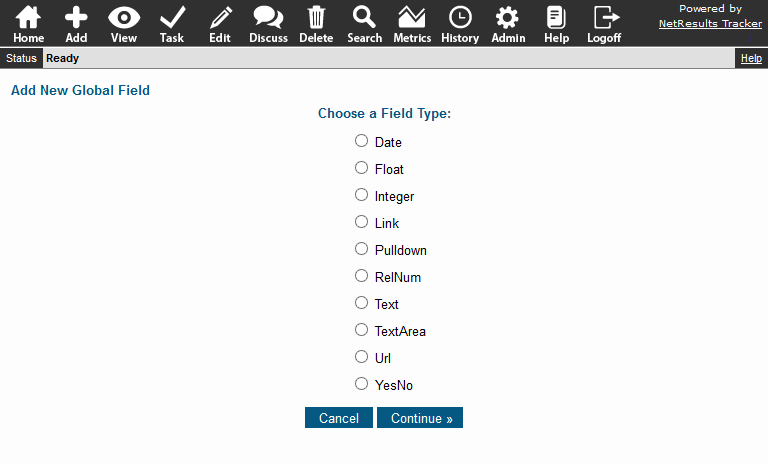
- Login as Admin and click on the Admin icon.
- Click on the Fields link.
- Click on the Add Field button.
- Select the type of field you would like to add, then click on the Continue button.
- Enter a name and make selections for the properties available for the field type you selected. The fields at the bottom starting with the one called Add Page Visibility determine where the field will be displayed (e.g. Add Page, Edit Page, View Page, reports on Home & Query pages, and notifications) and which user groups can see and use the field in those areas. For example, you can set a field so that only Support Engineers will see it and fill it out on the Add Page and it will be hidden for all other groups. More information is available in the Field Visibility Help section.
- Click OK to save the field.
- To use the field on a form, click on the Manage Forms for This Field button.
- Select a form and click on the Add button.
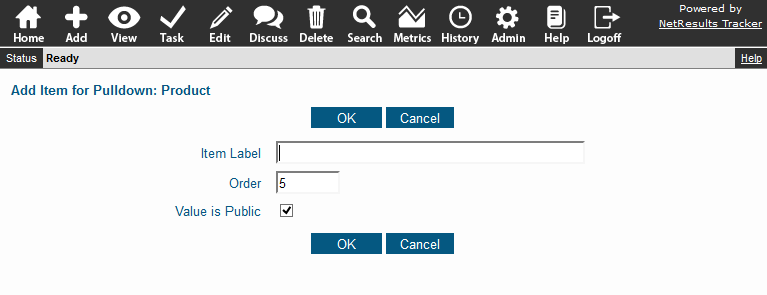
Add Option Menu Items for Pulldowns
If the new field is a pulldown, configure the option menu items.
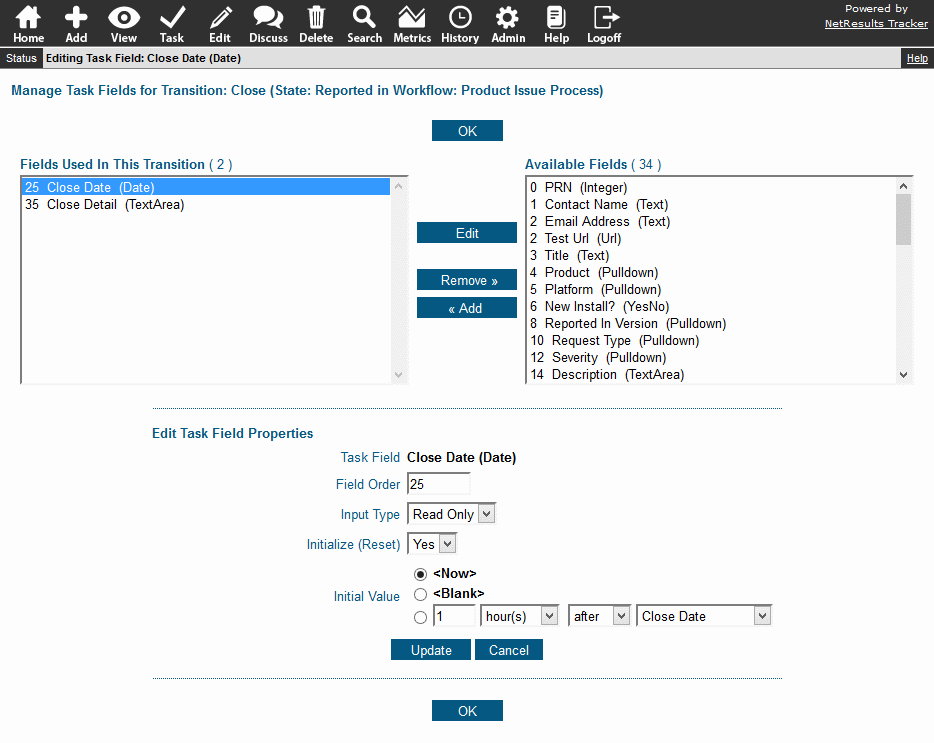
Use the New Field in the Workflow
If the field should be updated or displayed during the workflow, configure it as a task field.
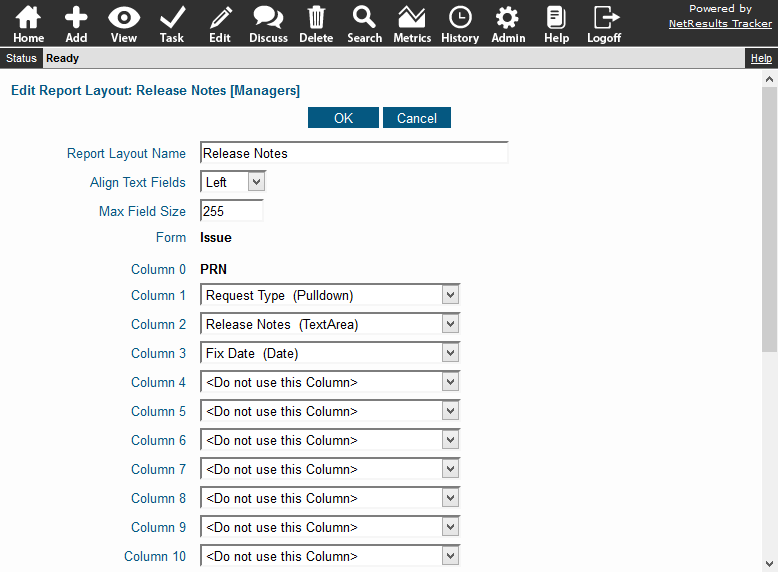
Add the Field to Reports
Use the field in report criteria or include it in report layouts.