Create a form that's easy for your end users to fill out.
Keep It Short
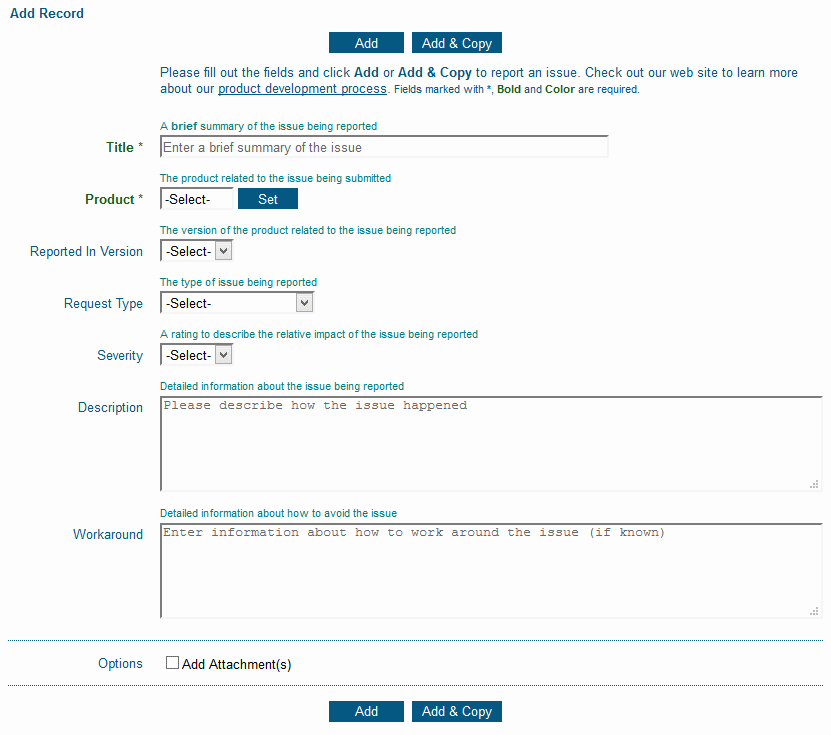
Figure out the most important data that needs to be collected, but keep it to a reasonable number of fields. End users are more likely to fill out the form if you keep it short and simple.
To set a field so it's not displayed on the Add Page:
- Login as Admin and click on the Admin icon.
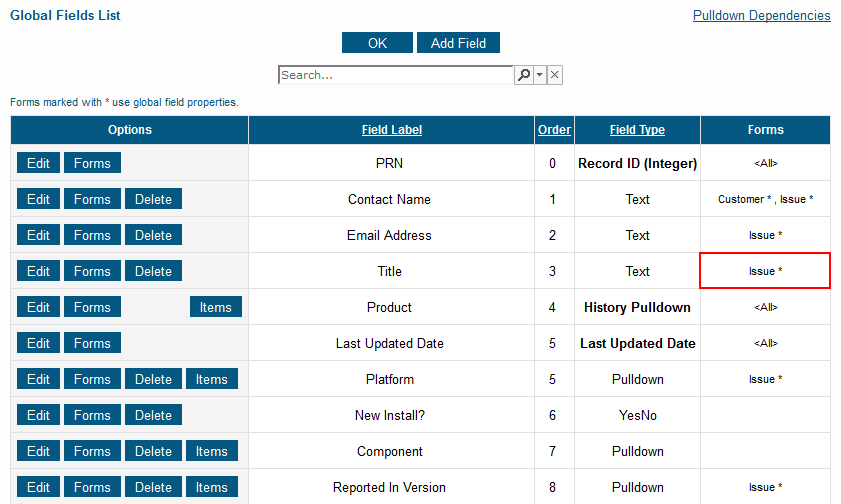
- Click on the Fields link.
- Locate the field you wish to modify and check the Forms column.
- Check the name of the form where you want to change the field. If there is a * next to the form name, click on the Edit button to the left of the field and proceed to step 5. If there is no * next to the form name, click on the Forms button to the left of the field, then click on the Form name in the left column and click on the Edit button, then proceed to step 5.
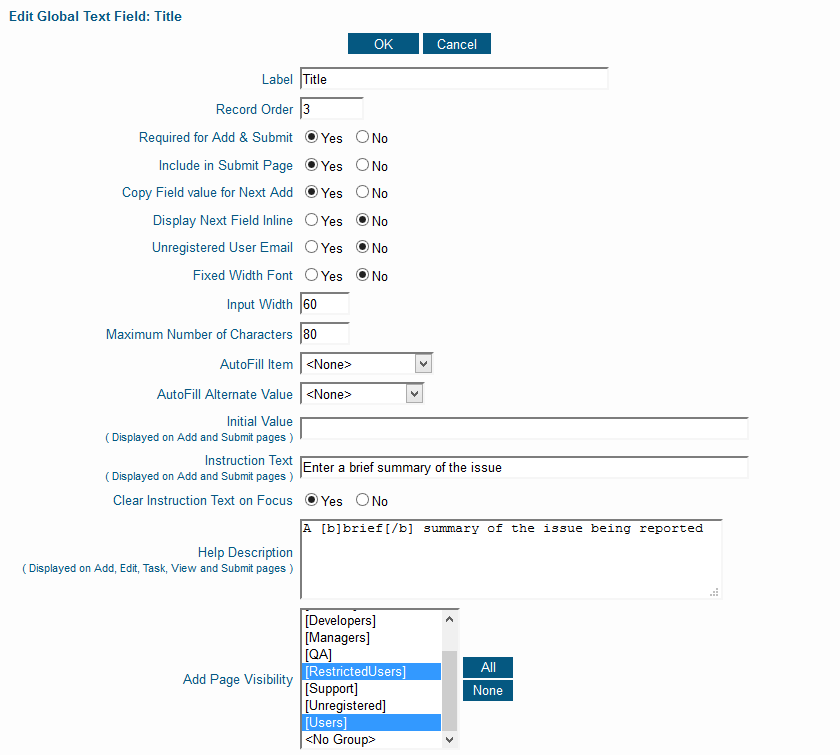
- Scroll down to locate the field called Add Page Visibility. To remove the field from being displayed on the Add Page for some user groups (while keeping the field displayed for other user groups), hold down the Ctrl button on your keyboard while clicking on user groups to de-select them.
- Click OK to save the changes.
Show Required Fields First
List required fields at the top of the form so they get filled out first.
To change the order of a field:
- Login as Admin and click on the Admin icon.
- Click on the Fields link.
- Locate the field you wish to modify and check the Forms column.
- Check the name of the form where you want to change the field. If there is a * next to the form name, click on the Edit button to the left of the field and proceed to step 5. If there is no * next to the form name, click on the Forms button to the left of the field, then click on the Form name in the left column and click on the Edit button, then proceed to step 5.
- Enter a number in Record Order to determine where the field is displayed relative to other fields on the form, then click OK.
Provide a Help Description
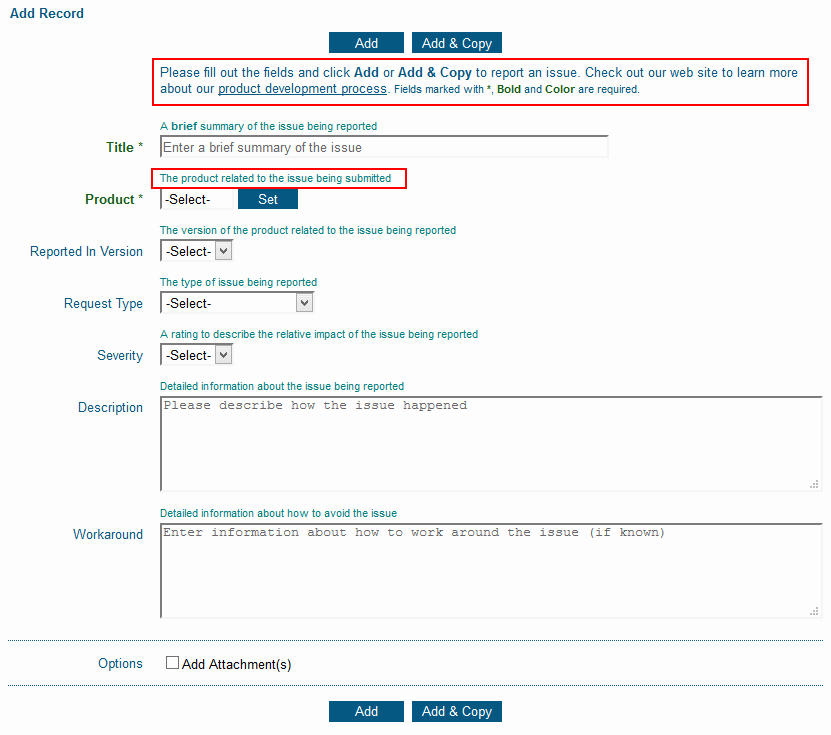
Make use of the Help Description feature to give hints about what goes into each field on the form. You can format the text using tags for bold, italics and more and you can add links to point to a web site page or document that provides additional information.
Check out these posts with tips and more tips to help your end users.