Point the Help icon to your own documentation or other link to guide users on your process.

Help Icon

When a user clicks on the Help icon in the Button Bar, it can display a page or document that gives the user more information to assist them with how they use Tracker. For example, if you use Tracker to provide customer support, the Help link can provide more information about the information you need from them when they open a ticket.

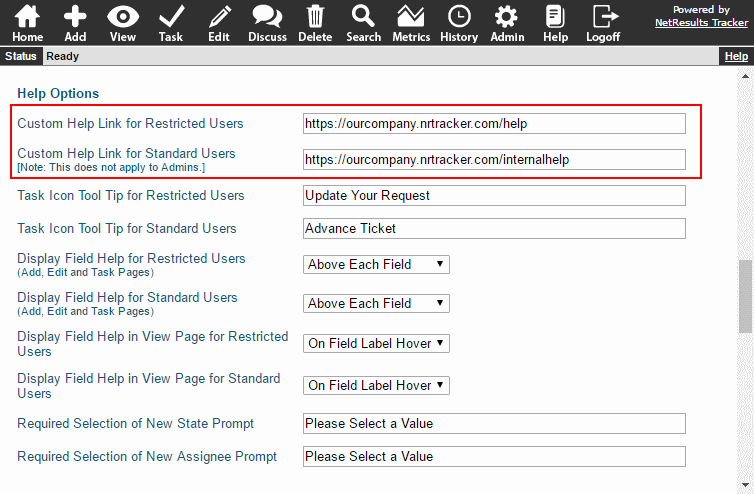
You can configure a different link for Restricted Users (e.g. customers, vendors, other users external to your company) than the one you show to Standard Users.

To set the link:

  1. Login as Admin and click on the Admin icon.
  2. Click on the General Preferences link.
  3. Scroll down to the Help Options section.
  4. Enter the desired link for Custom Help Link for Restricted Users and/or Custom Help Link for Standard Users.
  5. Click OK to save the change.

This option does not apply to members of the Admins user group.
Custom Help Links

Additional Help Options are described in the Online Help Guide.

A configuration tip for pulldowns with hundreds of option menu items.

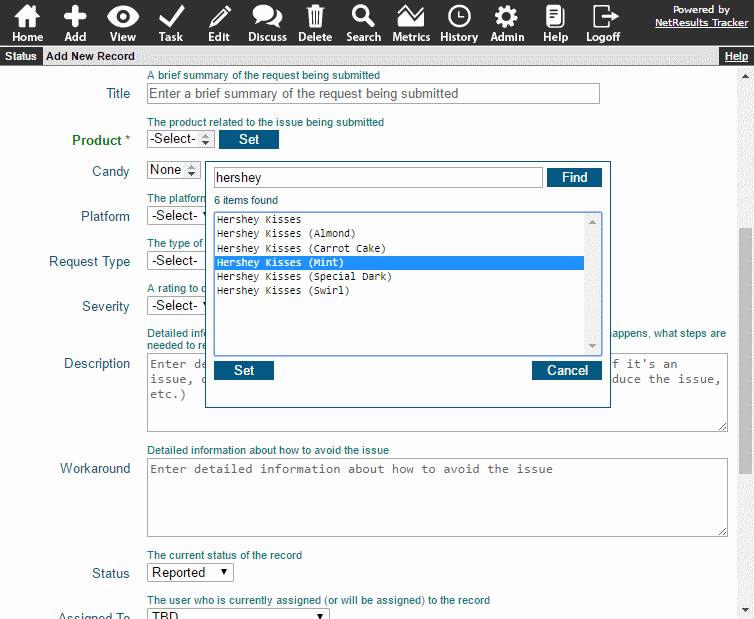
A Pulldown field with 100+ option menu items can benefit from being set to use the Search style because it can be searched using key words to quickly locate the desired value.

Search Pulldown

To configure a Pulldown field to use the Search style:

  1. Login as Admin and click on the Admin icon.
  2. Click on the Fields link.
  3. Click on the Edit button to the left of a Pulldown field.
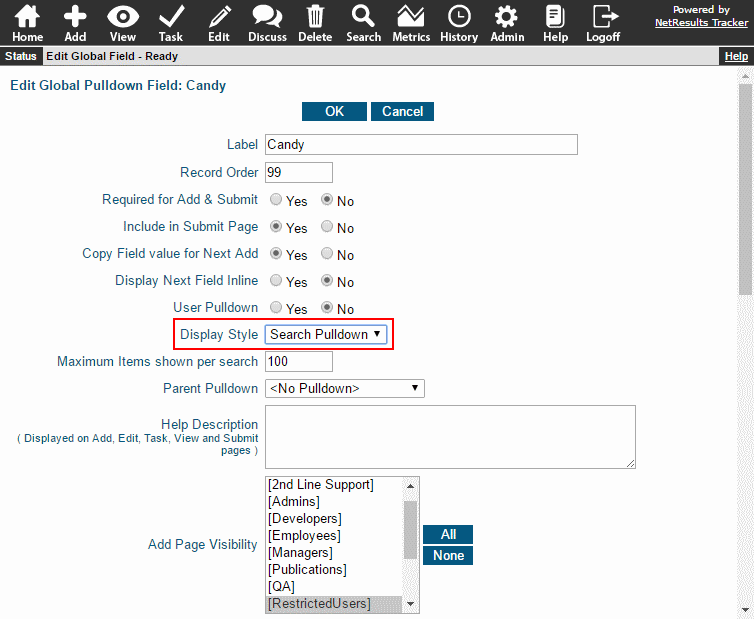
  4. Set Display Style to "Search" and click OK.

Search Pulldown Option

Details on the options available for Pulldown fields can be found in the Online Help Guide.

Allow users to add information to a large text field while protecting the data that was already entered.

TextArea Task Field

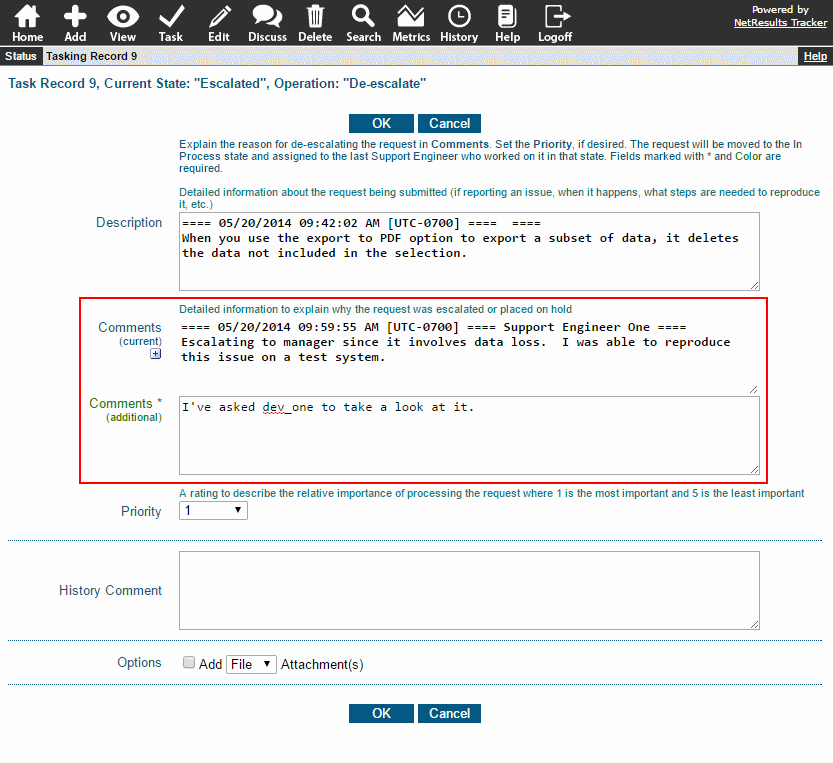
TextArea fields can be used for comments, conversations, explanations... anything that involves large blocks of text. When a record is updated using the Task operation, the field can be configured to keep existing data safe via the following properties:

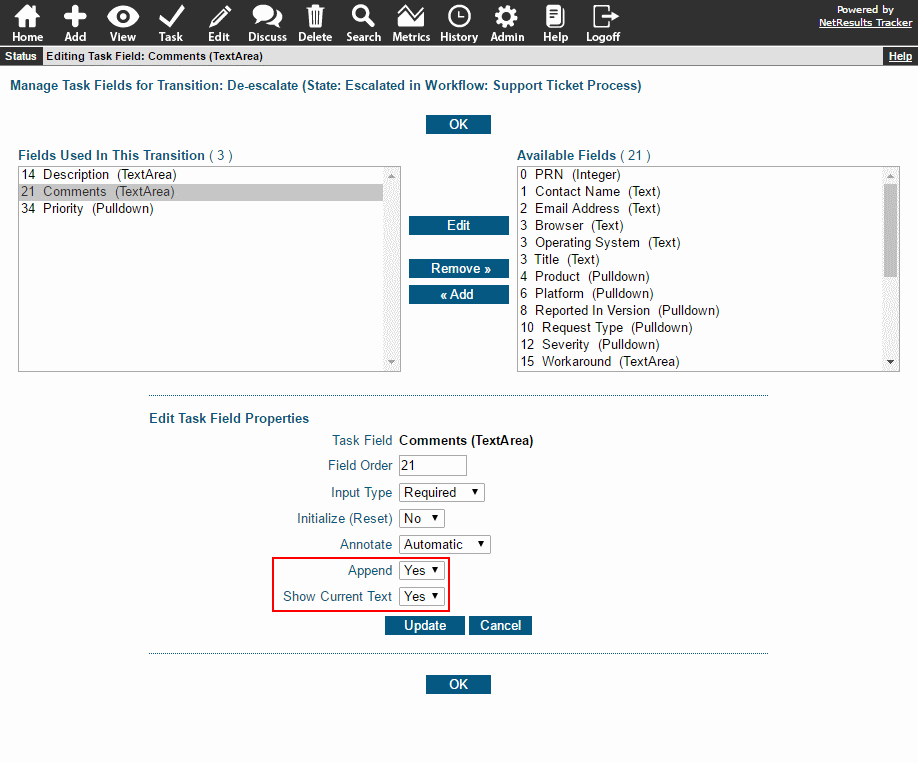
Task Field Properties

  • Append: Setting this option to "Yes" will only allow information to be added to the field.
  • Show Current Text: This option will display the field so the user can see what's already been entered into the field.

To set these properties:

  1. Login as Admin and click on the Admin icon.
  2. Click on the Workflows link.
  3. Select the desired workflow in the pulldown at the top.
  4. Locate the State section and click on the Manage link to the right.
  5. Click on the state that contains the transition you wish to modify, then click on the Transitions button.
  6. Click on the Task Fields button.
  7. Click on the desired field, then click on the Edit button.
  8. Set Append and Show Current Text to "Yes" and click Update to save the changes.

More information about Task Field Properties for TextArea fields can be found in the Online Help Guide.

Configure fields in your QA process to help measure and analyze performance.

Track Time Spent

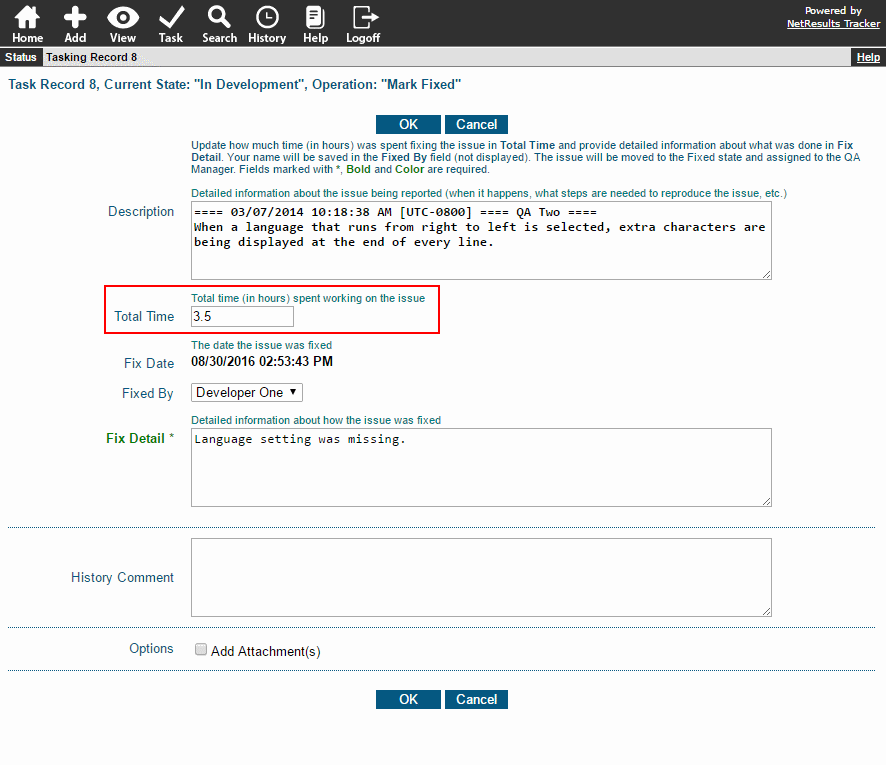
There are different ways to track how much time was spent on testing. You can set up a Floating Point or Integer field as described in this Knowledge Base article so QA Engineers can enter how much time was spent testing a fix.

Total Time Field

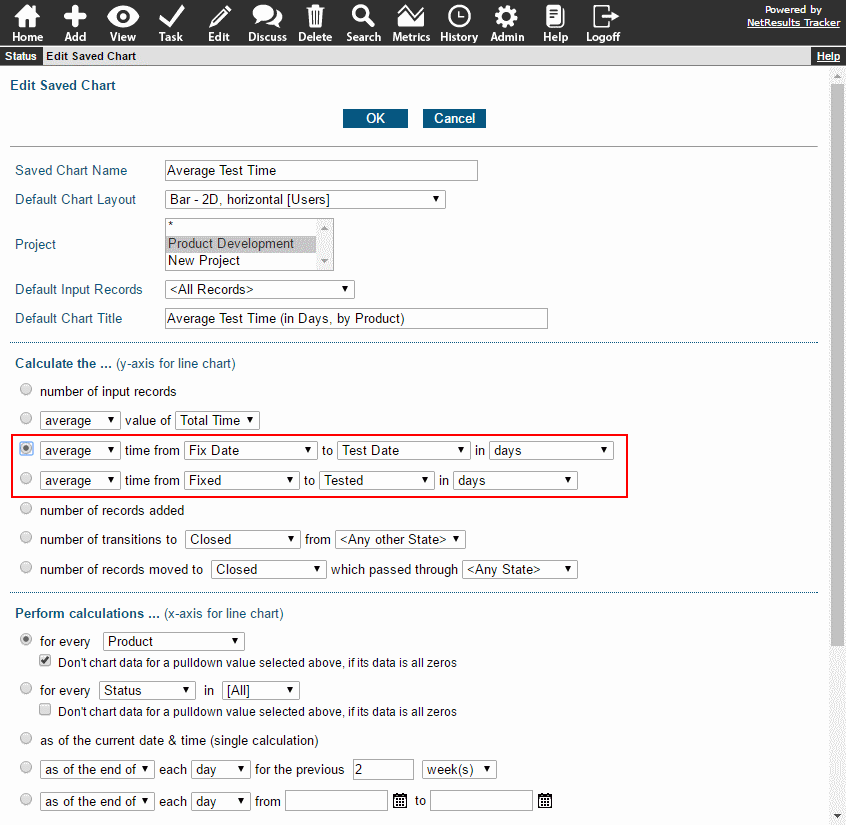
Or, you can run a chart that compares the date an issue was fixed with the date it was tested. The chart can calculate this by comparing date fields or when the issue was in particular workflow states. Create a chart using the Metrics section of the Online Help Guide.

Chart Options

Note Who Tested Each Issue

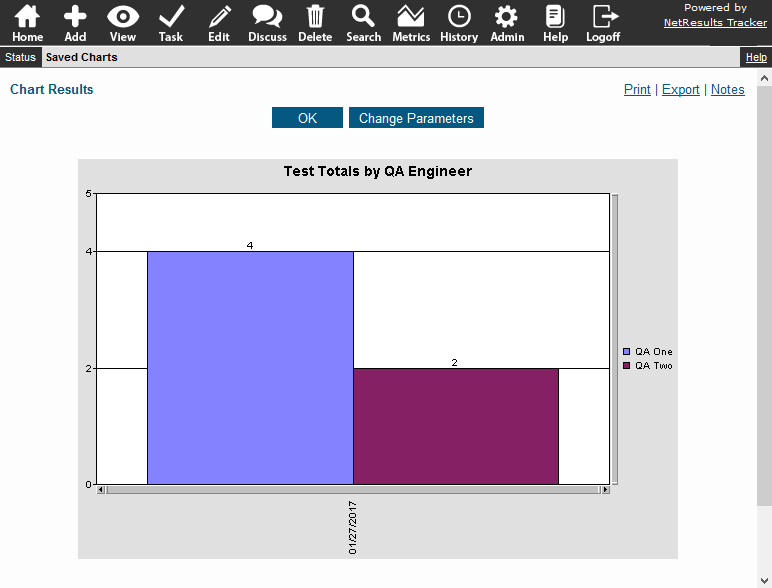
Setting up a field to save which QA Engineer tested each issue allows you to report on how many issues were tested by each QA Engineer. The User Pulldown Knowledge Base article provides steps for setting this up.

Test Totals

Categorize Items That Fail Testing

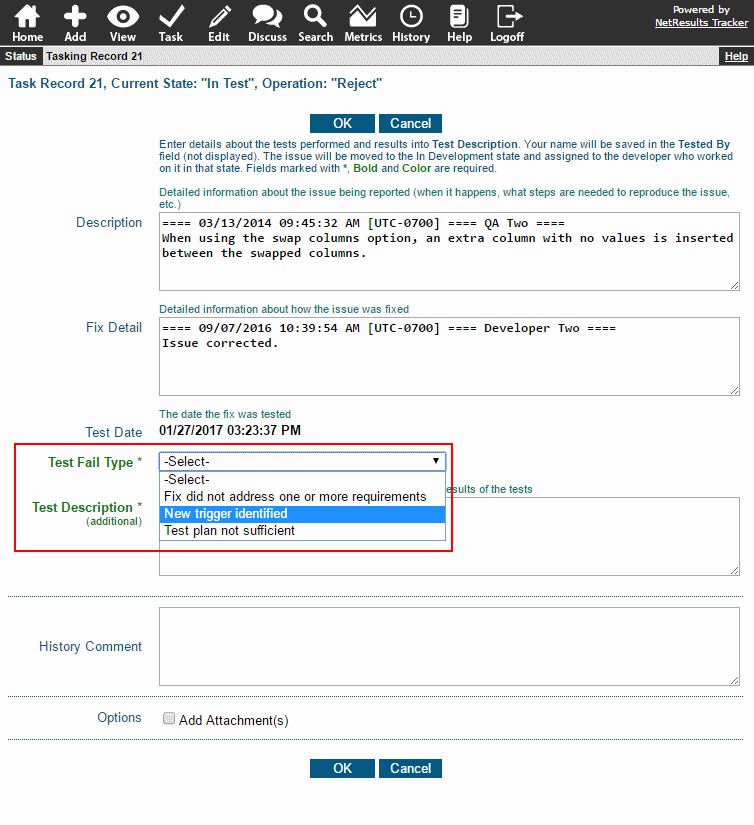
Classifying the items that fail testing can help you identify trends and address them.

Fail Category

To add a Pulldown field:

  1. Login as Admin and click on the Admin icon.
  2. Click on the Fields link.
  3. Click on the Add Field button.
  4. Select Pulldown as the type and click Continue.
  5. Make selections for the options available for Pulldowns
  6. Click OK to save the new field.
  7. Click on the Manage Forms for This Field button.
  8. Click on the desired form and click Add.
  9. Add option menu items to the field.

Add option menu items to a pulldown field from an Excel spreadsheet or an Access database.

Import File

Prepare the Data

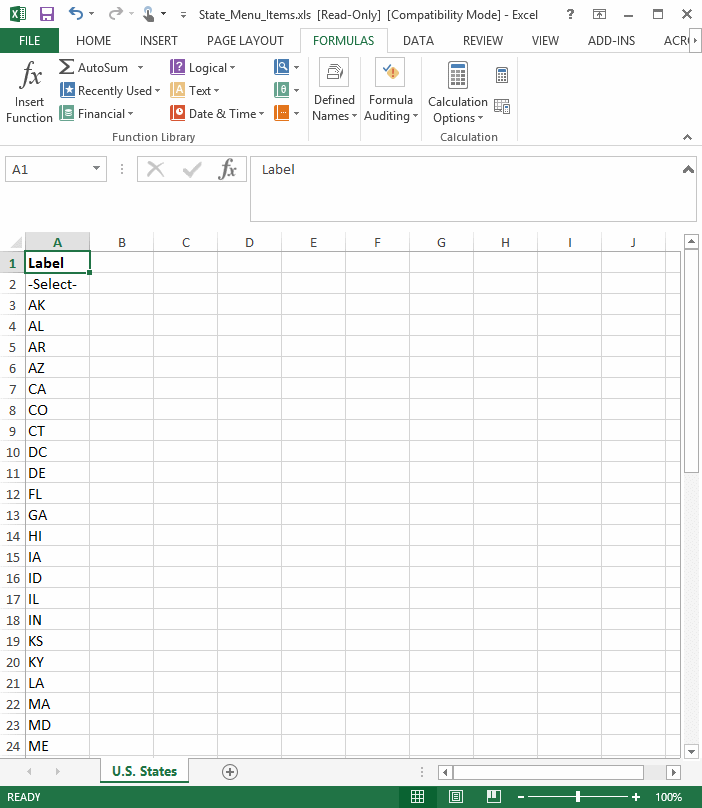
Use the information in the Import Preparation section of the Online Help Guide to prepare your data. Taking the time to make sure your data values are in the required format will save you time when it's time to run the import.

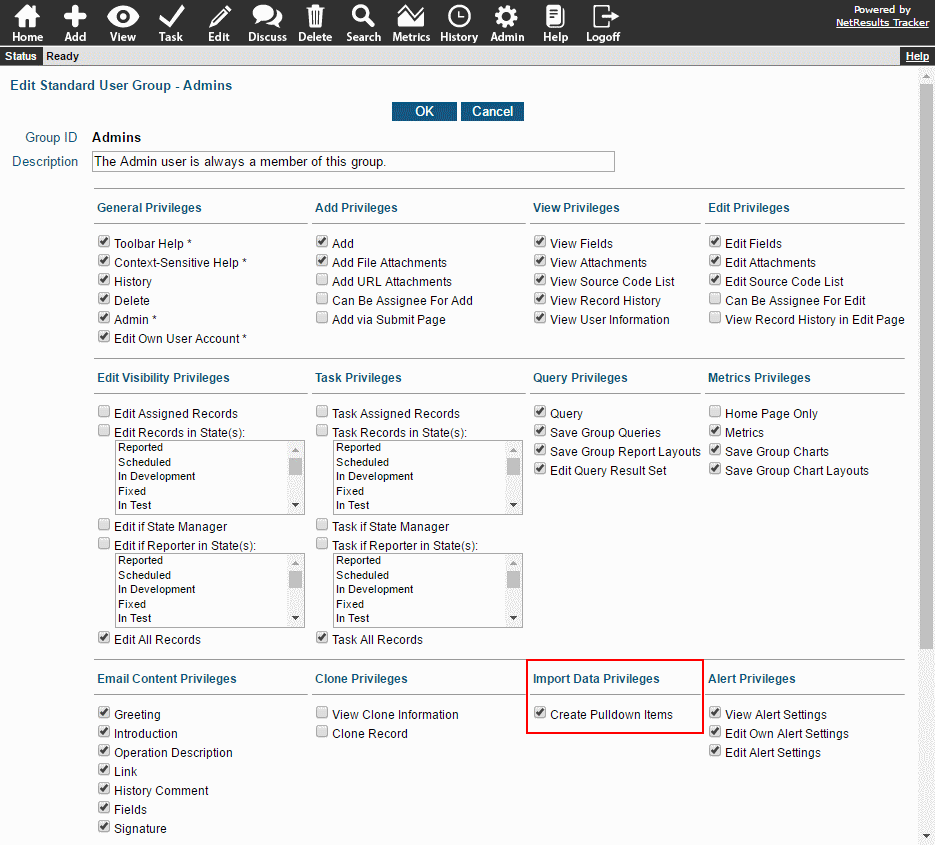
Enable the Pulldown Import Privilege

A user group privilege, which is disabled by default, is available to the Admins group.

Pulldown Import Privilege

Import the Data

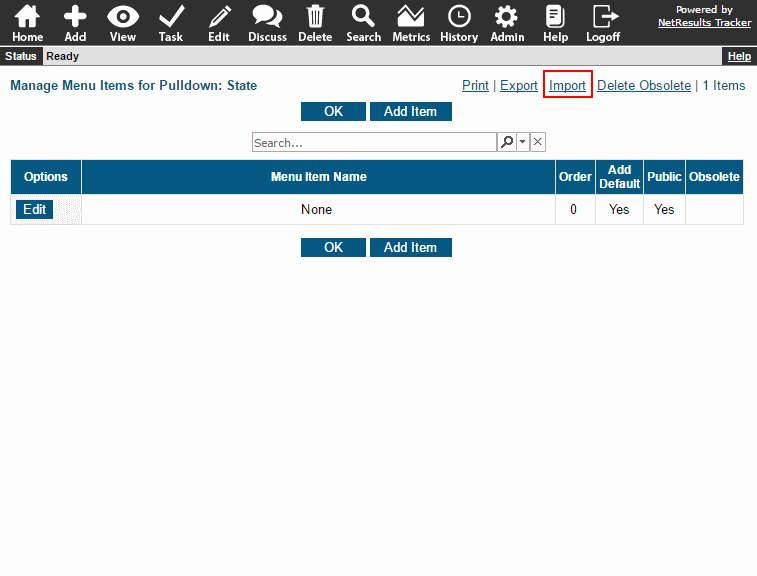
Step-by-step instructions are available in the Pulldown Import Process section of the Online Help Guide.

Import Link