There are two ways to process a record and send it to the next step in the workflow. Which one is right for your environment?

The answer might be that you need both.

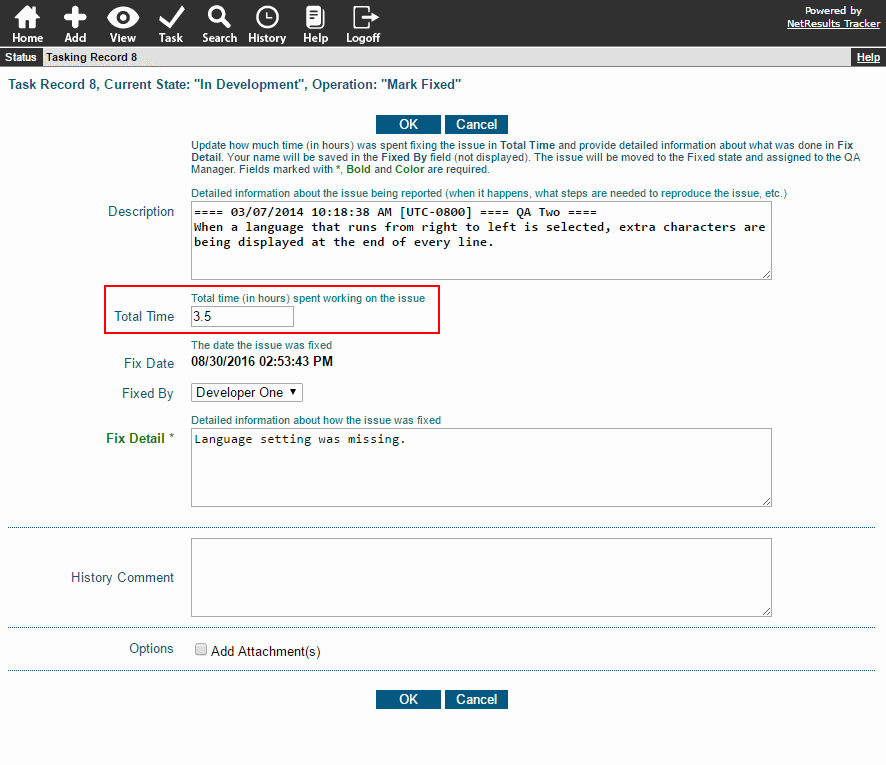
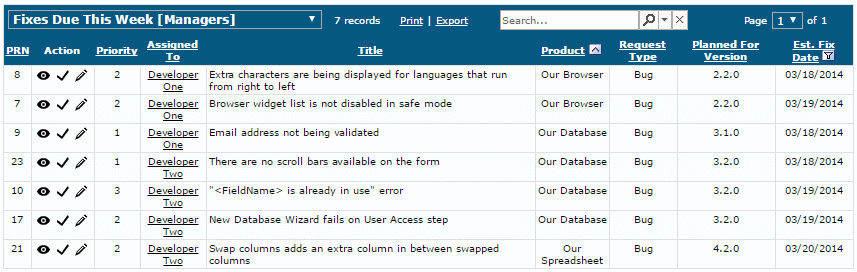
Task: A Helping Hand for Your Users

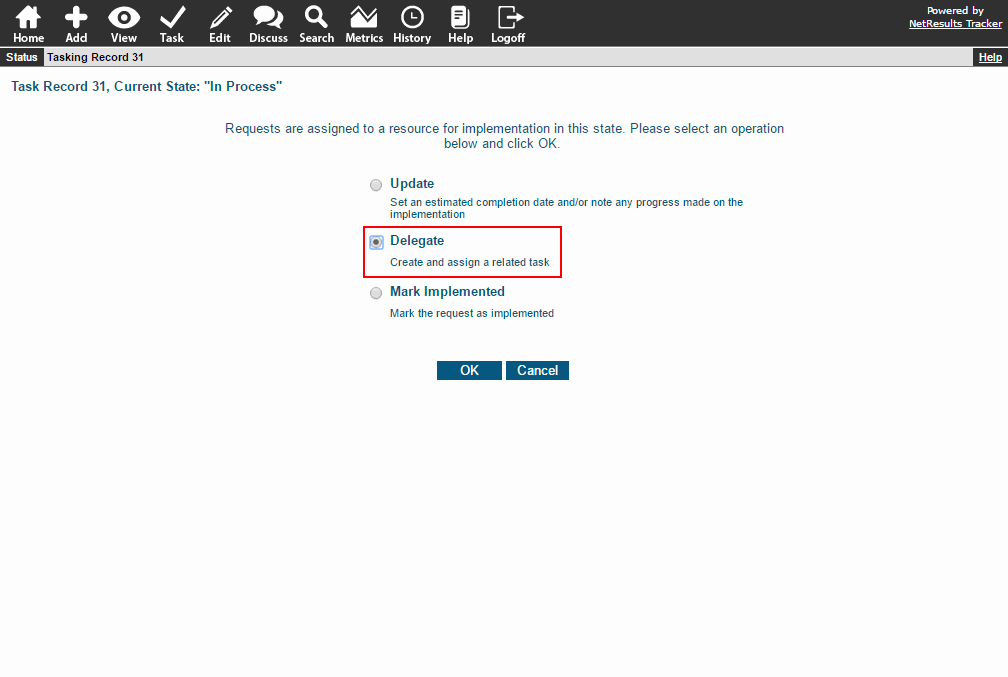
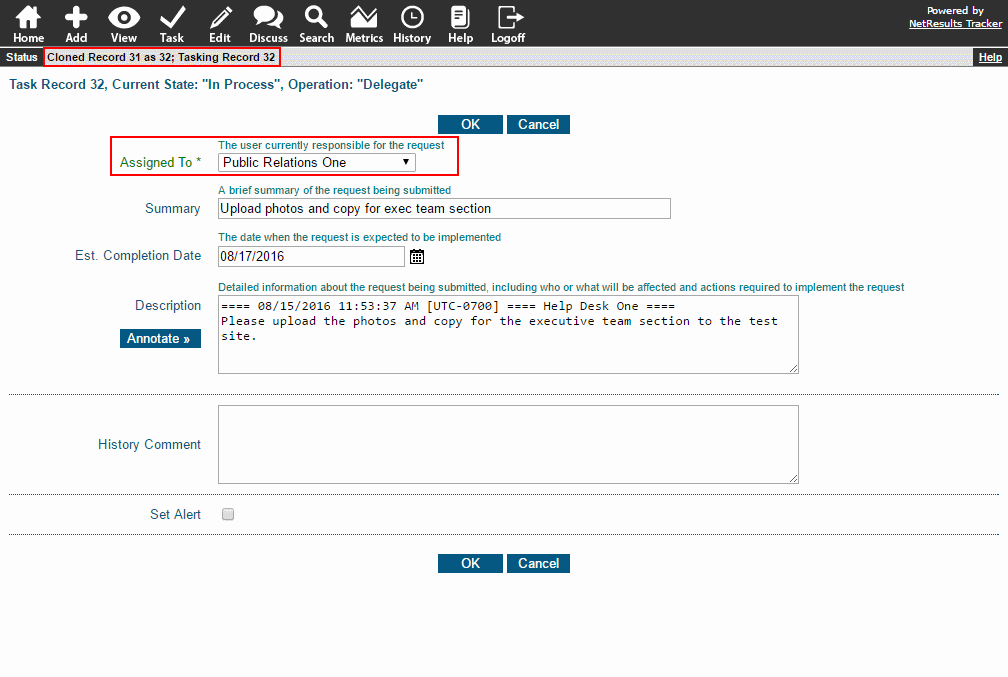
The Task operation prompts users with the choices available at the current step in the process,

Transitions

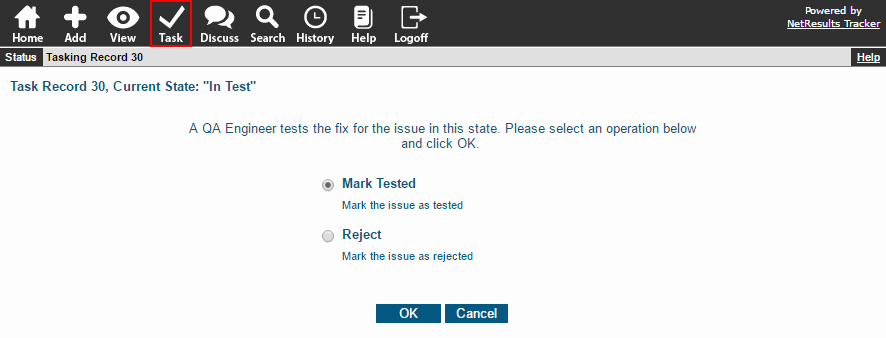
prompts them with the fields that need to be filled out at that step,

Task Fields

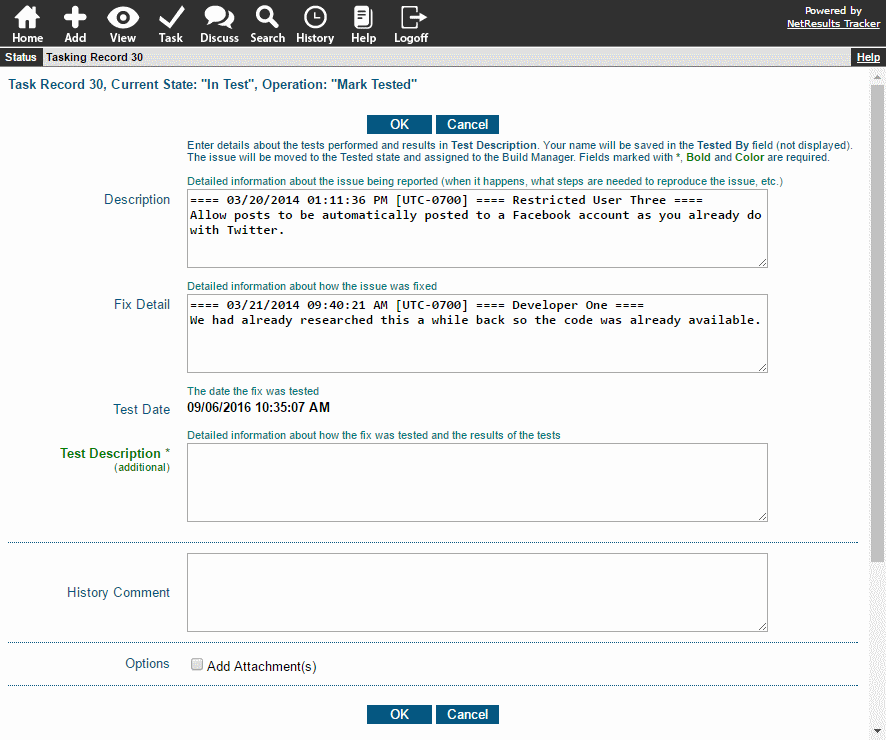
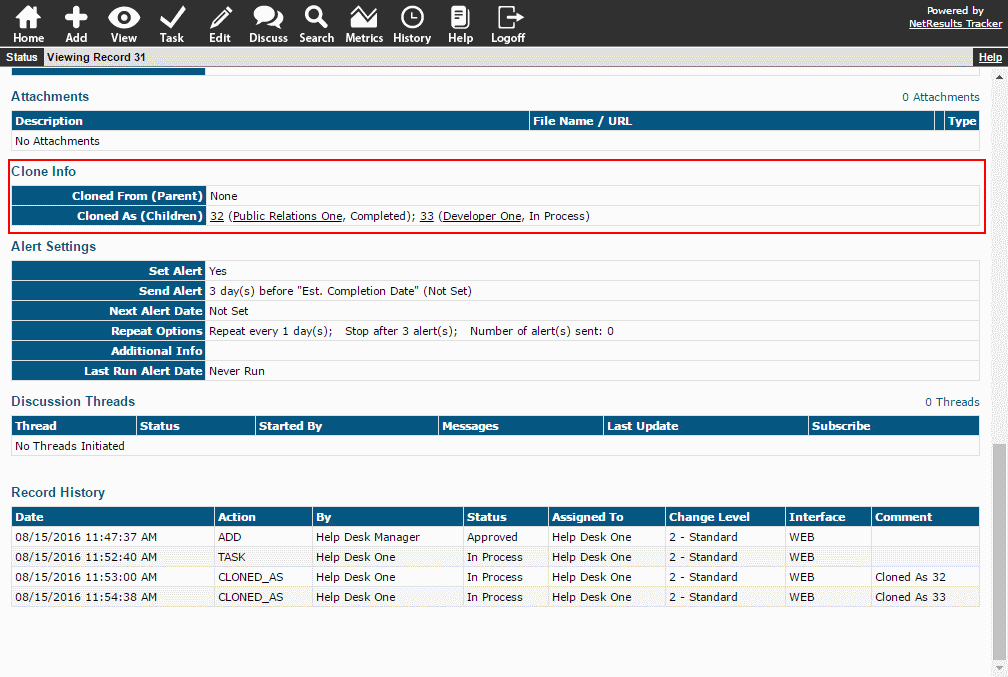
and routes the record automatically to the next state and assignee.

Task Confirmation

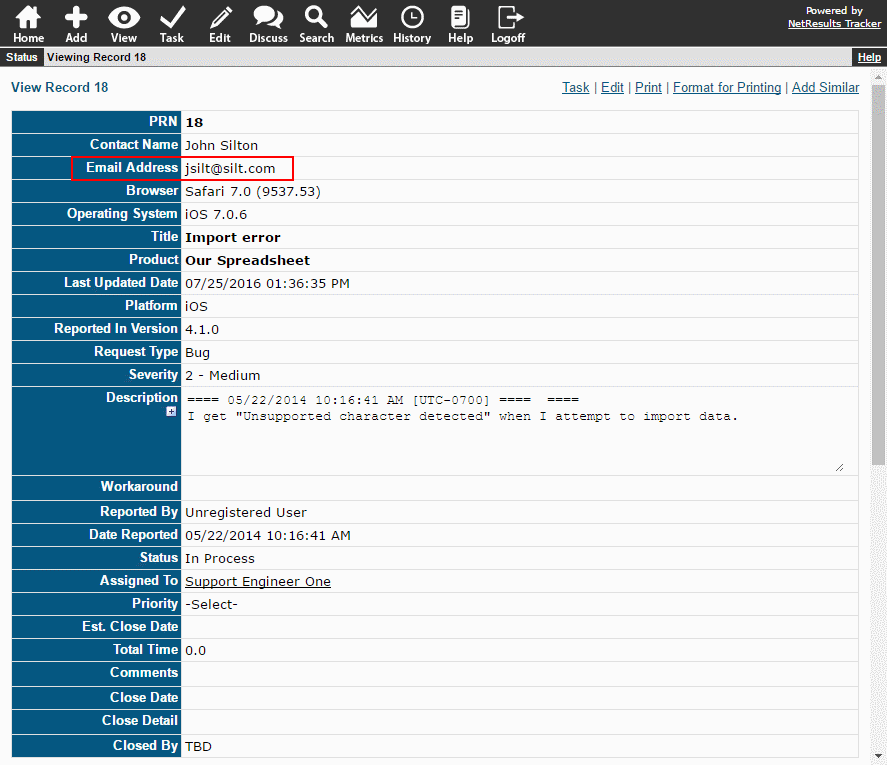
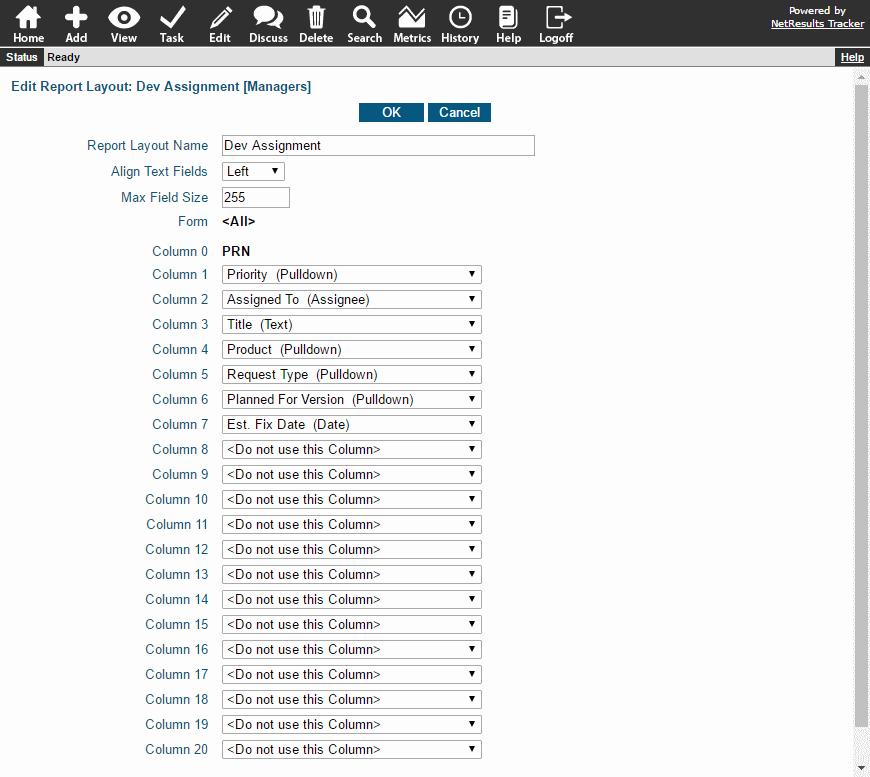
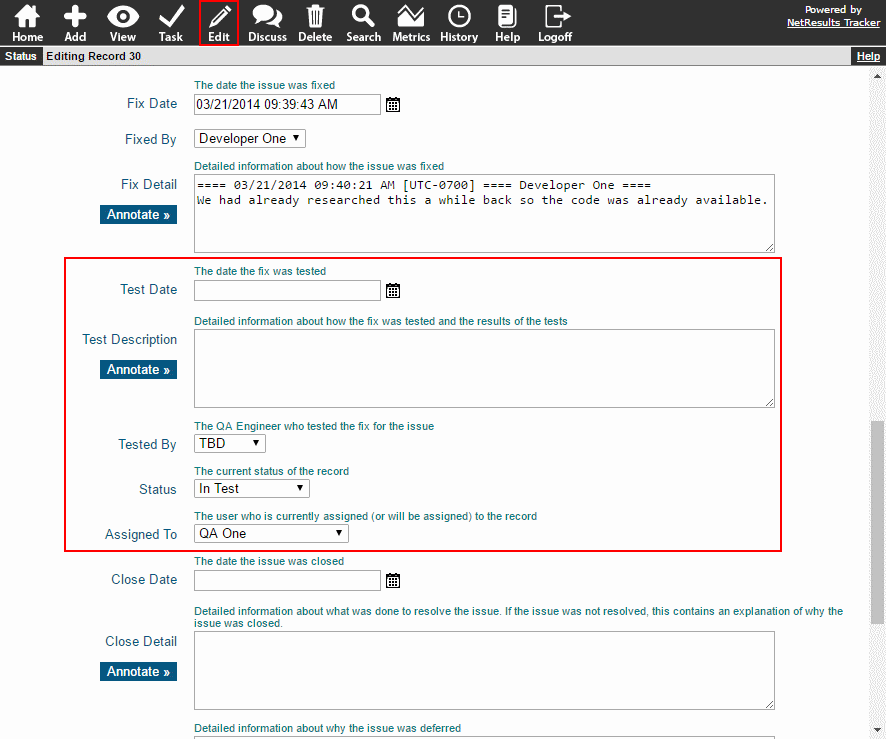
Edit: Freedom for More Experienced Users

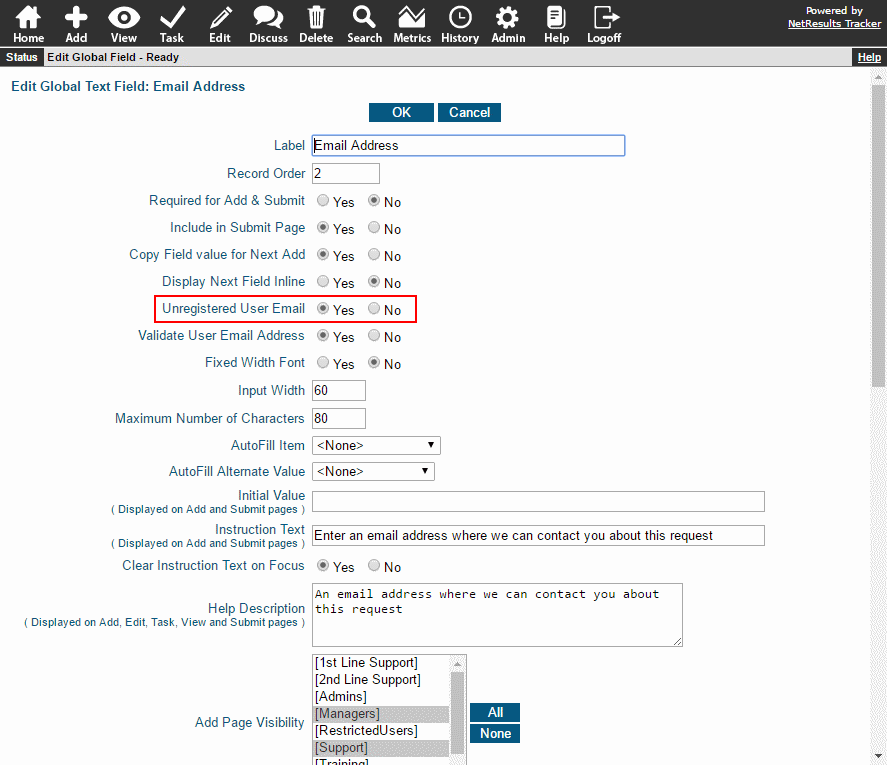
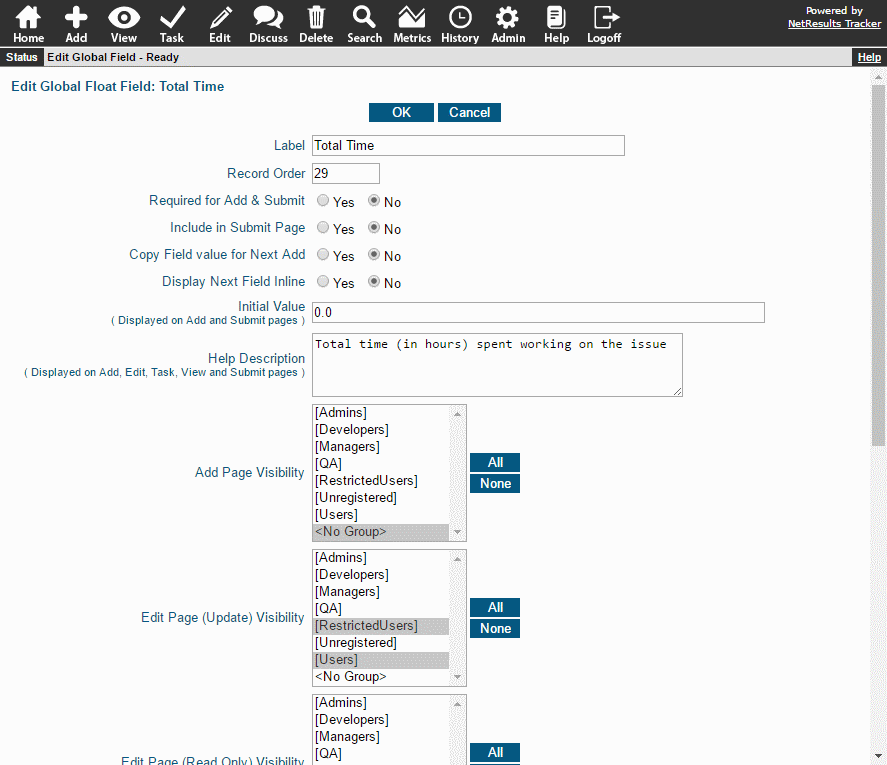
The Edit operation allows users to make changes to any of the fields available on the Edit Page. However, the user would need to know what to do since there are no hints to fill out certain fields and no automatic routing.

Edit Page

The Bottom Line

In a more structured organization, have most users use the Task operation since it enforces the workflow configuration. More experienced users (e.g. managers or user that need to handle special cases as they arise) can use Edit.

In an environment where a formal process hasn't been defined, Edit has the flexibility necessary for this situation.

Tracker's templates are configured by default assuming most users will use Task. Some templates have the Edit privilege enabled for Managers.

For more information, check out the video below that compares Task and Edit or review the Edit vs. Task Knowledge Base article.

Set up a field where an email address can be entered to be notified as a record is processed.

Email Address in a Record

Sometimes someone other than the reporter wants to be kept up to date about an issue or enhancement. Tracker has an "Unregistered Email Address" field that can be used for saving an email address within a record.

Email Address Field

Email notification rules can be set to notify this email address by selecting <Unregistered User>.

Email Rules

For step-by-step instructions for setting this up, check out the Per-Record Email Address Knowledge Base Article.

Use a field to track how much time was spent working on an issue.

Perhaps you need to keep track of time spent by your developers or support / help desk engineers for billing purposes. This can be done using a Floating Point or Integer field.

Configure a Float or Int Field

Prompt users to fill in the time they spent when they mark an issue as completed.

Configure the Task Field

You can generate metrics with this data.

Average Fix Time Chart

For more detail on how to create this field, check out the Track Time Spent Knowledge Base article.

Delegate smaller pieces of a project or large task by using the Clone feature to create "sub-task" (child) records that remain linked to the original (parent).

You can set up a transition to be used to create the sub-tasks.

Clone Transition

The transition will create a copy of the original. Any changes made to the fields displayed are applied to the clone. In this example, a sub-task is being created and assigned to another user.

Clone Transition Task Fields

When you view the original (parent), the Clone Info section shows any clones that were created as well as who is assigned to them and the current status.

Clone Info

More information about the Cloning feature can be found in the Online Help Guide.

Want to choose which fields are displayed in the report results?

Report Example

A report layout determines which fields are used as the columns in the report results. Here's an example of a layout. Pick a field or other options like attachments for each column:

Report Layout

If you're working with a report saved for a group (the report has [User Group Name] listed at the end of the name), you'll need to have the appropriate privileges to edit the layout being used. Or, you can copy the report and create your own layout.

Edit a Report Layout

  1. Click on the Search icon.
  2. In the Saved Queries pulldown at the top, select the report that you want to modify.
  3. Check the Report Layouts pulldown right under the Saved Queries pulldown. The report layout associated with the saved query will be selected.
  4. Click on the Edit button to the right of the Report Layouts pulldown.
  5. Make any desired changes to the fields selected in the columns. Details about the options available can be found in the Using Saved Queries & Reports section in the Online Help Guide.
  6. Click OK to save the changes.

Copy an Existing Report and Create Your Own Layout

  1. Click on the Search icon.
  2. Click on the Add button to the right of the Report Layouts pulldown.
  3. Enter a name for your layout, then select whether it will be a "Personal" (only you can see and use it) or "Group" (anyone in the user group you select can use it) layout. If you selected "Group", select a user group.
  4. Click Next.
  5. Select the desired fields for the report columns. Details about the options available can be found in the Using Saved Queries & Reports section in the Online Help Guide.
  6. Click OK to save the layout, then click OK again after it is has been saved.
  7. Now copy the report: In the Saved Queries pulldown at the top, select the report that you want to copy, then click on the Add button to the right of the Saved Queries pulldown.
  8. Enter a name for your report, then select whether it will be a "Personal" or "Group" report. If you selected "Group", select a user group.
  9. Click Next.
  10. You will see that the criteria from the original report will be displayed. In the Report Layout pulldown, select the layout you created, then click Add. Click OK after it has been saved.
  11. If you would like to see this report on your Home Page when you login, click on the Home icon, then click on the Preferences link in the upper right. Select the new report for one of the Home Page Report options and click OK.