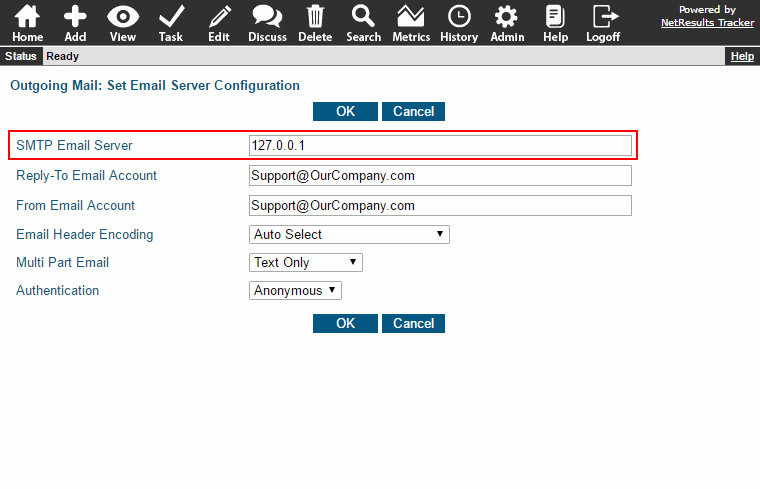
Set the options in the interface for managing users to suit your environment.
The on-premises version of Tracker includes access to the User Management System (UMS). You can create, edit or delete user accounts as well as manage their access to different workgroups (databases). Let's take a look at different configurations for the options available in this interface.
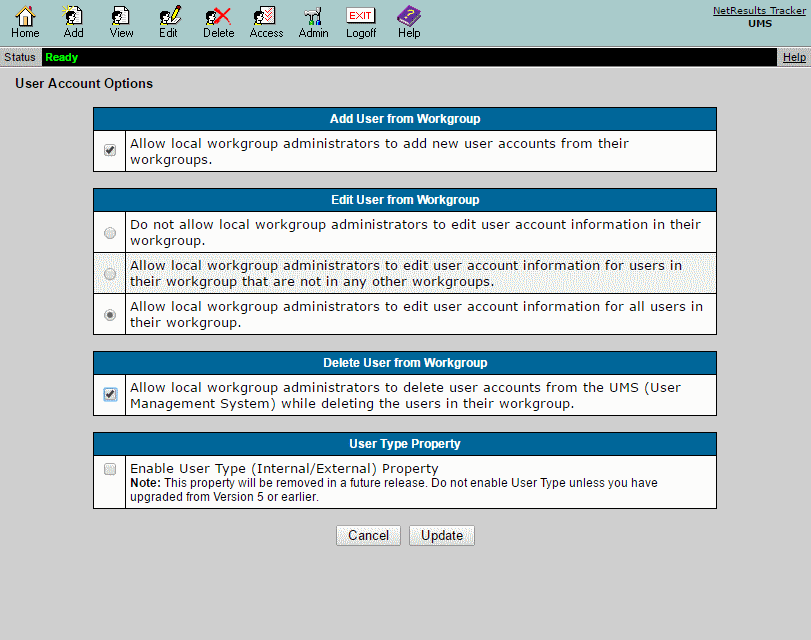
Single Workgroup
If you only have one workgroup (database), you can set the options as shown below such that users can be added and deleted from the workgroup so the administrator does not need to login to UMS to perform these actions. For the Delete User From Workgroup section, if you would like a user to also be deleted in UMS when they are deleted in the workgroup, check the box for that option.
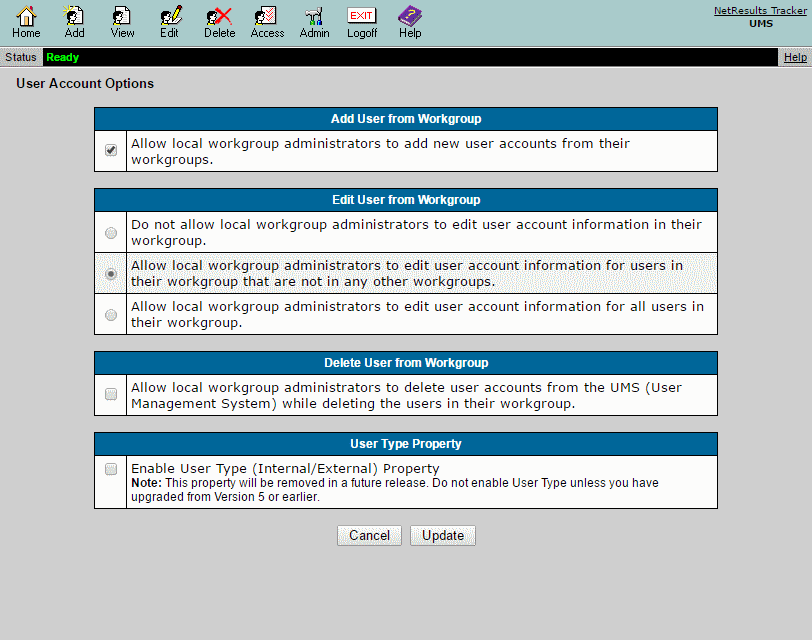
Multiple Workgroups or Multiple Administrators
The following are the recommended settings if you have:
- more than one workgroup (database) or
- multiple administrators (one admin handles Tracker upgrades, multiple workgroups with different administrators)
To allow a user to access a workgroup, there are two steps that need to occur:
- The user needs to given access to the workgroup
- The user needs to be added to the workgroup
If you want to allow the workgroup administrator to add users without having to login to UMS (perform both steps listed above), check the box for the Add User From Workgroup option. Or, you may prefer to restrict the ability to add users to only an administrator with access to UMS by leaving this option unchecked. That way, the UMS administrator can either:
- perform both steps needed to give the user access to workgroup
or
- they can just give access to the workgroups. Then, each workgroup admin can add the users to the workgroup (and subsequently give them the appropriate privileges) when they are ready.
For more information on these options, please review the User Account Options section of the Online Help Guide.