See if you have room to add new users.
Find out how to check your License Summary in the User Management System via the following video.
See if you have room to add new users.
Find out how to check your License Summary in the User Management System via the following video.
Onboard a new user with a short tour of the most important actions.
Choose one of the following videos based on the type of user.
Restricted users are usually external users, vendors, partners who submit and track their requests.
Standard users are typically internal users who participate in the workflow process.
Sometimes when adding a new user, you might find that it already exists in the system.
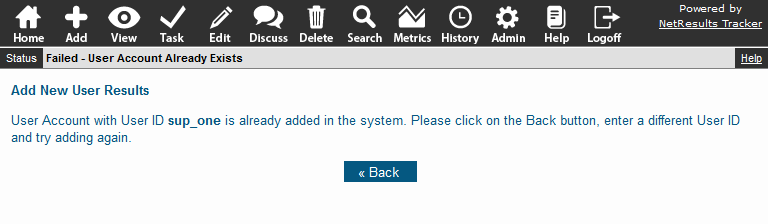
Look for the user in the Add Existing Users section.
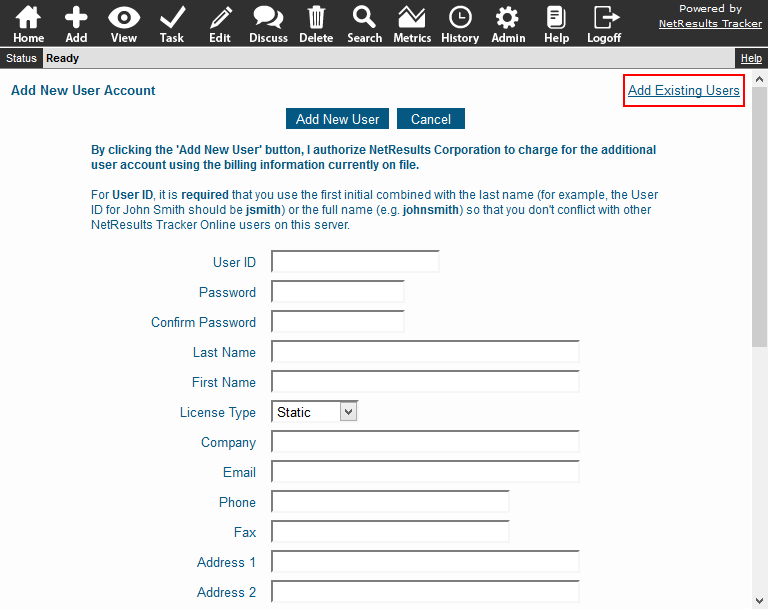
To add an existing user:
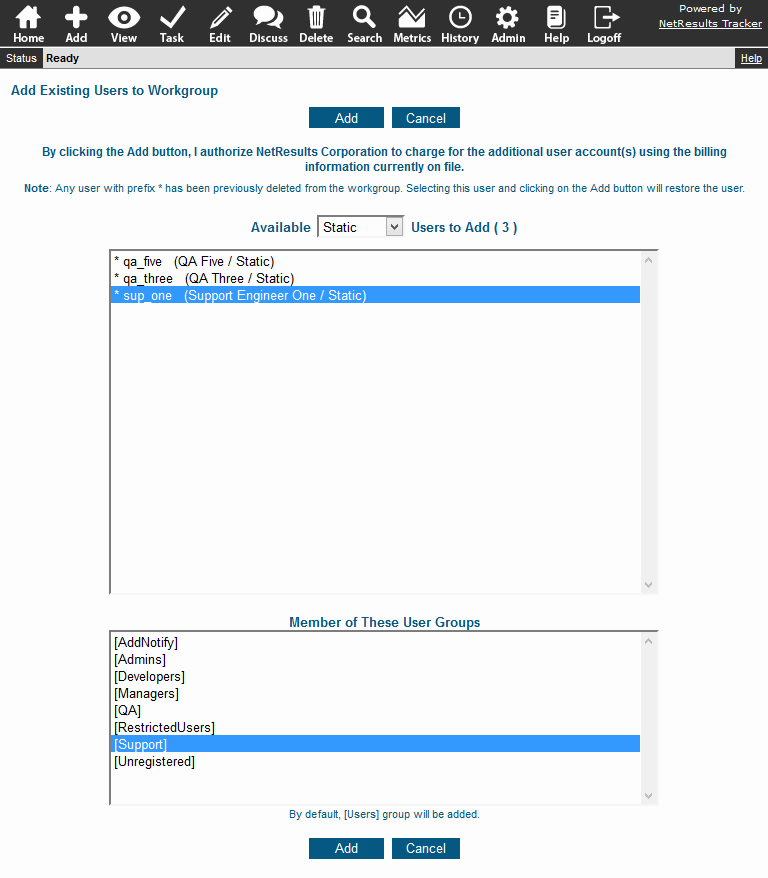
More information can be found in the User Accounts section of the Online Help Guide.
Streamline what your end users see in Tracker.
What end users see when they first login to Tracker can help keep them focused on what's important. These tips will help you guide them to do their part in your process as effectively as possible.
Up to 3 reports can be displayed on the Home Page. However, customers or other external users using the system to submit requests or perform a specific action can benefit from seeing a single report that shows only what needs their attention.
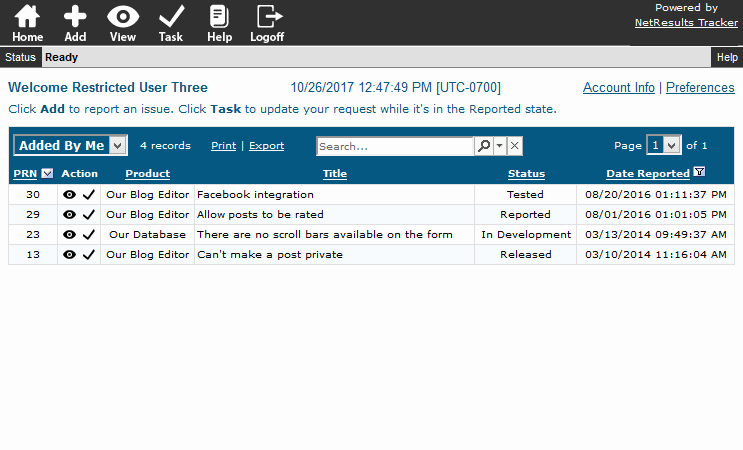
You can still give them access to additional reports. The users can click on the name of the report to see all of the reports you've made available to them.
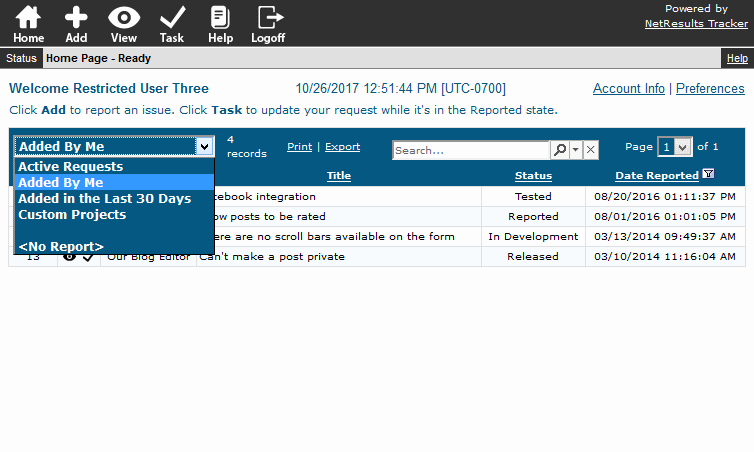
It's also useful to keep the number of columns to a reasonable number such as 5 or 6. To see the full details of a request, the user can click on the View icon next to the request. This blog post explains how to set the fields displayed in a report.
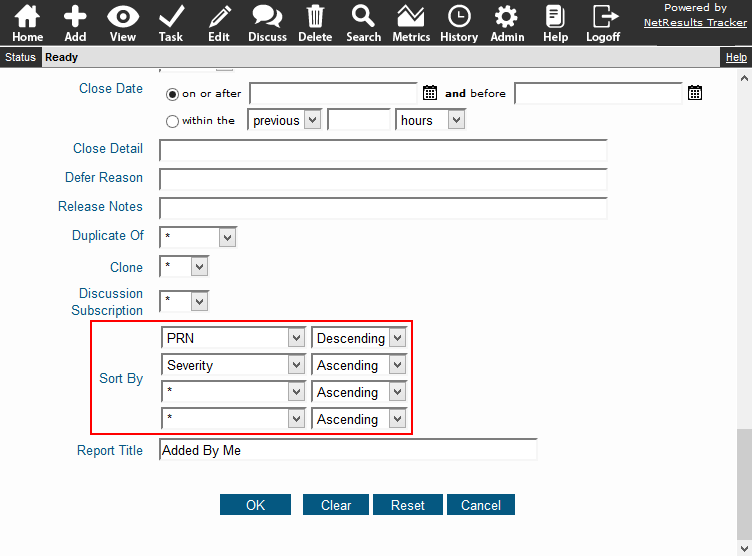
Just show the first 10 records to keep the view uncluttered. Having good sort options will ensure the most important items are displayed at the top.
To set the Maximum Records Per Page option:

To set the sort options in a report:
More tips for optimizing the end user experience can be found in this post.
Choose date and time and other options applied to notifications sent to unregistered users.
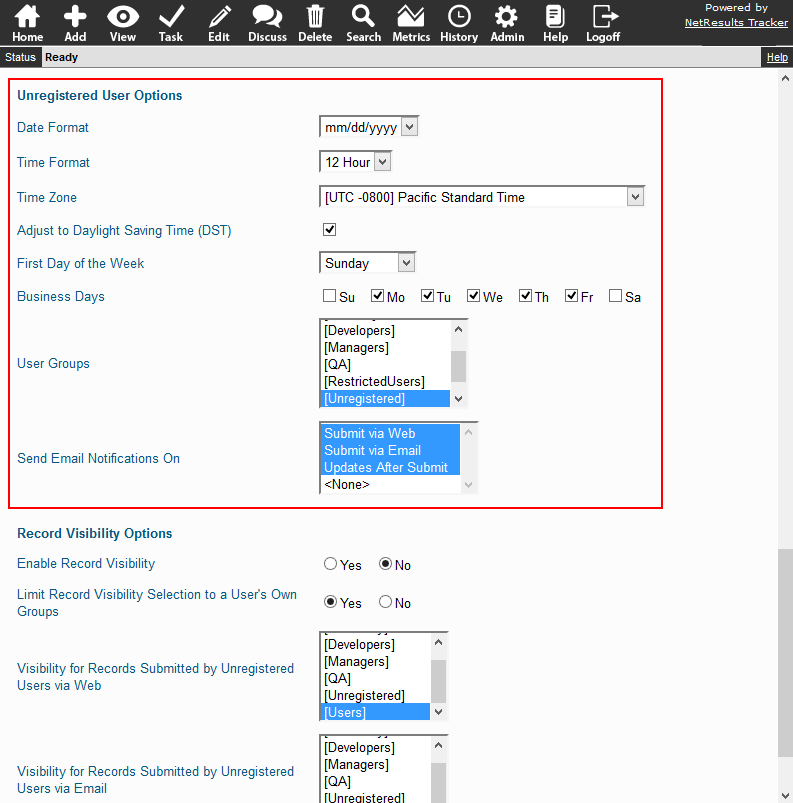
The date and time options are applied to date information in the email content sent to these users.
User Groups determines which pieces of the email content will be included.
There's also an option to select whether these users will be notified when adding a request and/or actions performed later in the workflow.
This Knowledge Base Article explains how to configure these options.