Send a record back to a previous workflow step and automatically assign it to the person who worked on it at that point.

In a QA step or user acceptance testing, a record may need to be sent back for re-work. Tracker has workflow options that will automatically route the record back to the user who worked on it.
Transition Options

Send Back to a State

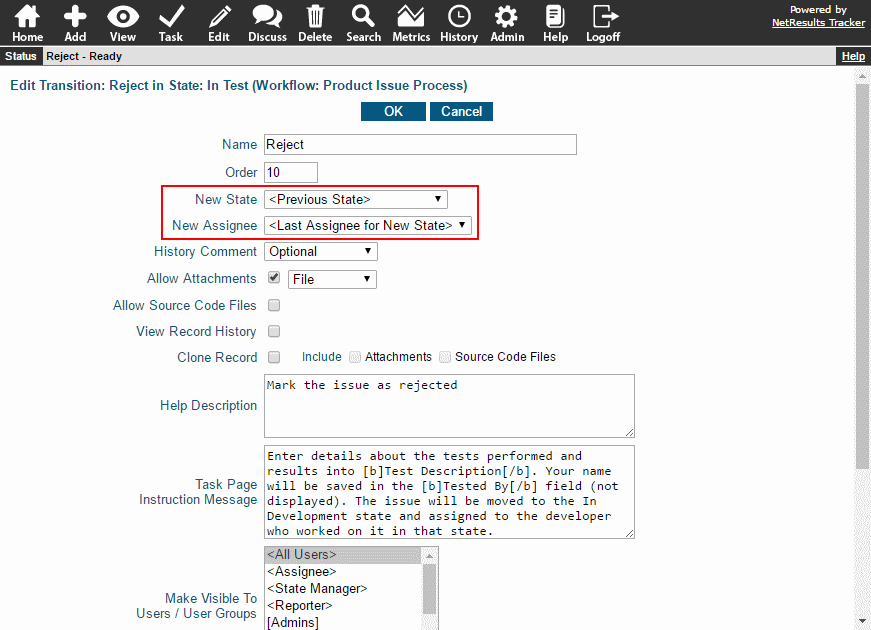
To send a record back to a state, set the transition with the New State option set to "<Previous State>". Tracker will use the record's history to find the appropriate state. Or, you can select a specific state name instead if the state you want isn't the last one.

Send Back to a User

Send a record back to the user who worked on it using the "<Last Assignee for New State>" option in New Assignee. There's also an option called "<Last Assignee for State X>". This is useful in cases where the record will be routed to a state it hasn't previously been through. For example, a fix fails testing and gets sent to a state called "Rejected", but you want to assign it to the user who fixed it while it was "In Development". Select Rejected for New State. Then, for New Assignee, pick "<Last Assignee for State X>" and choose "In Development" for X.

For more detail about workflow routing options, check out the Transition Properties section of the Online Help Guide.

Have a conversation related to a record while it moves through the workflow.

Discussion Thread

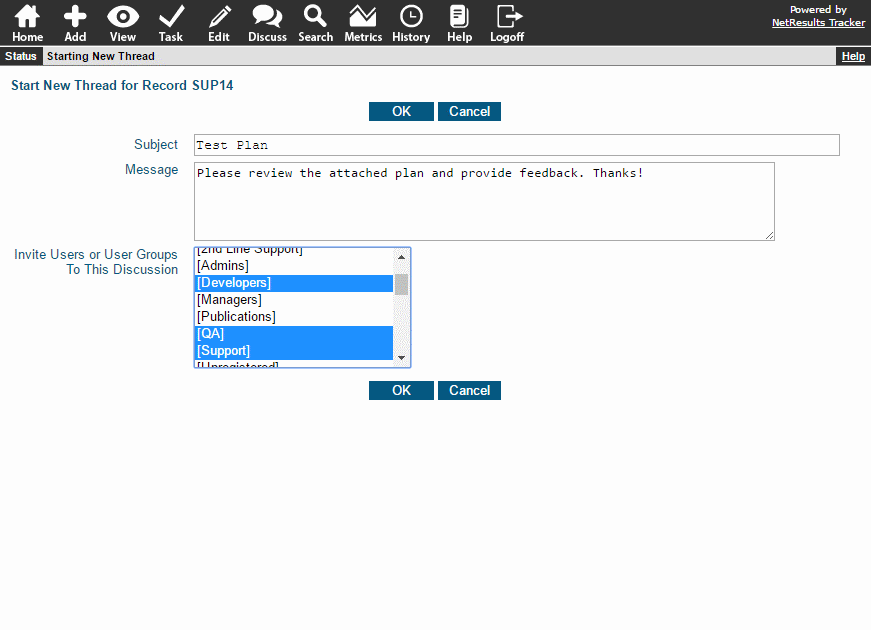
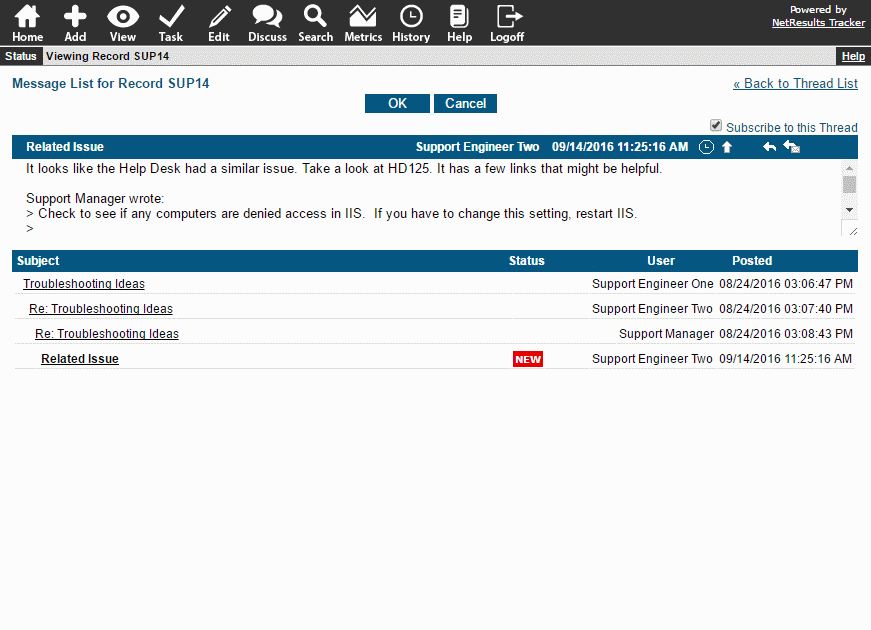
Sometimes an issue related to a record needs to be discussed by various users. For example, a Support or Help Desk Engineer is troubleshooting an issue and needs some more ideas. Or, a prototype, specification or test plan needs some feedback. There's no need to set up a meeting that requires everyone to be at the same place at the same time. Instead, start a discussion thread and invite users and/or groups to participate.

Start a Discussion

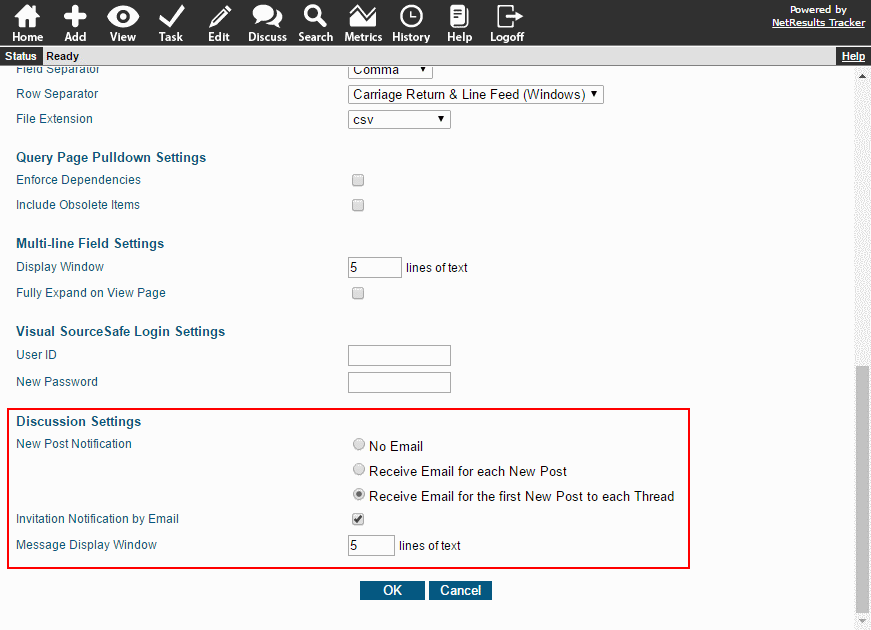
Email notifications will let each user know their input is needed and send updates. Users can choose whether they get notified for each new post or just the first one for each thread.

Discussion Preferences

For more information, check out the Discussion section of the Online Help Guide.
Set up a field where an email address can be entered to be notified as a record is processed.

Email Address in a Record

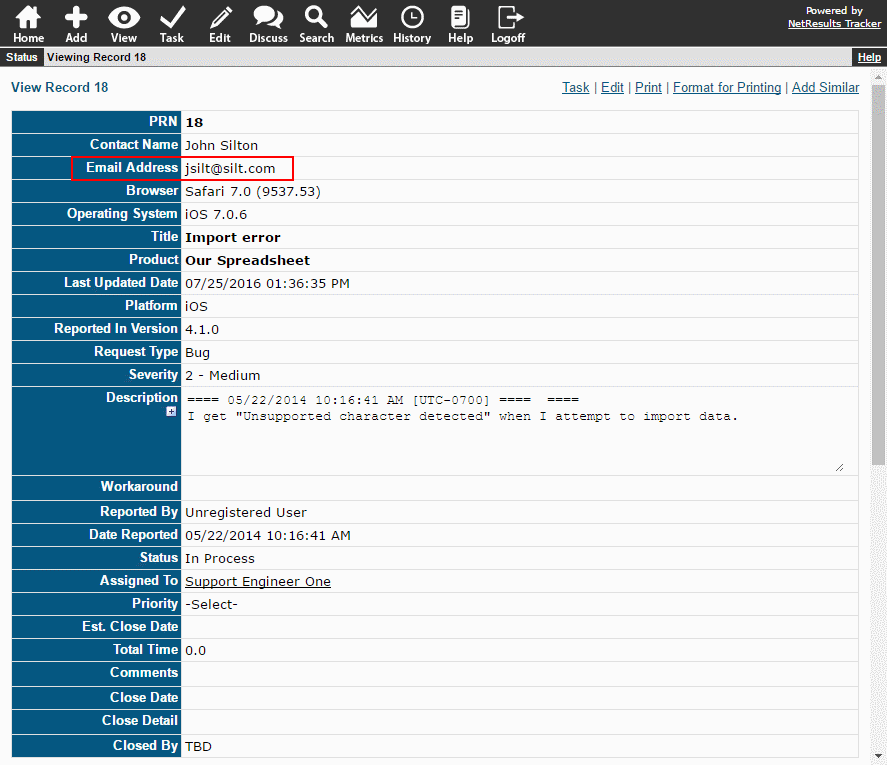
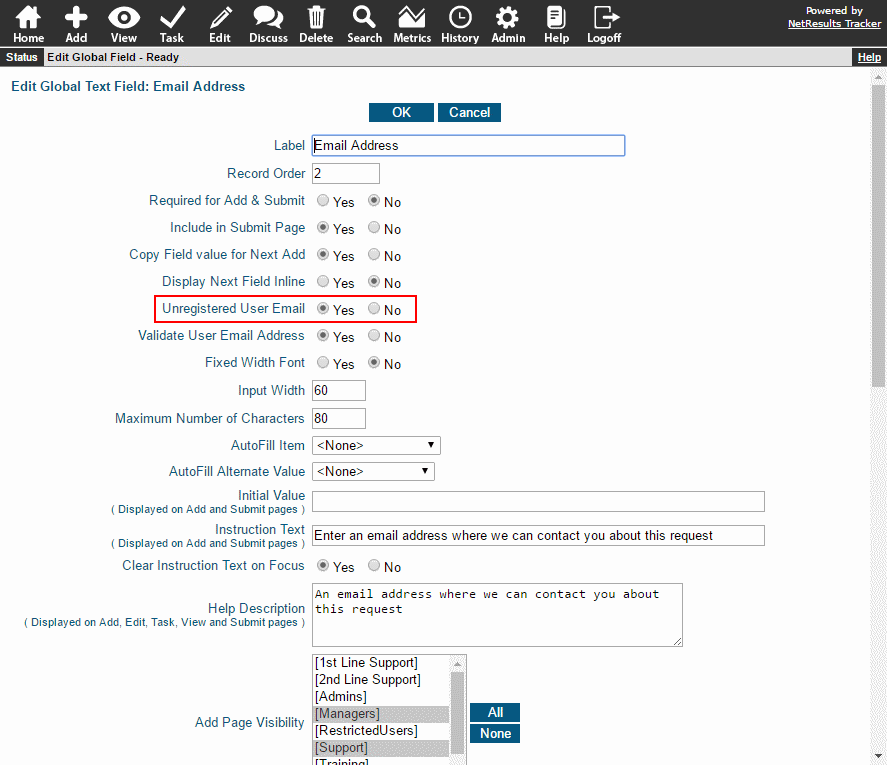
Sometimes someone other than the reporter wants to be kept up to date about an issue or enhancement. Tracker has an "Unregistered Email Address" field that can be used for saving an email address within a record.

Email Address Field

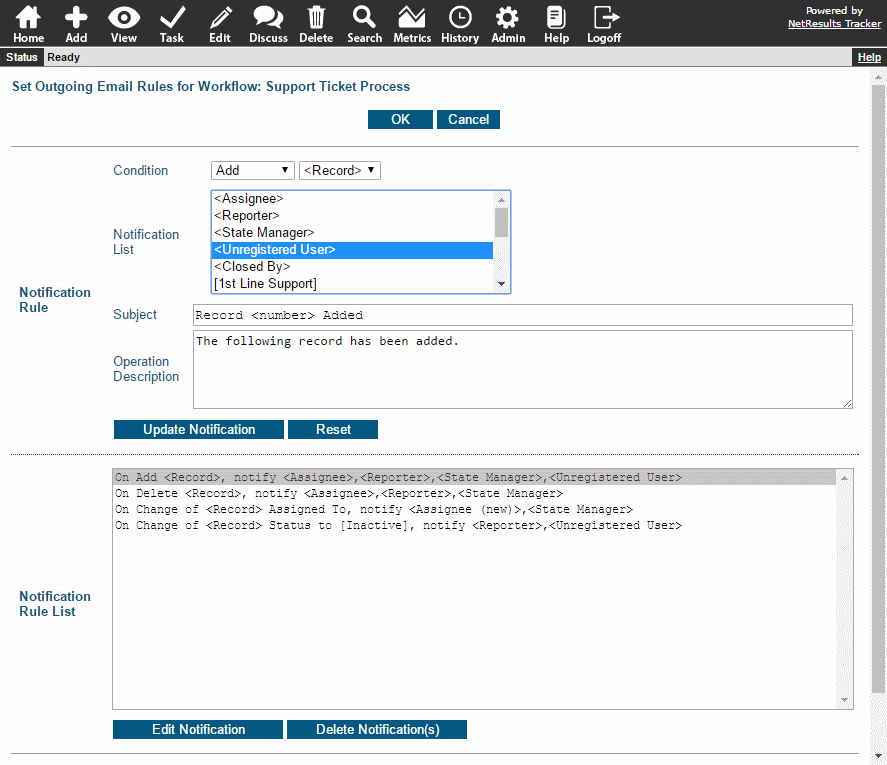
Email notification rules can be set to notify this email address by selecting <Unregistered User>.

Email Rules

For step-by-step instructions for setting this up, check out the Per-Record Email Address Knowledge Base Article.

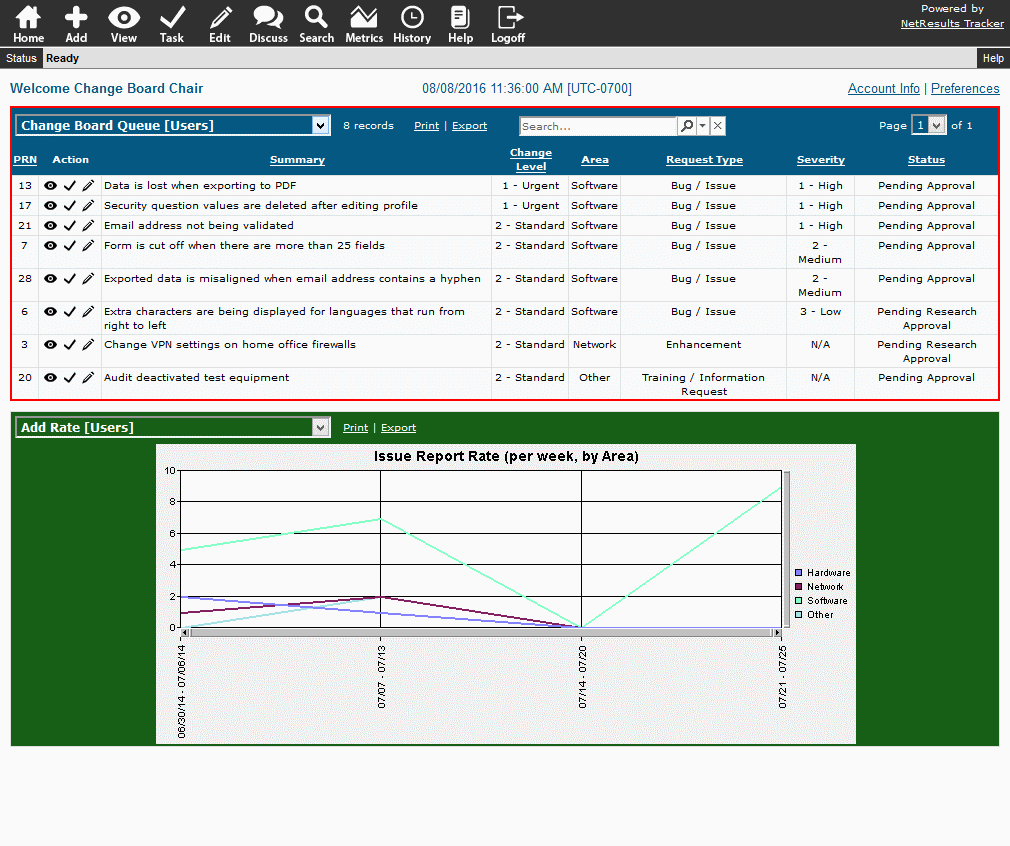
A Tracker report can organize the content for a variety of meetings: Change Board Review, Product Enhancement Review, Help Desk / Customer Support Triage, Task Force, Daily Scrum.

Meeting Agenda

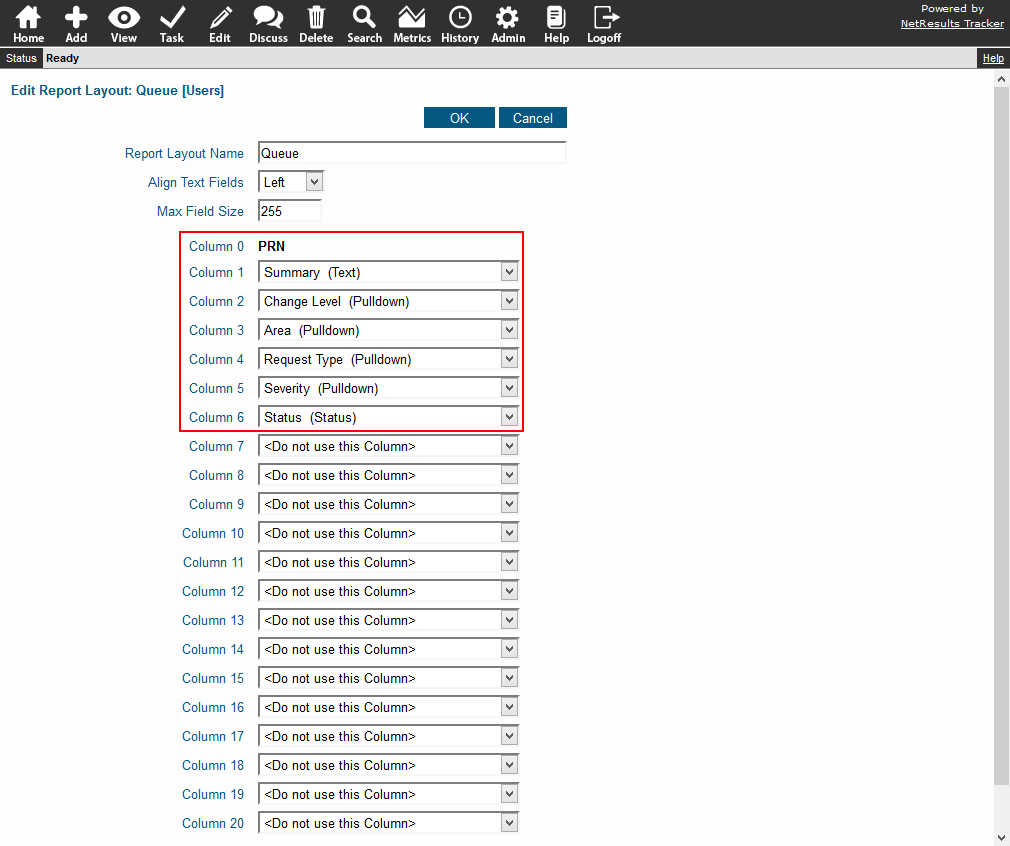
Create a Report Layout

Save a report layout that shows the fields you want to see in the report. For example, the Title/Summary, Priority and any other key information that should be available for quick reference. Select "Group" as the Type and select the group of users participating in the meeting so everyone participating in the meeting can access the information. Details for saving a report layout can be found in the Using Saved Queries and Reports Help section.

Report Layout

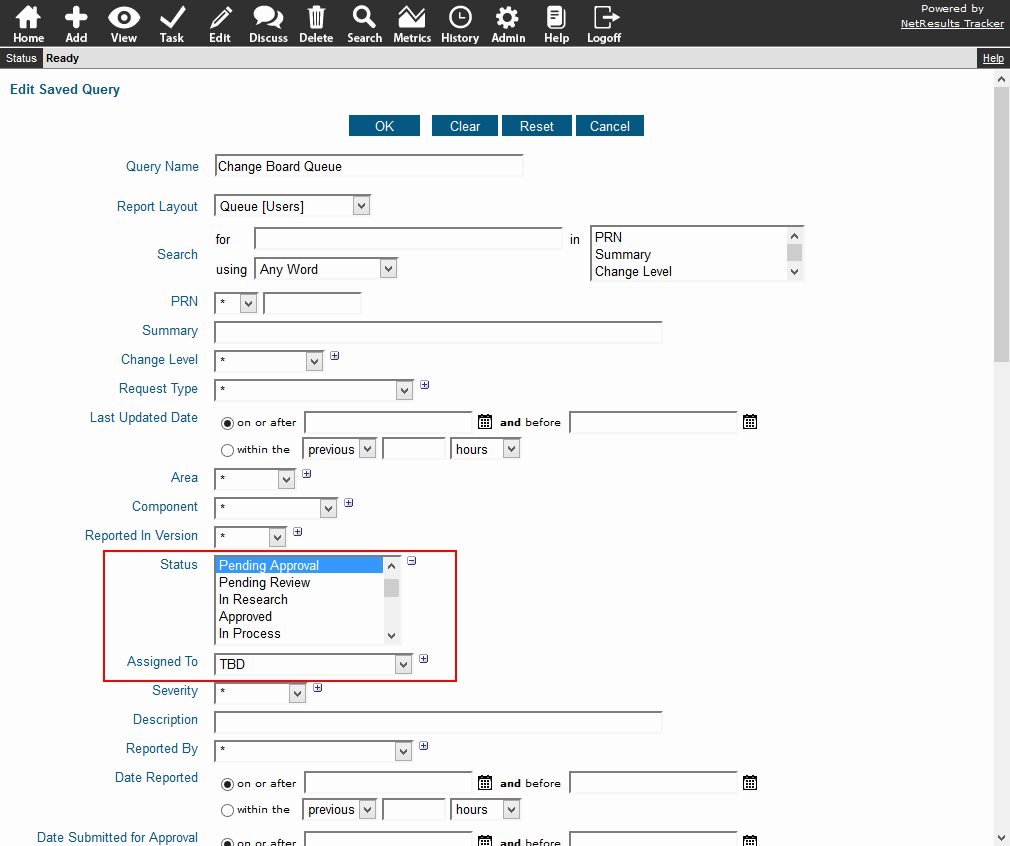
Create a Saved Query

You might already have a report (e.g. Change Board Queue, Help Desk / Support Queue, Product Enhancement List). If not, set up a saved query that will return the records to be discussed in the meeting. Steps for saving a report are in the Using Saved Queries and Reports section. You'll want to make this a "Group" report, too.

Query Criteria

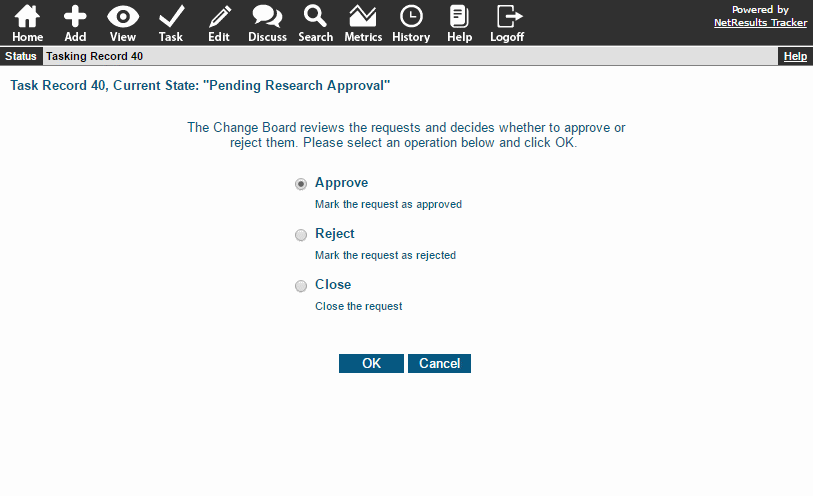
Create transitions such that a user or group can approve or reject a request.

Approval Step

Requests can be assigned to a single user or can be routed based on the value of a field (e.g. requests are routed to the manager of the appropriate department for approval). Or, requests can be assigned to a group.

The approval step can be configured to capture who approved the request and the date and time the approval was given for use in reports.

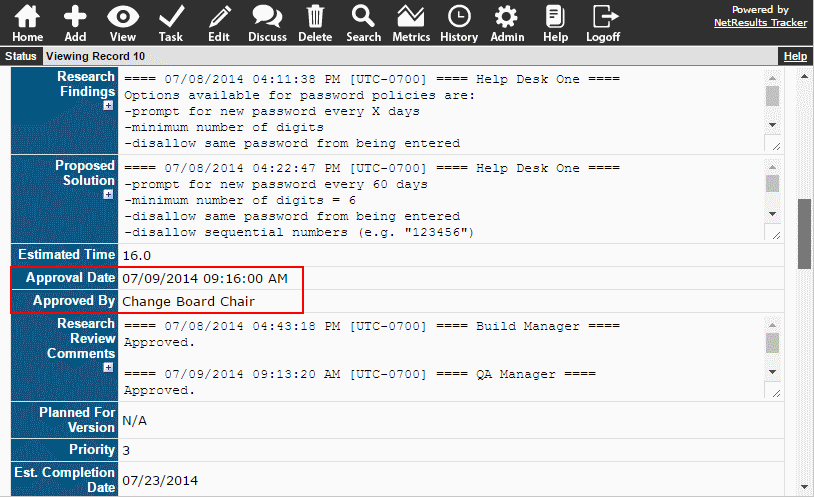
Approval Fields

Get detailed steps in the Approval Step Knowledge Base article.