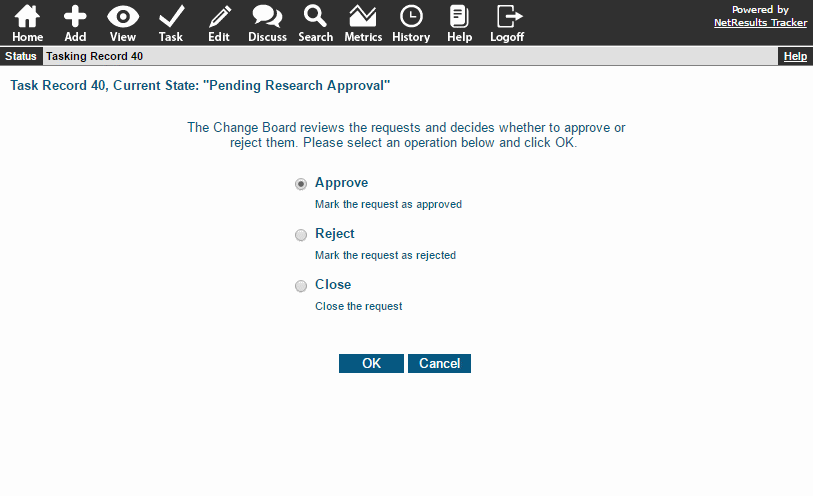
Create transitions such that a user or group can approve or reject a request.

Approval Step

Requests can be assigned to a single user or can be routed based on the value of a field (e.g. requests are routed to the manager of the appropriate department for approval). Or, requests can be assigned to a group.

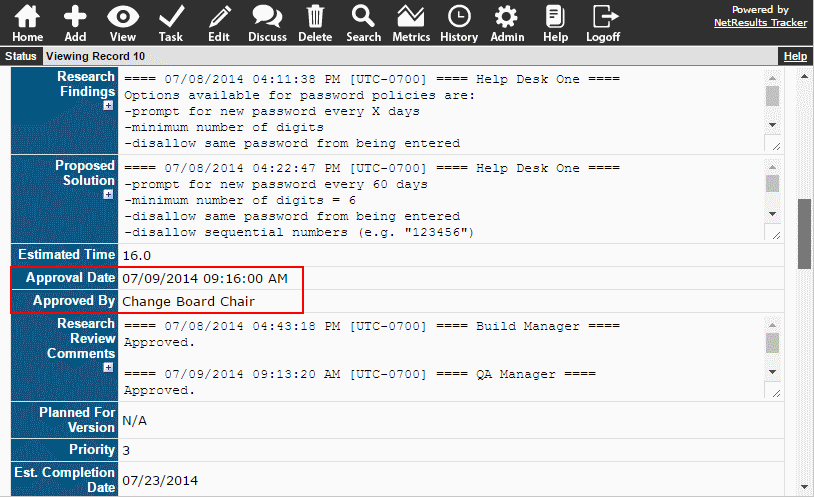
The approval step can be configured to capture who approved the request and the date and time the approval was given for use in reports.

Approval Fields

Get detailed steps in the Approval Step Knowledge Base article.

3 things you might not know about Pulldown fields:

They can be configured as a "Search" style Pulldown

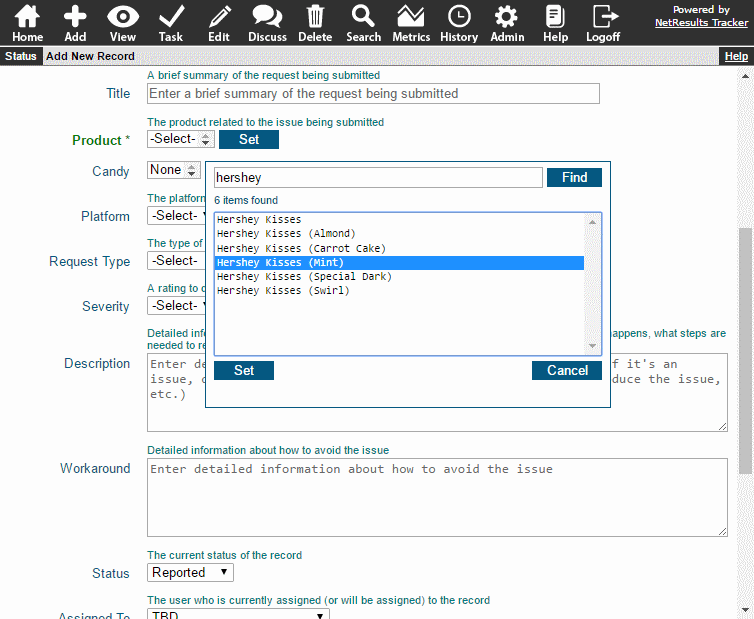
A Pulldown field with 100+ option menu items configured can benefit from being set to use the Search style because it can be searched using a key word(s) to quickly locate the desired value.

Search Pulldown

To configure a Pulldown field to use the Search style:

  1. Login as Admin and click on the Admin icon.
  2. Click on the Fields link.
  3. Click on the Edit button to the left of a Pulldown field.
  4. Set Display Style to "Search" and click OK.

Obsolete values can be hidden

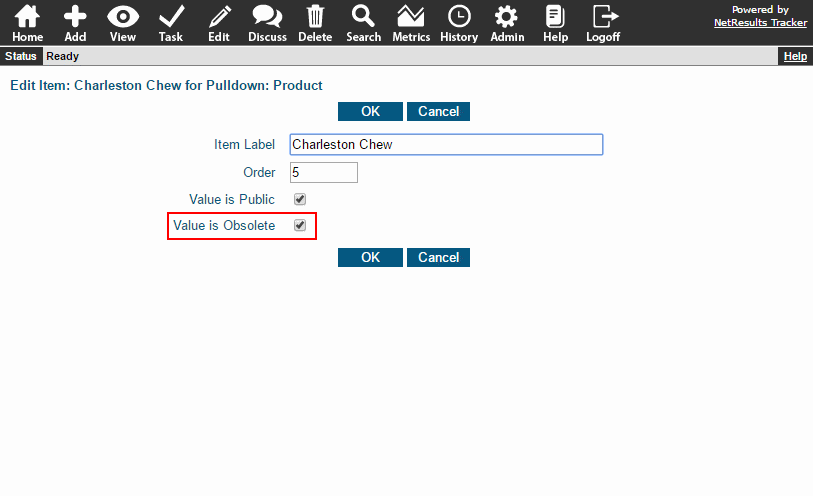
If you're a long-time Tracker user (Thanks! You rock!), there may be Pulldown values that are no longer used. A Pulldown menu item can be tagged as obsolete so the value stays in existing records, but doesn't show up as an option when new records are added to the system. Because these values are just marked obsolete, they're still in the system and can be included in report criteria, if desired.

For more details, please review the Maintaining Option Menu Items section of the Admin Help Guide.

Obsolete Item

Option menu items can be imported into a Pulldown field

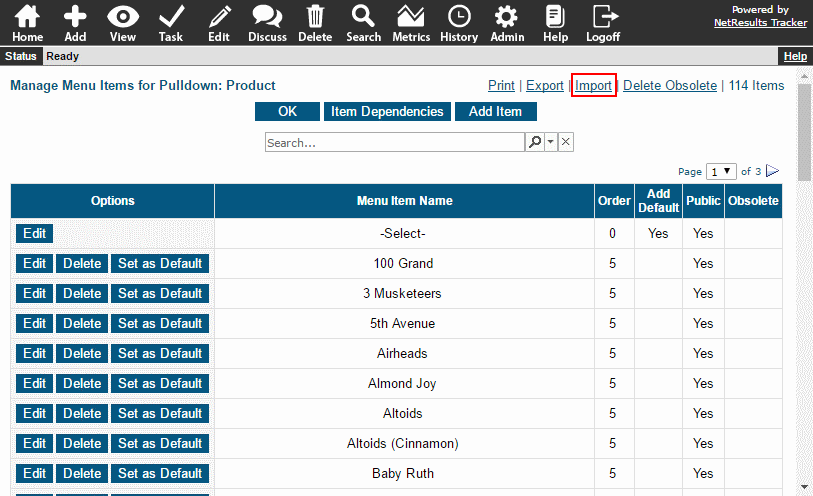
A long list of items can be imported into a Pulldown field from an Excel spreadsheet or Access database using the procedure available in the Admin Help Guide.

Pulldown Import

It's easy to copy fields from an existing record as the basis for a new one.

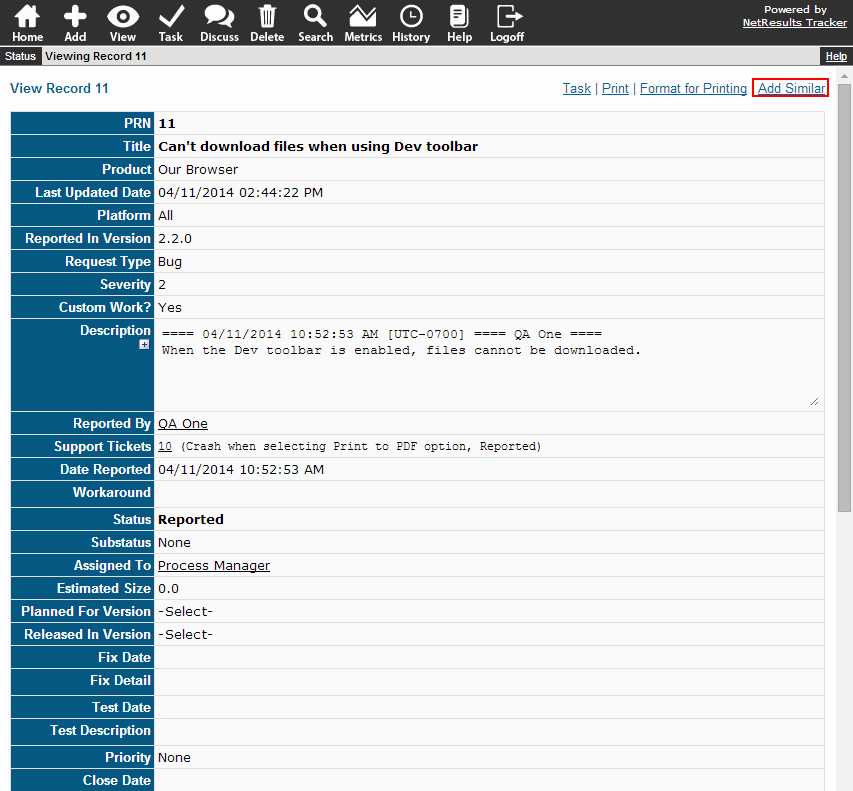
Maybe you have an issue where a lot of the basic information (e.g. product, version, platform) is the same as an issue that's already been added. All you have to do is view the existing record and click on the Add Similar link in the upper right corner. This will copy the information into the fields on the Add Page. Then, you can easily make adjustments, perhaps change the Title and Description, before saving the new record.

Add Similar

Some notes about this option:

  • Fields that aren't visible on the Add Page won't be copied into the new record.
  • Status and Assigned To are special fields so it may not be possible to set these to the same value as the original record.

For more detail, check out the Add Similar information in the Online Help Guide.

Modify a set of records using a single operation.

There are times when you may need to update a large set of records and don't want to update every single one individually. For example, Support Engineer One is on going on vacation and you would like to assign all of his/her tickets to Support Engineer Two. These kinds of changes can be done using the Edit Query Results operation.

Because this operation can make BIG changes to your data, it is strongly recommended that you make a backup of your database before making this change as it cannot be undone.

Run a query that returns the set of records you'd like to change. Let's search for records assigned to Support Engineer One.
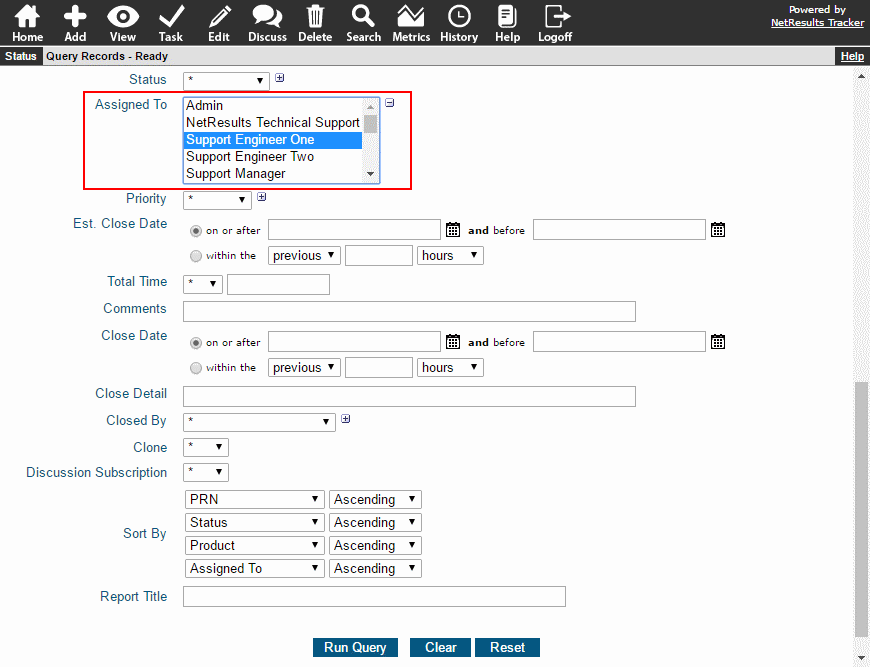
Query Criteria

When the results are displayed, click on the Edit Records link.
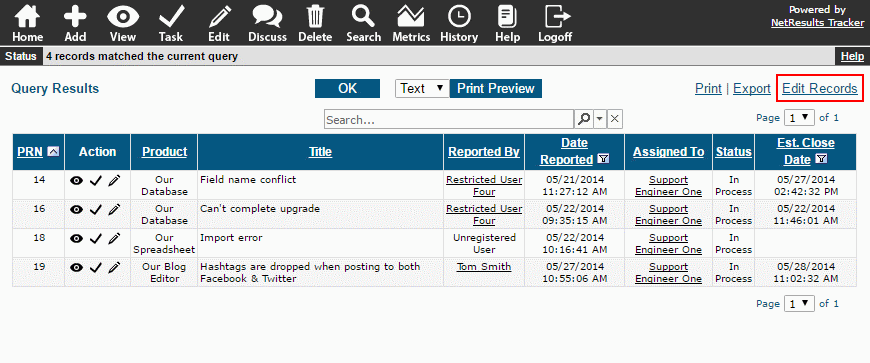
Edit Records Link

Heed the warning about making a backup.
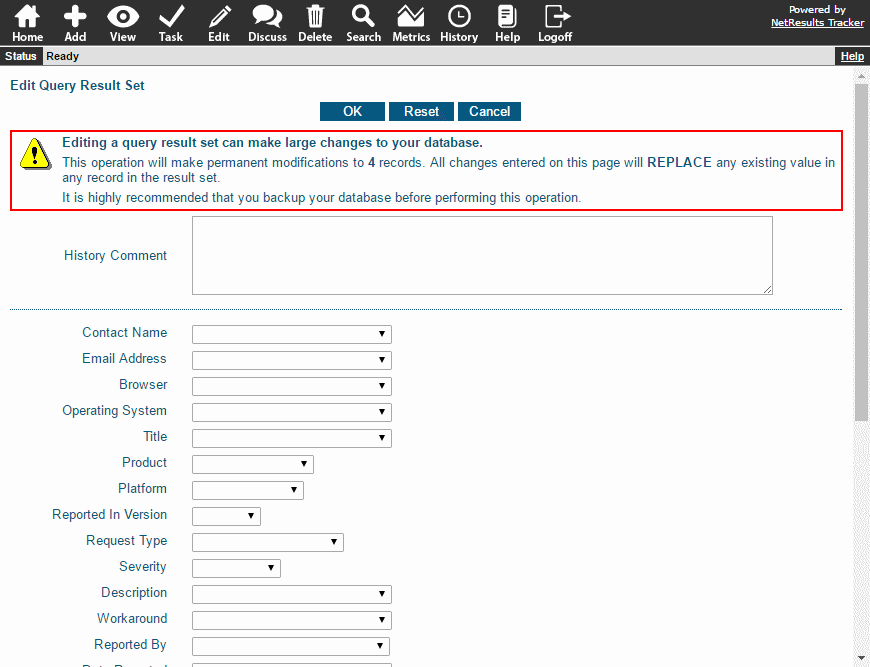
Warning

Make any desired changes. In this example, we are selecting a replacement for the user going on vacation.
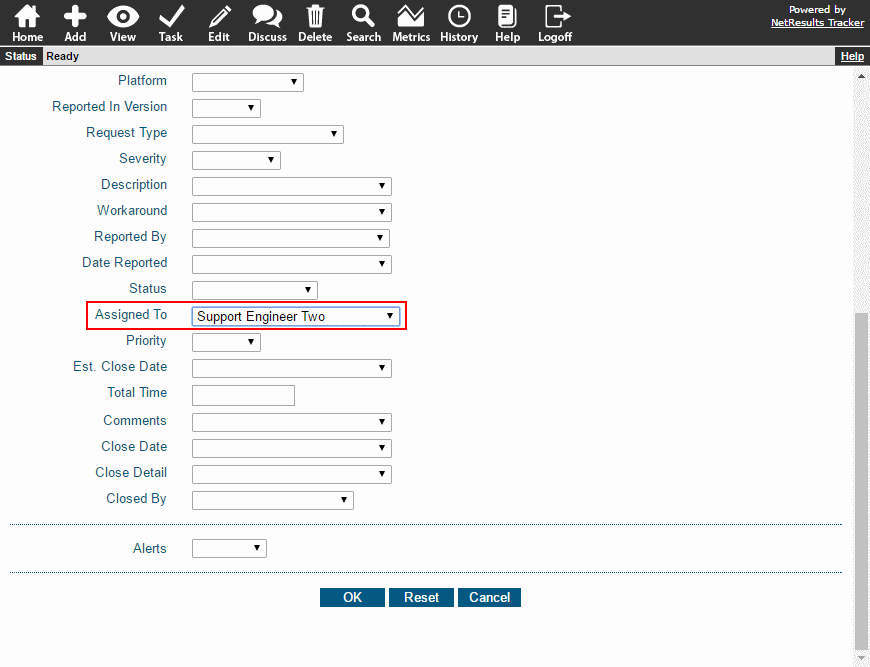
Changes

Check out the video below or this Knowledge Base article for detailed steps to Edit a Set of Query Results.
Use the Alerts feature to ensure issues get a timely response.

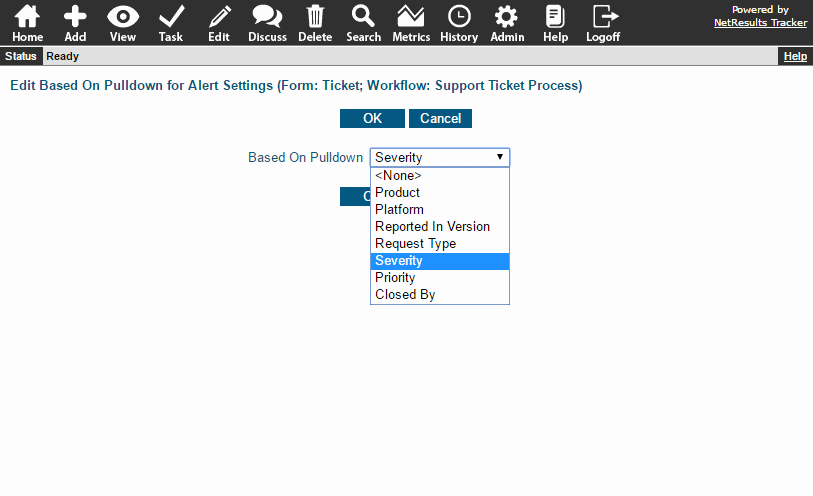
Alert email notifications can be sent as a reminder in advance of a deadline or to a manager / user group to flag a missed deadline. These alerts can be configured based on the value of a pulldown field. You can set different response time levels such as:

  • Severity 1 tickets trigger an alert within 1 hour
  • Severity 2 tickets trigger an alert within 4 hours
  • Severity 3 tickets trigger an alert within 1 day

Based on Alerts

See more in the video below or get detailed steps in this Alerts Knowledge Base article.