Use invisible fields to modify fields behind the scenes. Most of fields available in Tracker can be set as Invisible. Here are some examples.

Set Up Future Dates

Date fields that represent milestones can be set up. For example, let's say an approval kicks off a process with 4 key dates. These can all be set at once based on the approval date.
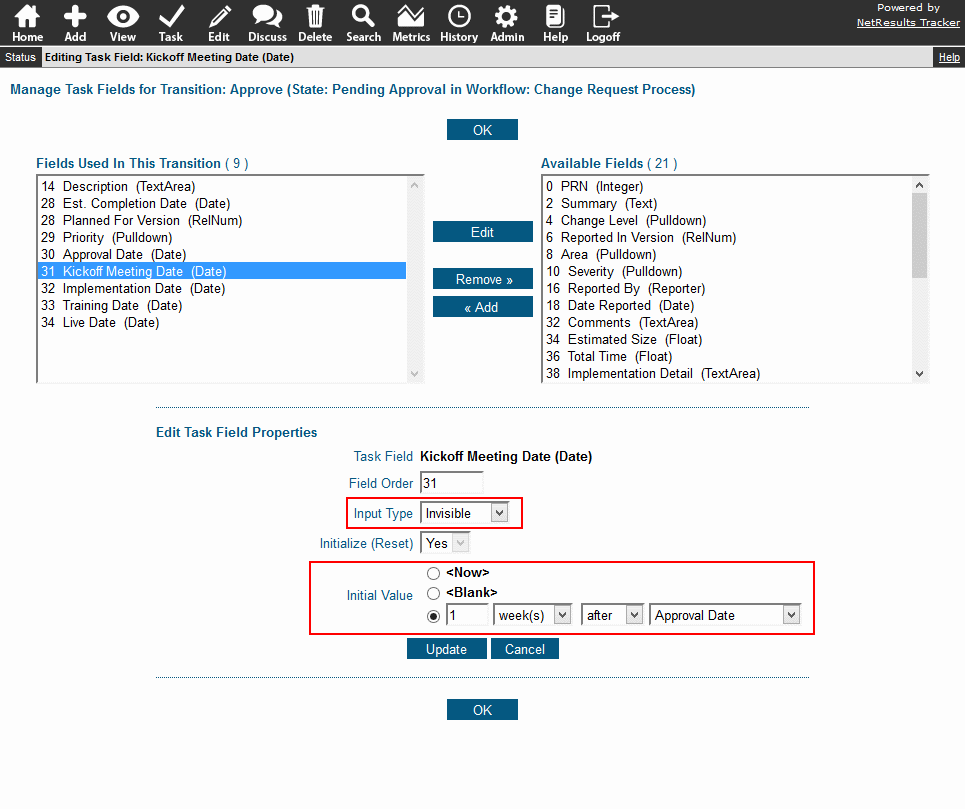
Invisible Date Fields

To set a date field to be filled with a value, but not displayed:

  1. Login as Admin and click on the Admin icon.
  2. Click on the Workflows link.
  3. Locate the States section and click on the Manage link to the right.
  4. Click on the state that contains the transition you wish to modify and click on the Transitions button.
  5. Click on the Task Fields button next to the transition.
  6. In the right column, locate the desired date field, click on it and click on the Add button.
  7. Set Input Type to "Invisible", then set the Initial Value as desired.
  8. Click Update to save the changes.

Save a User Who Performed an Action

User Pulldowns are fields that can be configured to show members of a group as values. They can be used to save a user who performed an action to be included in reports. For example, you can save the user who fixed an issue. This data can be used to generate a report such as the number of issues fixed last month by each developer.
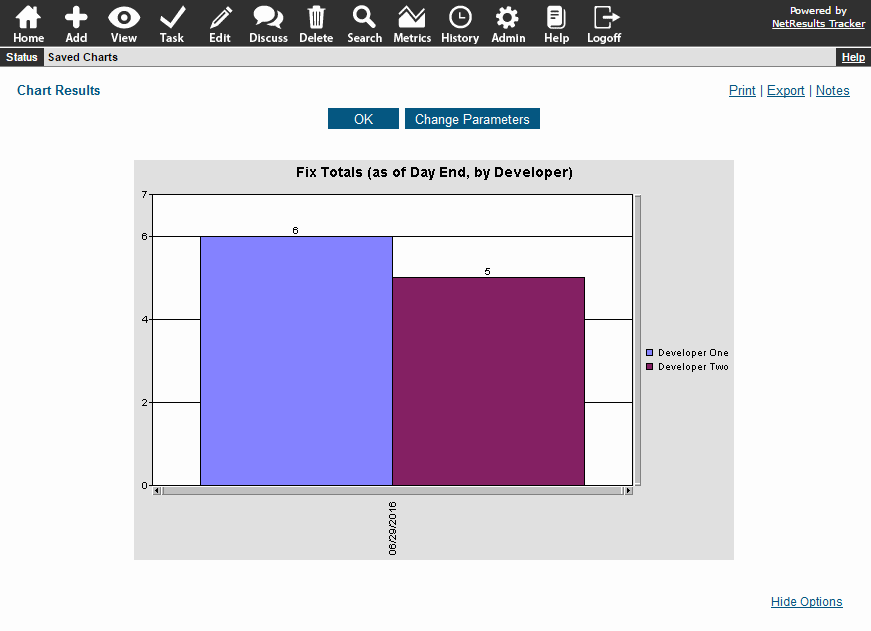
Fixed By Chart

Check out the User Pulldown Knowledge Base article for details on how to create this type of field.

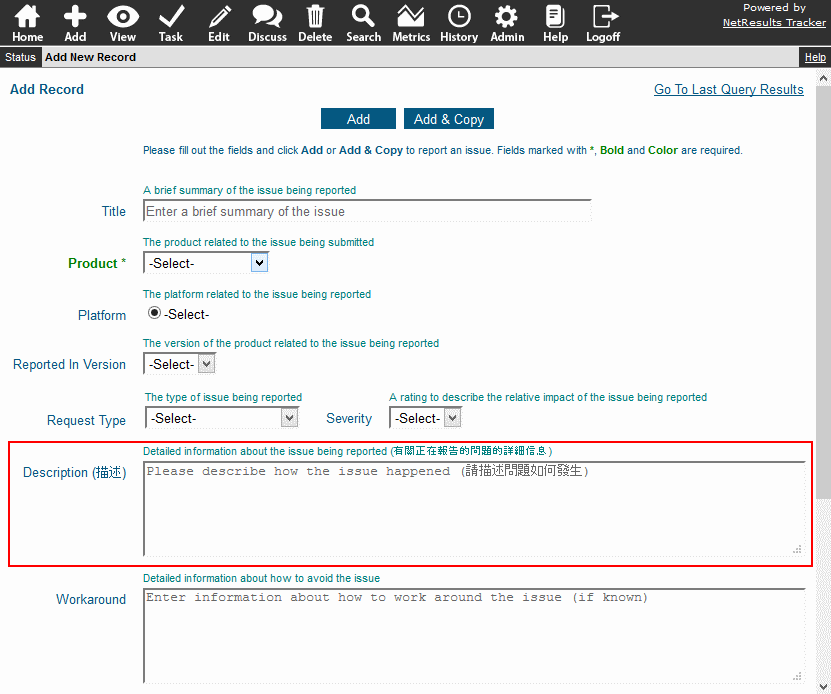
Configure fields, reports and other text in the system to support multiple languages.

Tracker can support any language, including those with double-byte characters such as Arabic, Chinese, Greek, and others. You can add text from multiple languages throughout the system to assist users in their preferred language.

Fields

A field's name can have text in any language. There's also a Help Description, customizable text that can be displayed near a field to provide more information about how to use the field.

Field with Text in Multiple Languages

To edit a field name or description:

  1. Login as Admin and click on the Admin icon.
  2. Click on the Fields link.
  3. Click on the Edit button to the left of the field you wish to modify.
  4. Make changes to the Label and/or Help Description and click OK to save them.

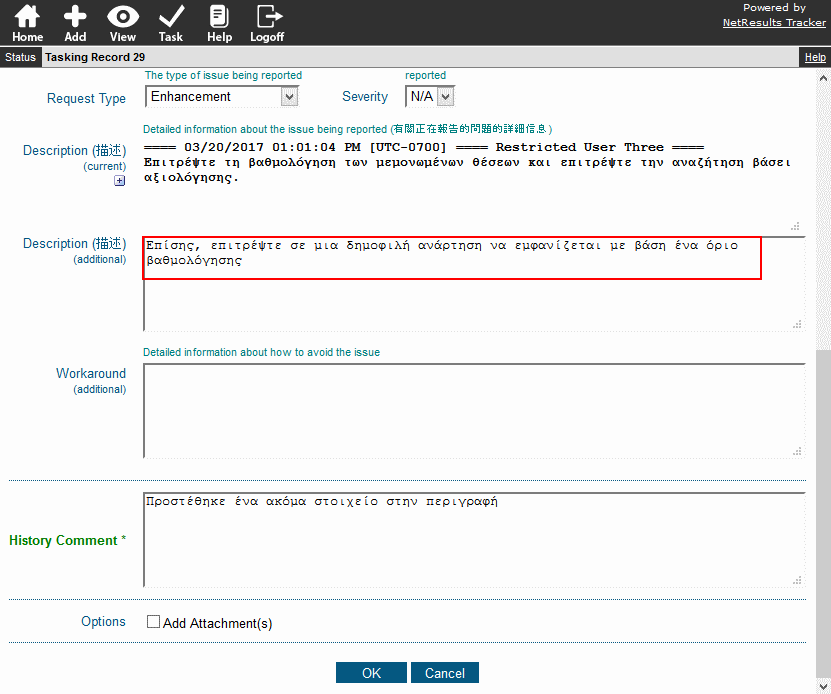
Users can also enter text from any language into the text fields you've added to your forms.

Enter Any Language

Reports

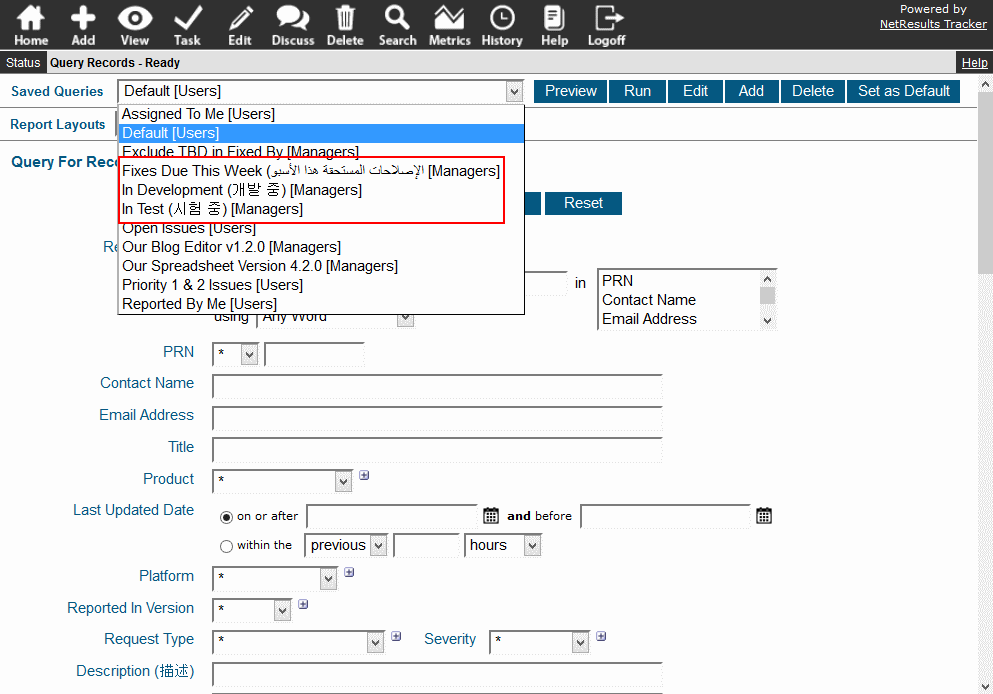
Report names can be in any language. You can create reports for groups or users can create their own personal reports. More information on adding or editing reports can be found in the Using Saved Queries & Reports or Metrics sections of the Online Help Guide.

Multi-Language Report Names

Workflow Options

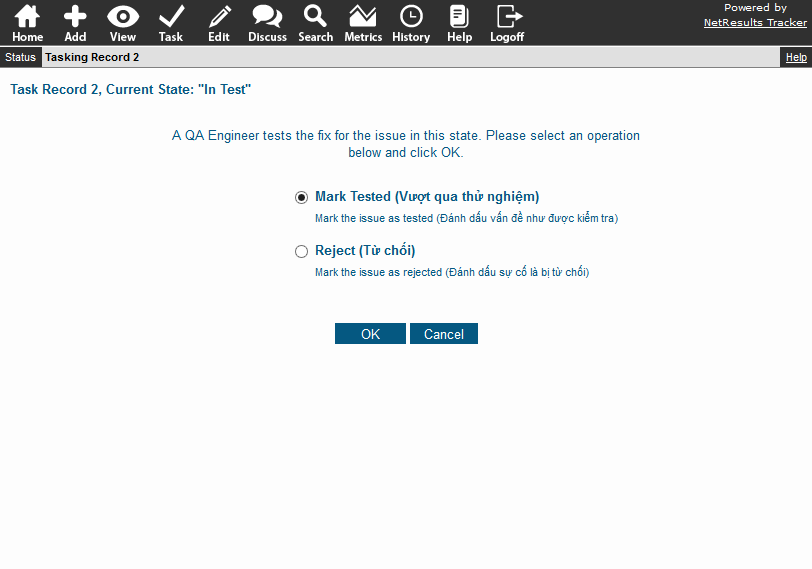
The names of workflow transitions and their descriptions can also be customized to use any language.

Multi-Language Transitions

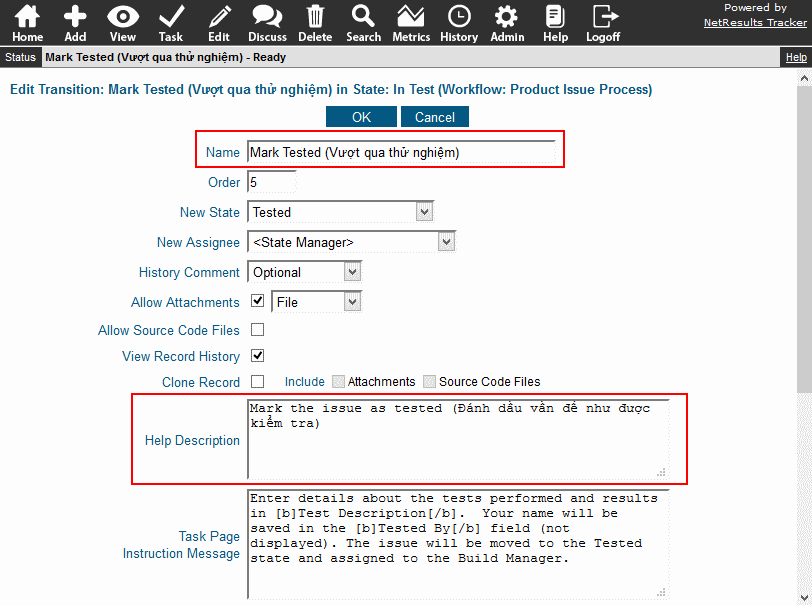
To customize a transition name and its Help Description:

  1. Login as Admin and click on the Admin icon.
  2. Click on the Workflows link.
  3. Locate the States section and click on the Manage link to the right.
  4. Click on the state that has the transition you want to change, then click on the Transitions button.
  5. Click on the Edit button to the left of the transition.
  6. Make any changes to the Name, Help Description or Instruction Message.
  7. Click OK.

Multiple Languages in Transition Options

Attach screenshots, spreadsheets or other files and links when creating a Tracker record.

Add Page

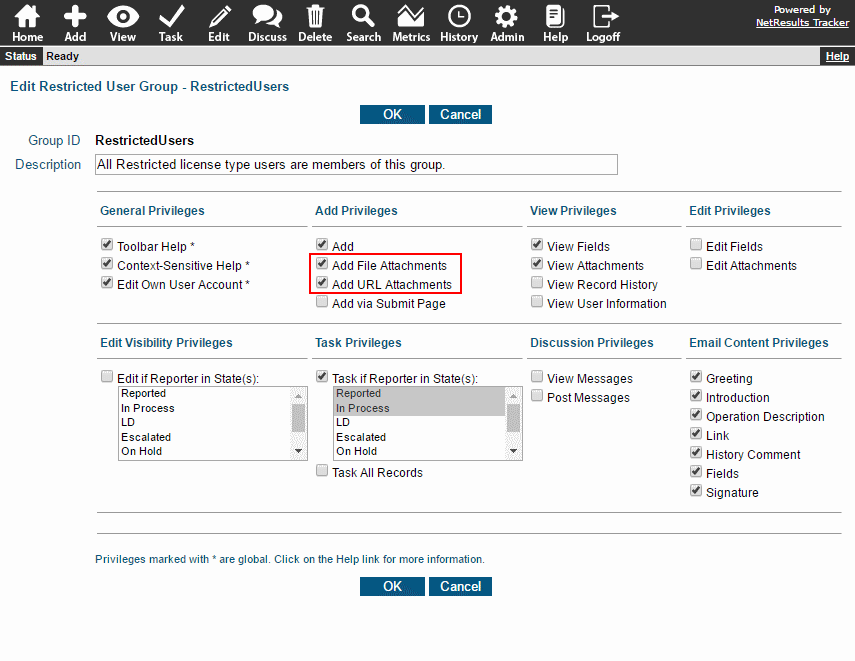
To allow attachments on the Add Page, enable the Add File Attachments and/or Add URL Attachments user group privileges.

Add Attachment Privileges

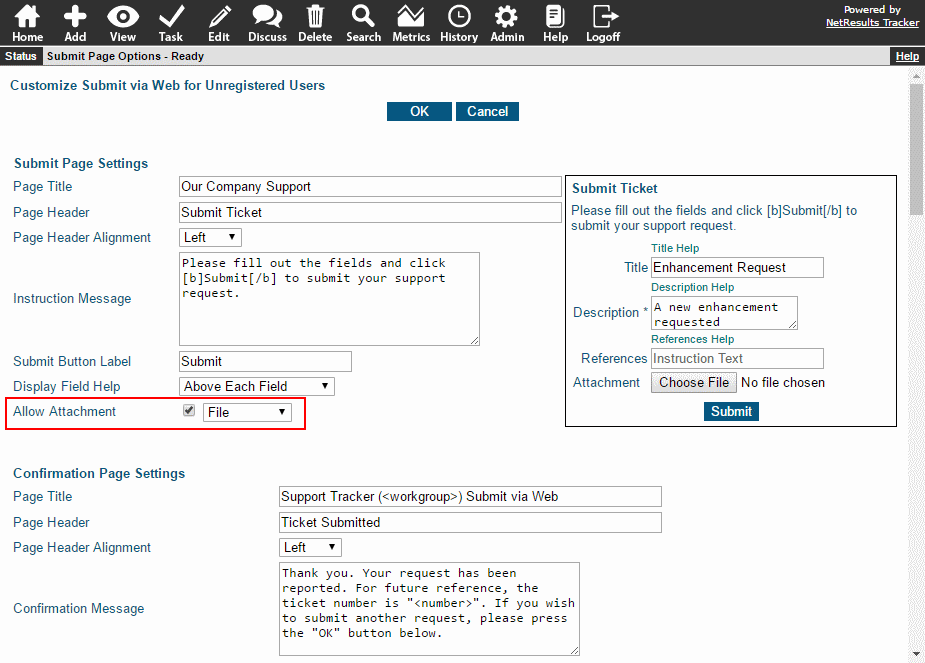
Attachments can be allowed on the Submit Page by enabling the option available in Submit Page Options.

Submit Page Attachment Option

For more information, check out the Record Attachments of the Online Help Guide.

Arrange multiple fields on a single line to make your form more compact.

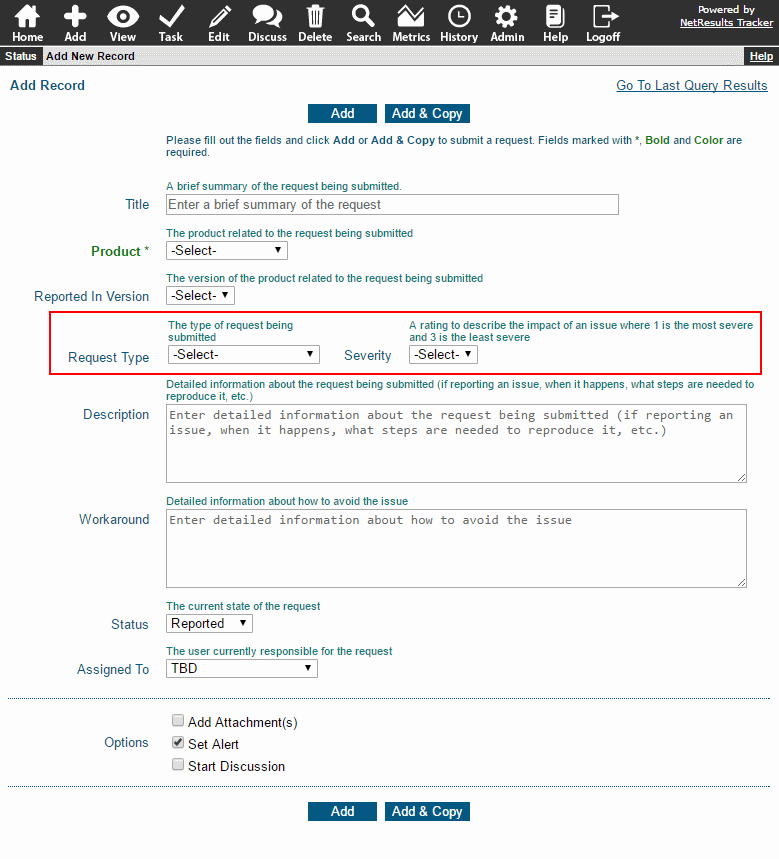
Multiple Fields on a Line

To display multiple fields on a line:

  1. Login as Admin and click on the Admin icon.
  2. Click on the Fields link.
  3. Click on the Edit button to the left of the first field that should appear on the line.
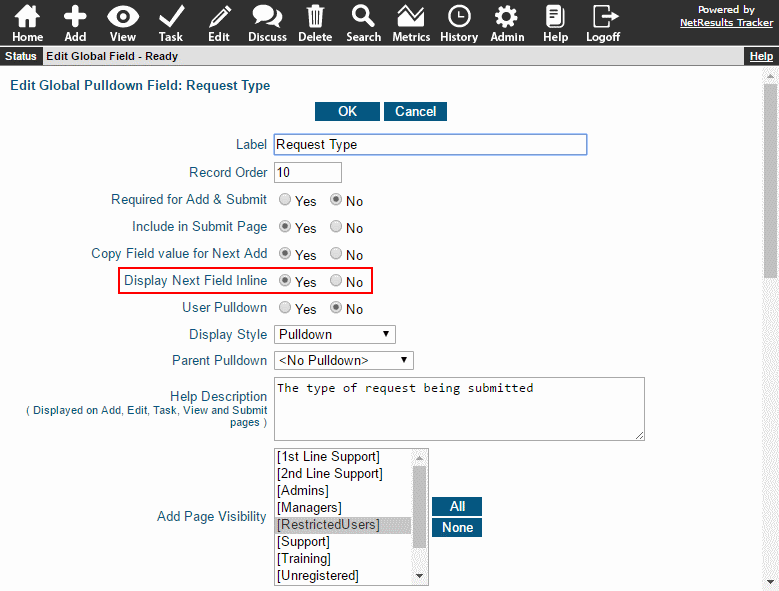
  4. Set the option Display Next Field Inline to "Yes".
  5. Click OK to save the change.

Multiple Fields on a Line Option

For more information, please review the Field Types & Properties section on the Online Help Guide.

Use these strategies to gather information from and communicate updates to your end users more efficiently.

Collect Key Information Automatically

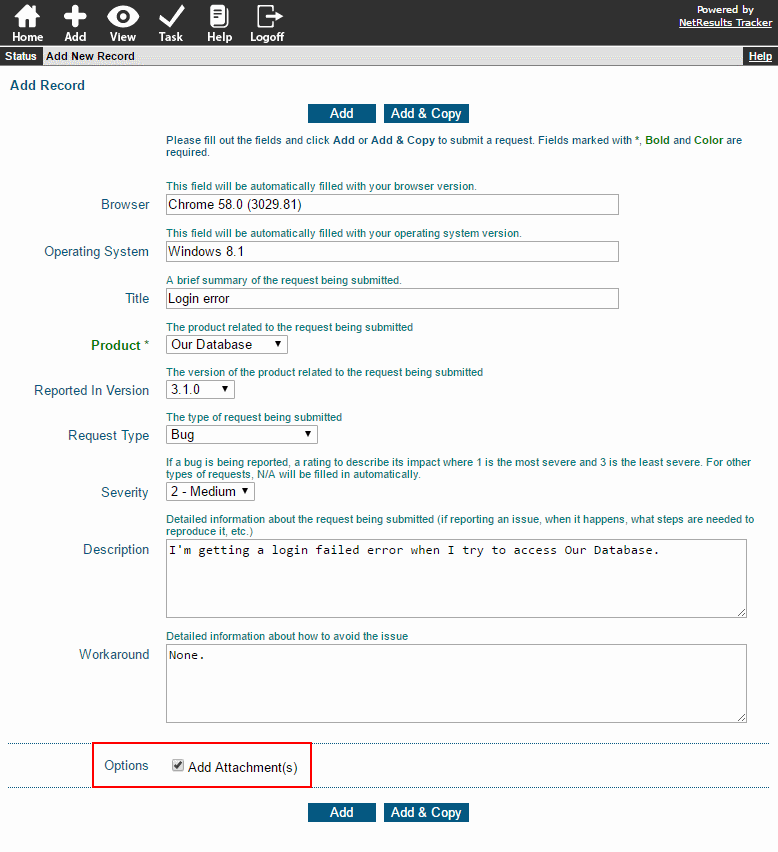
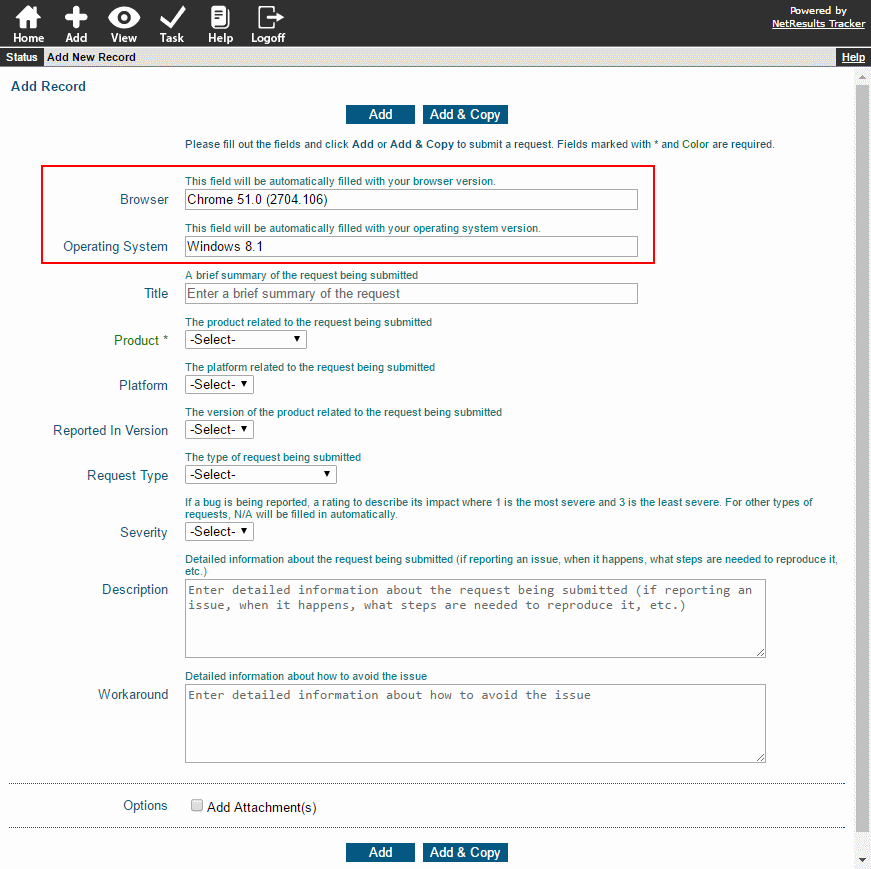
The Auto-Fill feature can get browser version, operating system and other pieces of information from the end user automatically on the Add and Submit pages. This blog post has the details.

AutoFill on Add Form

Allow Reporter to Add More Later

You can configure an Update transition to allow the reporter to add more detail or attach a file or screenshot after submitting their request. Check out this Knowledge Base article for the steps to set this up.

Update Transition

Send Automatic Status Updates

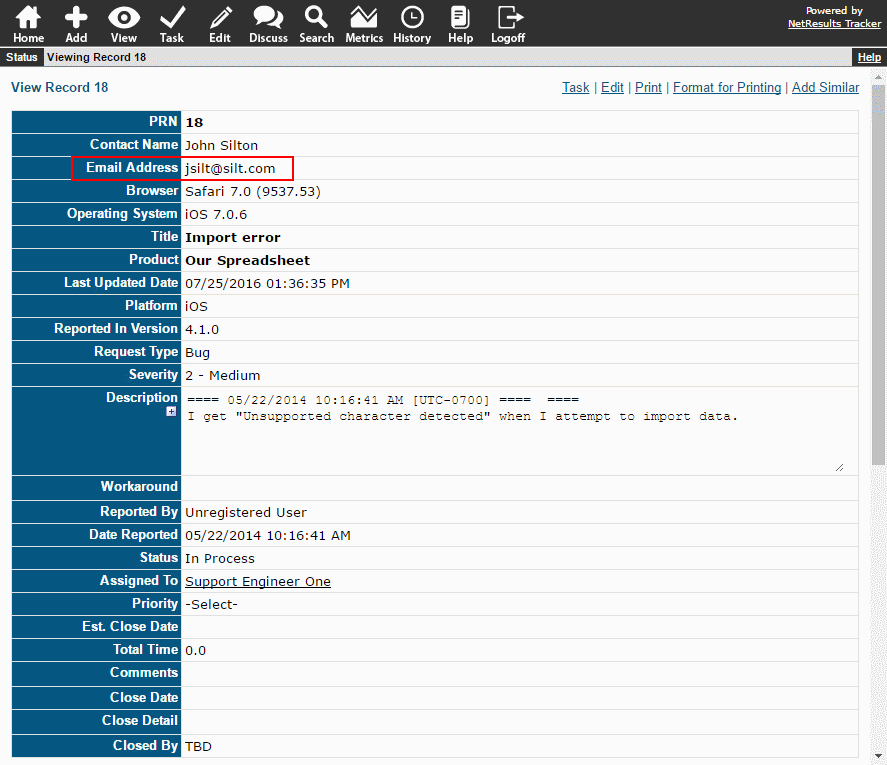
Users who report issues or request enhancements can get email notifications to keep them up to date on the status of their request. Unregistered users can be notified by adding a per-record email address. Users with an account can be notified by including "Reporter" in email rules.

Per-Record Email Address