Use these strategies to gather information from and communicate updates to your end users more efficiently.

Collect Key Information Automatically

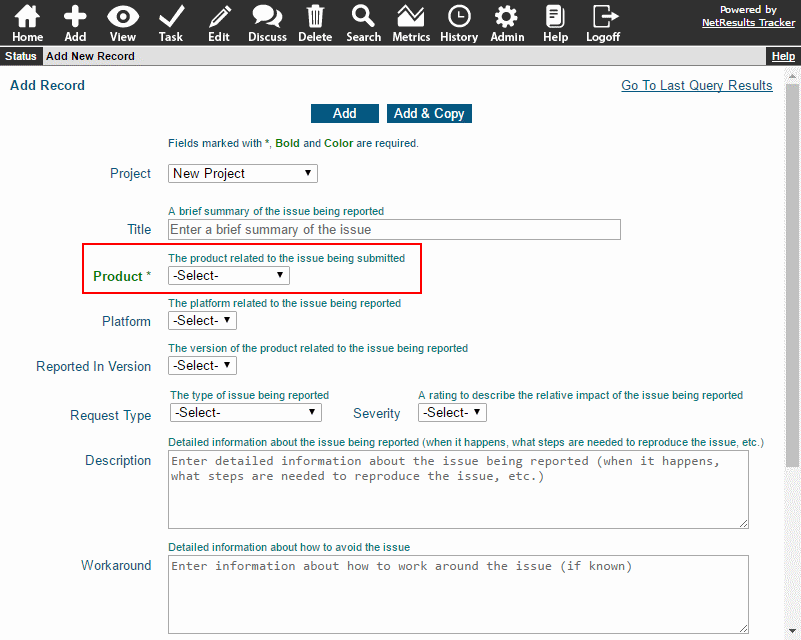
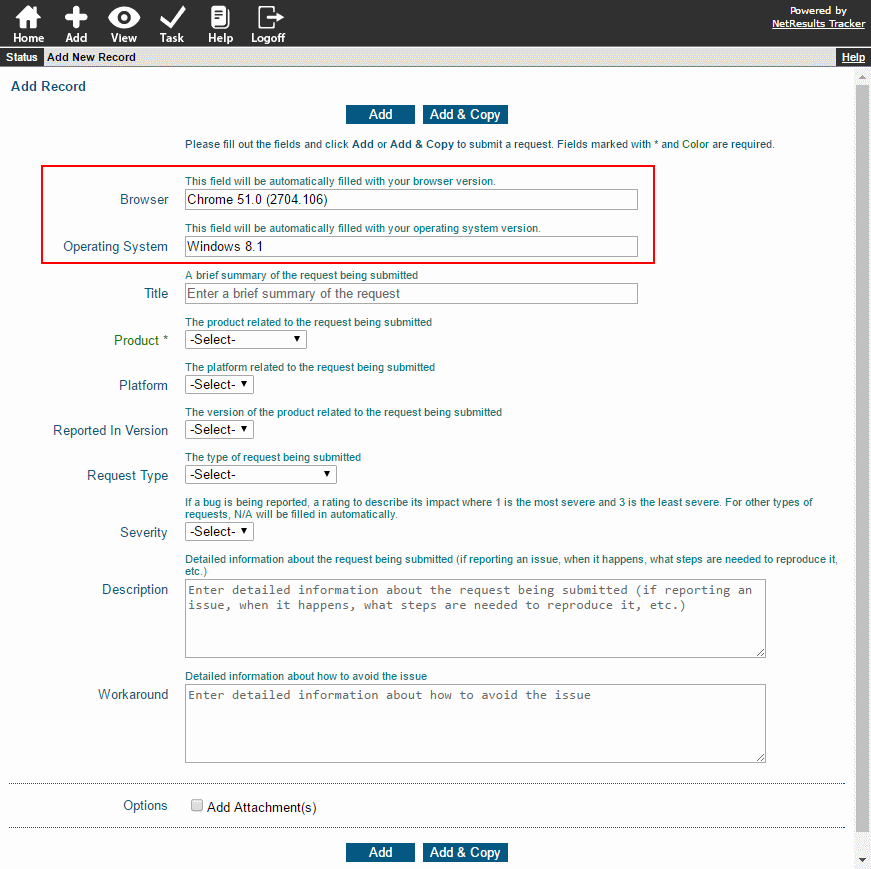
The Auto-Fill feature can get browser version, operating system and other pieces of information from the end user automatically on the Add and Submit pages. This blog post has the details.

AutoFill on Add Form

Allow Reporter to Add More Later

You can configure an Update transition to allow the reporter to add more detail or attach a file or screenshot after submitting their request. Check out this Knowledge Base article for the steps to set this up.

Update Transition

Send Automatic Status Updates

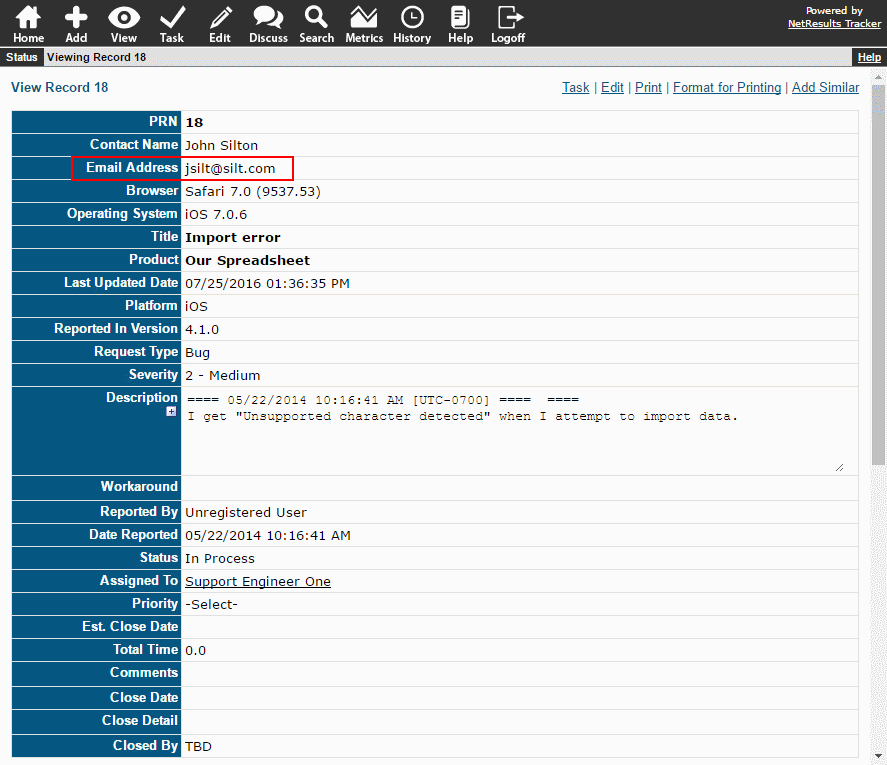
Users who report issues or request enhancements can get email notifications to keep them up to date on the status of their request. Unregistered users can be notified by adding a per-record email address. Users with an account can be notified by including "Reporter" in email rules.

Per-Record Email Address

Learn a trick or two about the Search Page.

Save a Default

When you click on the Search icon, your favorite report can be at the ready. Just click Run to see the results. Do this by saving a default report.

Set as Default

To set your default query:

  1. Click on the Search icon.
  2. In the Saved Queries pulldown, select the desired report.
  3. Click on the Set as Default button to the right of the pulldown.

To run your default report, click on the Run button to the right of the pulldown.

Did You Know???

Did you know that when you select a report in the Saved Queries pulldown that the report layout it uses will automatically be selected in the Report Layouts pulldown below it? This makes it easy to identify which report layout to edit should you need to make any changes to the fields displayed in the report results.

Associated Report Layout

Copy a Report

You can copy the criteria from one report to create another one:

  1. Click on the Search icon.
  2. In the Saved Queries pulldown, select the report you want to copy.
  3. Click on the Add button to the right of the pulldown.
  4. Enter a name and make other selections for the new report, then click Next.
  5. The criteria from the report you copied will be displayed. Make any adjustments, then click Add to save the new report.

Copy a Saved Query

Check out the Saved Queries & Reports section of the Online Help Guide for more information.

Re-arrange the fields on a form using the Order property.

Add Form

To set the order of a field relative to other fields on a form:

  1. Login as Admin and click on the Admin icon.
  2. Click on the Fields link.
  3. Click on the Edit button to the left of a field.
  4. Enter a number into the Order property and click OK to save the change.

Global Field Order

Use a Different Order on Another Form

If you are using multiple forms, a field can have a different value in the order field on each form.

  1. Login as Admin and click on the Admin icon.
  2. Click on the Fields link.
  3. Click on the Forms button to the left of the field you wish to modify.
  4. Click on the form in which you want to change the order and click on the Edit button.
  5. UNcheck the "Use Global Field Properties" option at the top.
  6. Set the value of the Order property, then click OK to save the change.
  7. Repeat steps 4-6 for any other forms where you want to set the order of the field.

Per-Form Order

More information can be found in the Field Types & Properties section of the Online Help Guide.

Re-assign records and preserve the old user's actions when replacing a user.

Turnover is inevitable. When a user changes roles or leaves the company, it's best to add the replacement (if needed) before deleting the old user. This makes it easy to assign any active records to the new user while saving the information about actions performed by the old user.

Renaming Isn't Recommended

Renaming a user might seem easier, but it will cause confusion. When you rename a user, all of the actions performed by the old user will have the new user's name. So if someone asks the new user why something failed testing two years ago, they won't know the answer.

Here's the history of a record QA Two tested.

Before Renaming

Here's the same history after the user QA Two was renamed to be QA Five.

After Renaming

Recommended Method

To replace a user:

  1. Add the new user using the information in the Online Help Guide.
  2. Delete the old user using the steps in this Help section. The system will prompt you to select the replacement user for records assigned to the old user.

Select a Replacement

The history remains intact after deleting the user and selecting a replacement.

Preserved History

Ensure a value other than the default is selected in a pulldown field.

To force a user to select something other than the default value:

  1. Login as Admin and click on the Admin icon.
  2. Click on the Fields link.
  3. Click on the Items button to the left of the pulldown field you wish to modify.
  4. Click on the Add Item button.
  5. For the Item Label, enter a value called "-Select-" or "Please Select a Value" or something similar.
  6. Click OK to save it.
  7. Click on the Set as Default button to the left of the new option menu item you created.
  8. Click OK to return to the Fields list.
  9. Click on the Edit button to the left of the pulldown field.
  10. For Required on Add & Submit, select "Yes".
  11. Click OK to save the change.

When a user is filling out the Add or Submit form, the option you created in steps 4-6 will be displayed by default. The user will be required to select another option in the field in order to save a new record.

Prompt for Another Selection

For more information, please review the Pulldown Option Menu Items section of the Online Help Guide.