Longtime Tracker users and newcomers alike can make use of these suggestions for improving your workflow.
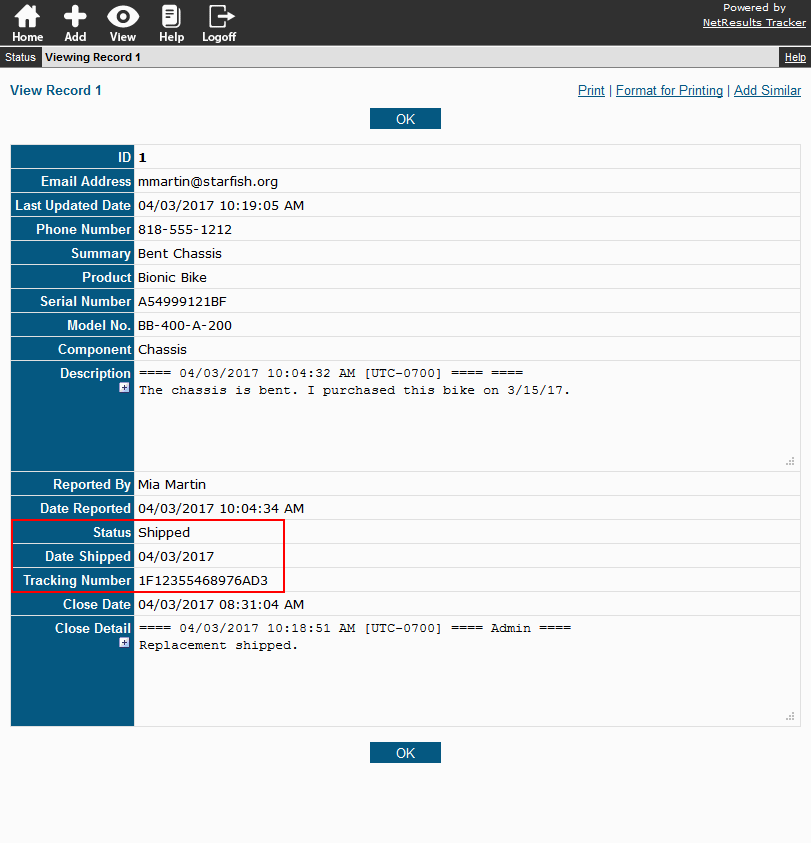
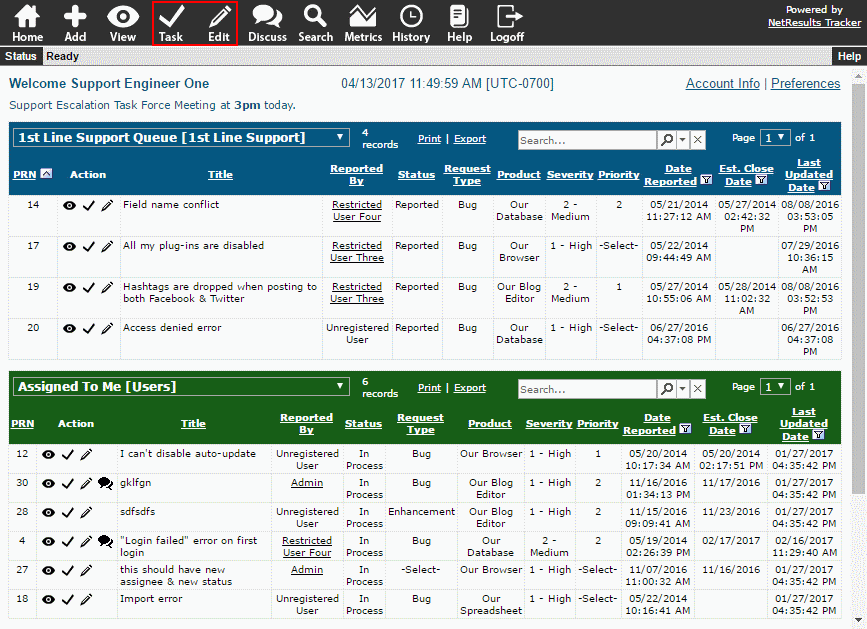
Edit vs. Task

Learn about these two ways of modifying records so you can decide whether to use one over the other or a combination. This blog post compares them.

Edit vs Task

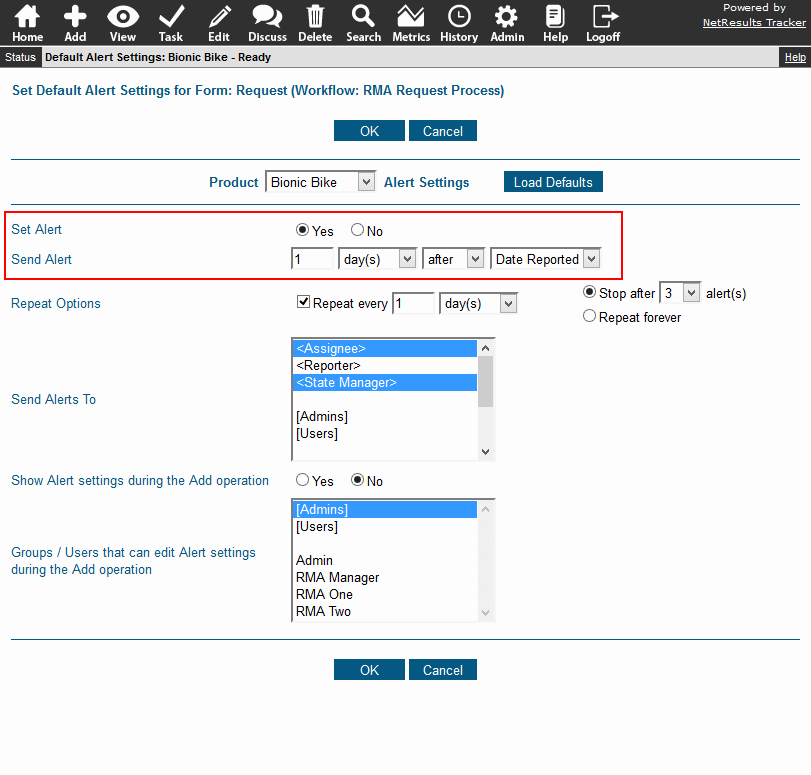
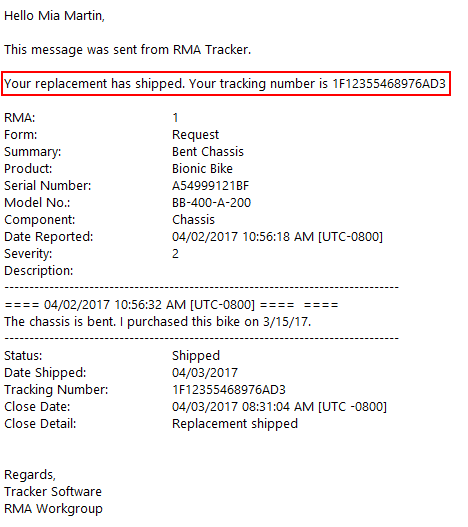
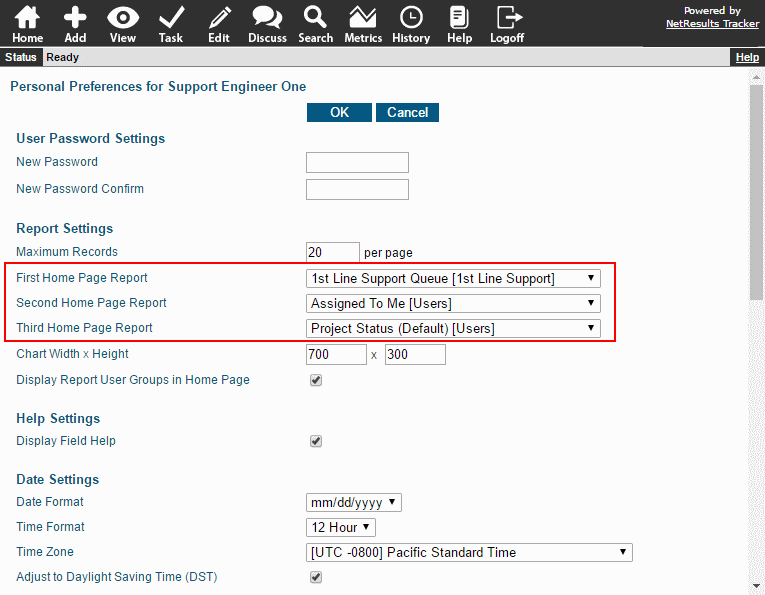
Minimal Notifications

When it comes to email notifications, less is more. Set up email rules that only notify the necessary users. When users get too many notifications, they become inured to them and are less likely to take action.

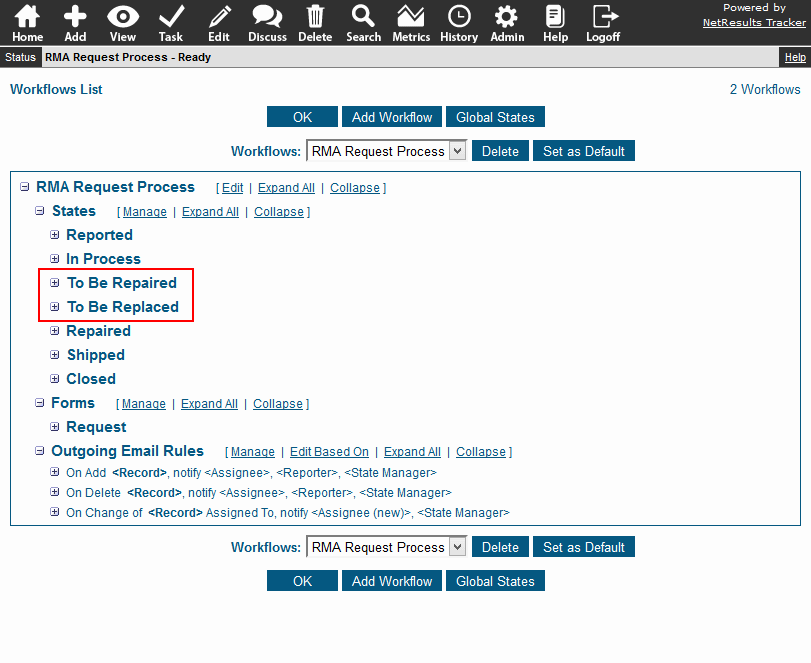
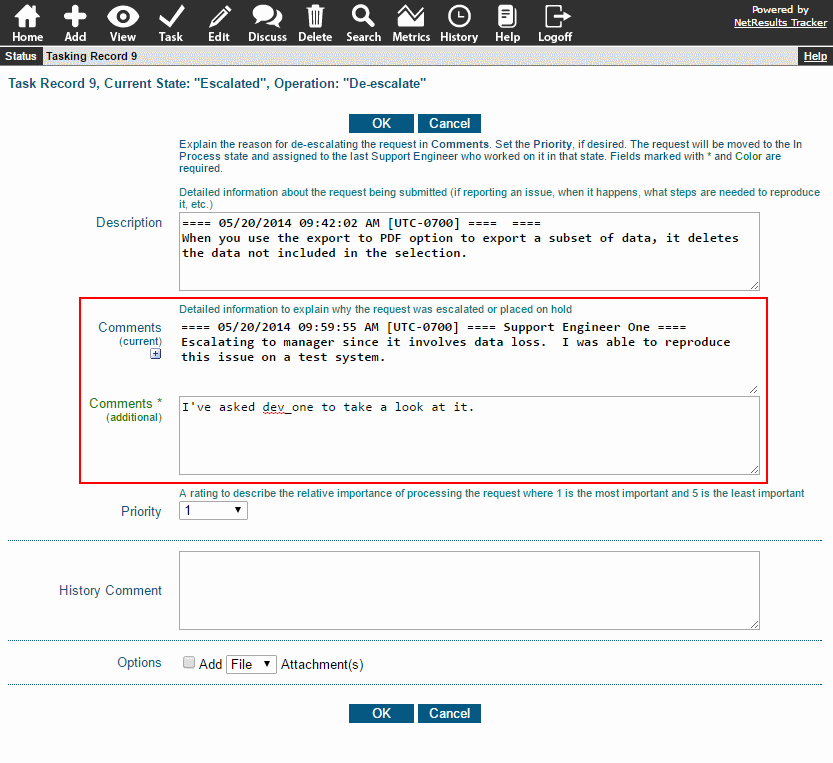
Protect Large Text Fields

TextArea fields are fields that can hold lots of text (e.g. comments and conversations between users as a record moves through the worklfow). Take advantage of the features available for allowing users to add more information into the field while protecting existing data.

Protect Existing Text

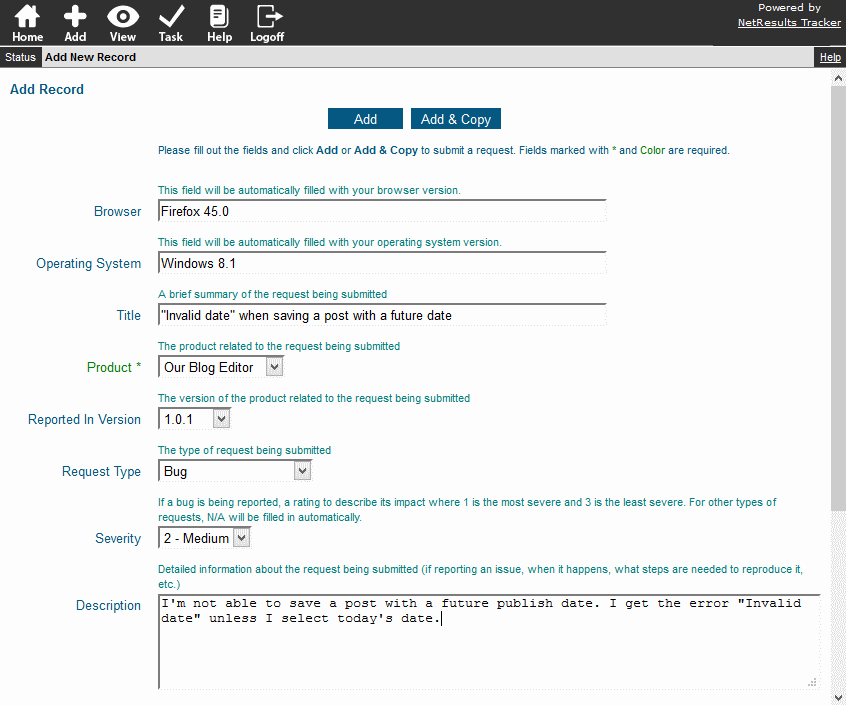
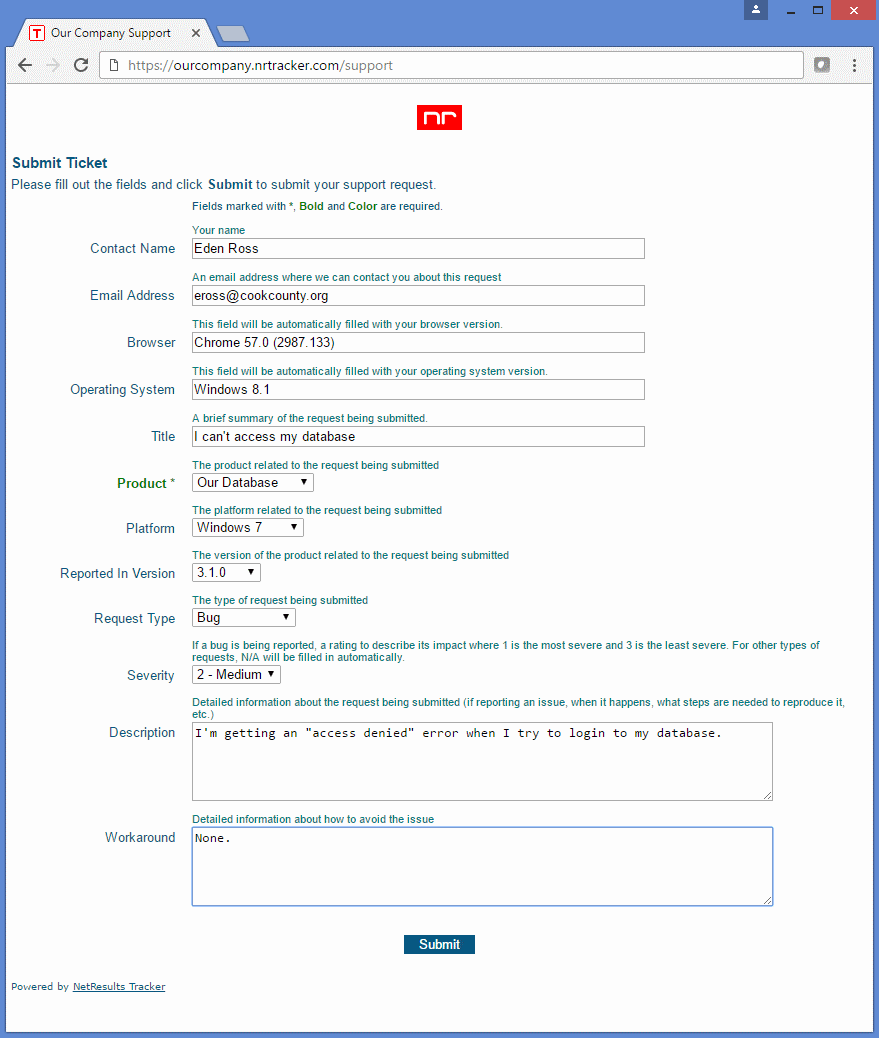
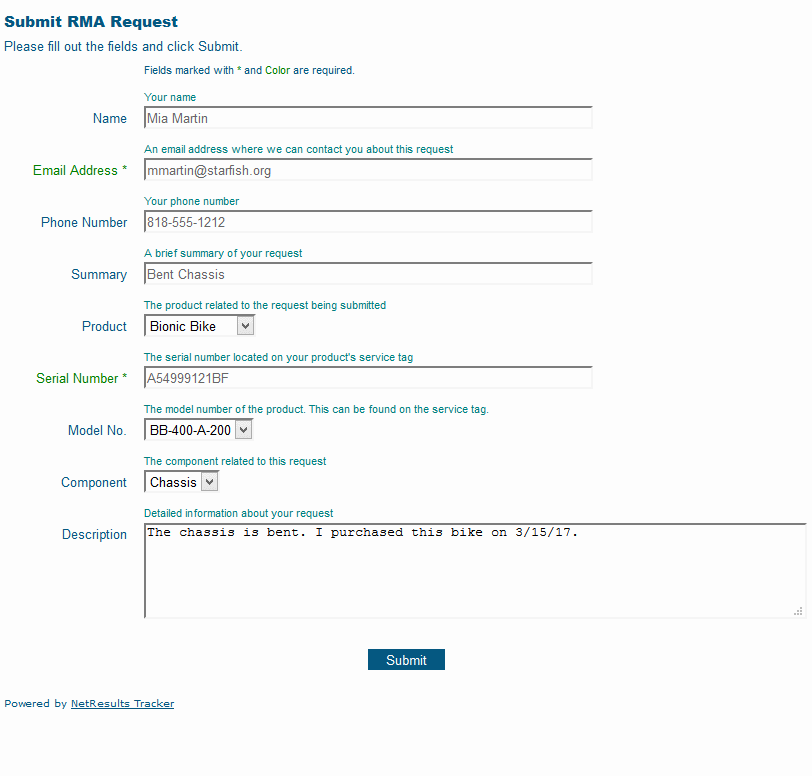
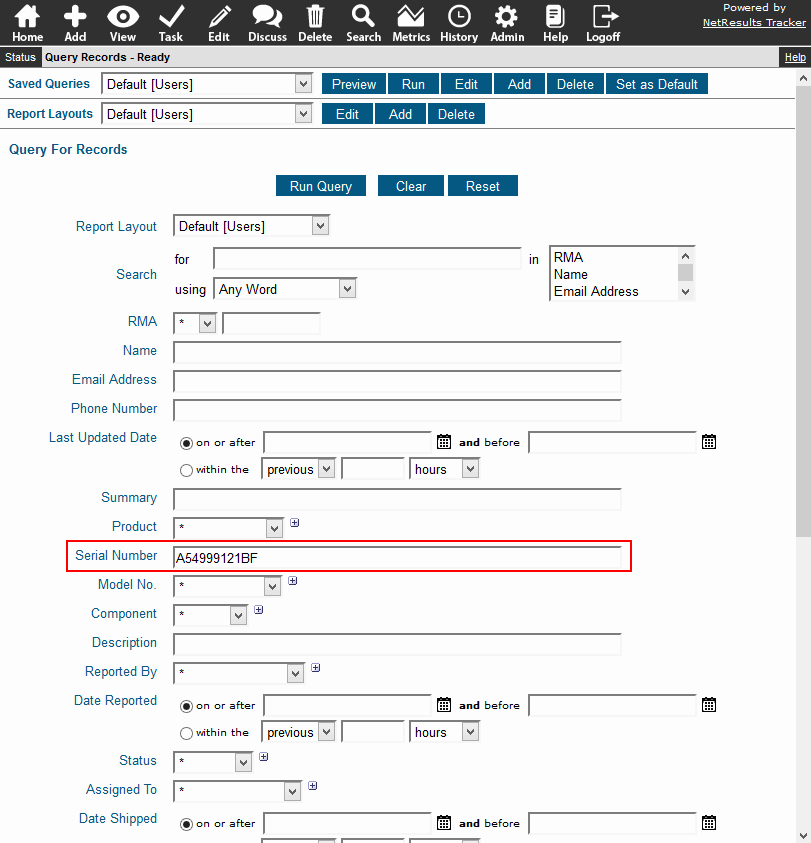
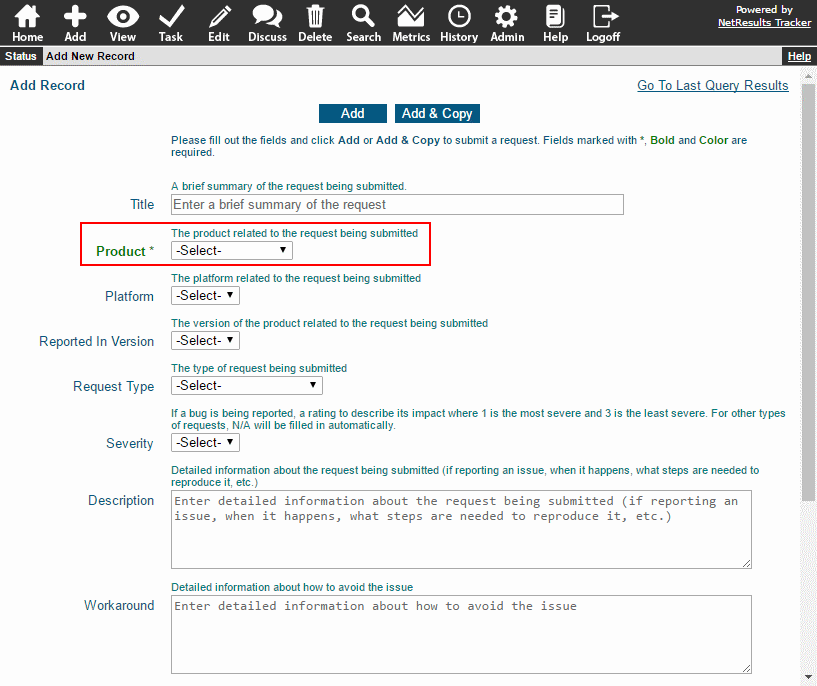
Keep Required Fields to the Essentials

Be judicious with requiring fields when records are added. Balance the need for gathering information to resolve issues quickly with a desire to allow users to submit them easily. If a user gets bogged down with having to provide too much information on a form, the issue might go unreported.

Required on Add

Need Help?

NetResults Technical Support can answer questions specific to your process.

Various options are available for adding records into Tracker.

Add Page

Add Page

Users can login, click on the Add icon and fill out the form. The fields displayed are based on user group privileges.

Submit Page for Unregistered Users

Submit Page

Unregistered users can add records using the Submit Page, a form outside of Tracker that can be customized with your logo, color scheme and instructions to integrate with your web site.

Check out the following video for more information about the Submit Page.

Submit via Email

Records can be submitted via email. This option is a good fit for environments where end users don't have access to a browser. If a browser is available, other methods for adding records are preferred as they have a customizable form to collect different types of data.

See how Submit via Email works in this video.

Save time and effort by prepping for a move of your Tracker installation.

Moving your Tracker installation and/or the backend database server can be done seamlessly by getting the appropriate procedure.

The Knowledge Base has information to suit your situation:

Need Help?

Don't see your situation listed above? Do you have questions about a procedure? Contact NetResults Technical Support for assistance.

Let NetResults Host Tracker For You

Want to break free of maintaining your installation? Migrate to the cloud service and let NetResults do the work for you. We have plans that will preserve your existing investment in Tracker licenses. Our Sales department can provide more information.

Provide a form for submitting RMA requests and use Tracker's notification features to keep all parties informed throughout the process.

RMA Request Form

Utilize the Submit Page for fielding RMA requests. Customize the fields to gather every piece of information needed to process the request. Add your logo & choose a color scheme to echo the look & feel of your web site.

RMA Request form

Set Multiple Response Time Thresholds

Tracker's Alerts feature allows you to set different response time deadlines based on product, severity, request type or another pulldown field on the form. For example, Product A requests require a 1 day response time, but response time for Product B requests is 1 week.

Alerts

Status Updates

The requester can get status updates via email as the request is processed. Configure email rules to determine when emails are triggered and the content that will be included.

Email Notification

Or, you can allow users to login and check status at any time with a Restricted user account.

Check Status

Search

Locate a request using RMA#, serial number, contact information, key words or via other fields you configure.

RMA Search

Multiple Workflow Paths

Configure the workflow with multiple paths (e.g. one path for replacements, another for repairs).

Workflow Example

Need Help?

If you need some pointers to getting started or have some questions about your situation, contact Technical Support Support. Or, you can have our Professional Services team set it up for you.

Create your own reports or use group reports as a starting point and save them on your Home Page.

Save Your Own Version

Perhaps you want to see different fields in the results or you'd like to add one more piece of criteria. It's easy to add your own twist to a group query:

  1. Login to Tracker.
  2. Click on the Search icon.
  3. Select the report you wish to copy in the "Saved Queries" pulldown at the top, then click on the Add button to the right of the pulldown.
  4. Enter a name for your report, select "Personal" for Query Type, choose the Query Format and click Next.
  5. The criteria from the report you selected in step 3 will be available. Make any desired changes. To change which fields are displayed, change the Report Layout at the top.
  6. Click Add to save the new report.

Add Report

Create New Reports

The Online Help Guide has detailed information for creating saved queries and metrics.

Include the Reports on Your Home Page

Select which reports are available on your Home Page:

  1. Login to Tracker.
  2. Click on the Preferences link in the upper right.
  3. Make selections for the Home Page Reports.
  4. Click OK to save the changes.

Report Preferences