Find out which pulldown has a special power.
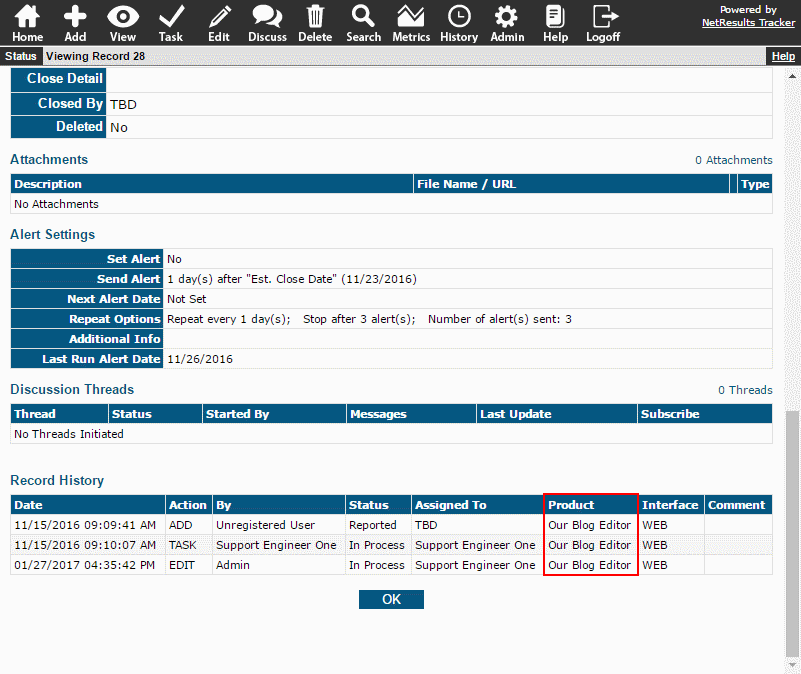
The History Pulldown is unique because its value is tracked in the record history. This field is called "Product" in some of Tracker's templates. When configuring your system, make this field something important that applies to all or most of your records since it will be saved in the history.
Rename the History Pulldown and Change the Option Menu Items
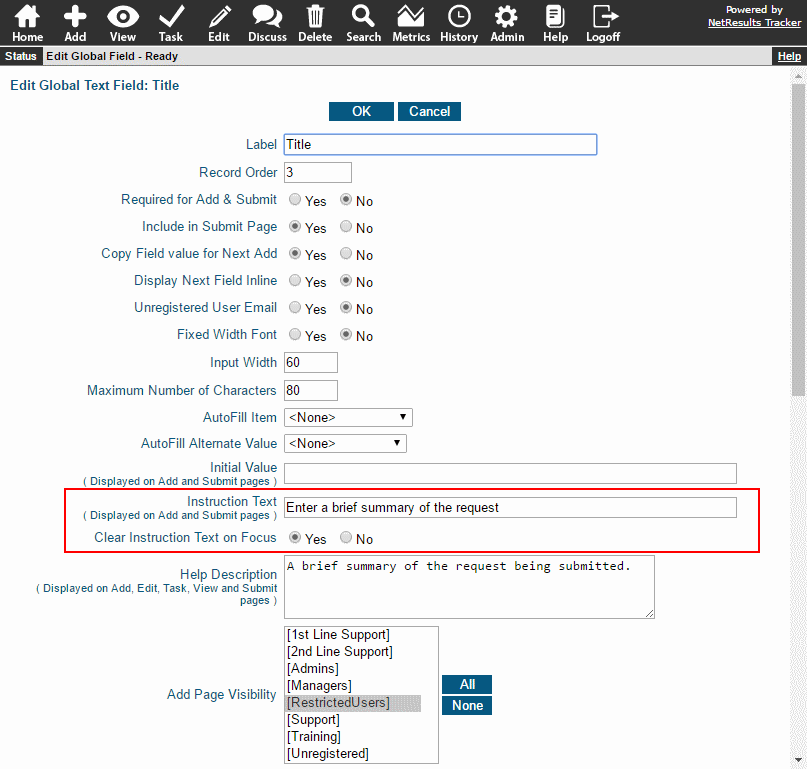
You can rename the History Pulldown using the following steps:
- Login as Admin and click on the Admin icon.
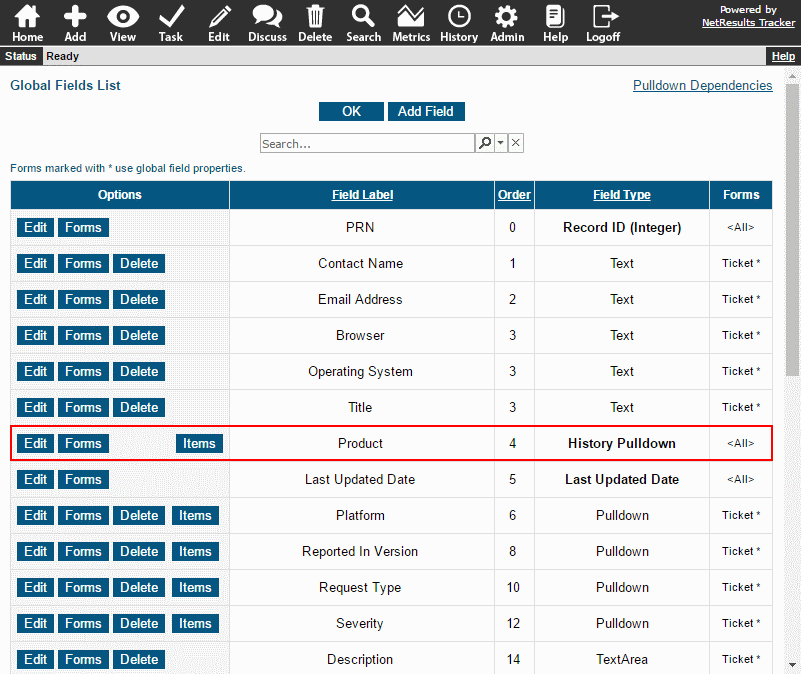
- Click on the Fields link.
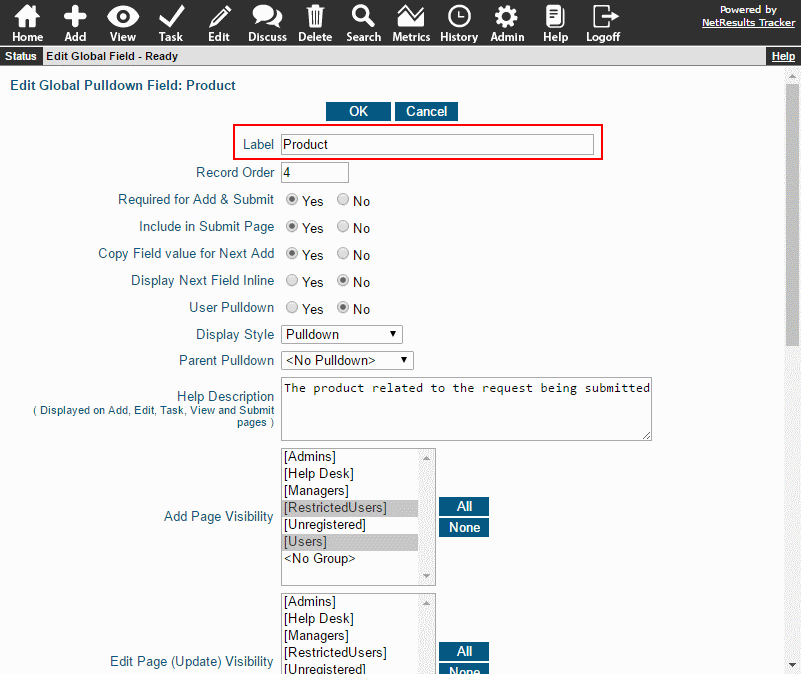
- Click on the Edit button to the left of the History Pulldown.
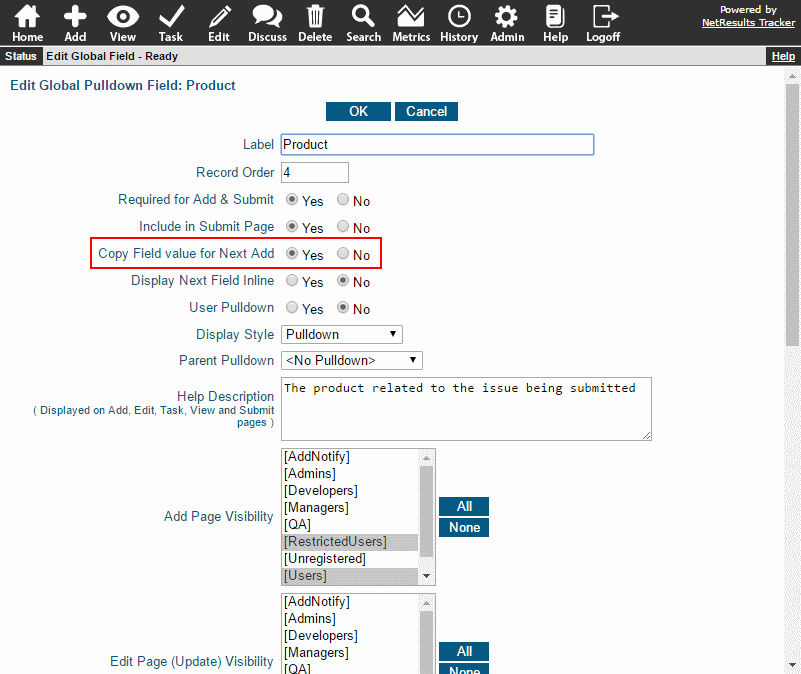
- Change the Label and make any other desired changes to the properties.
- Click OK to save the changes.
To change the Option Menu Items:
- Login as Admin and click on the Admin icon.
- Click on the Fields link.
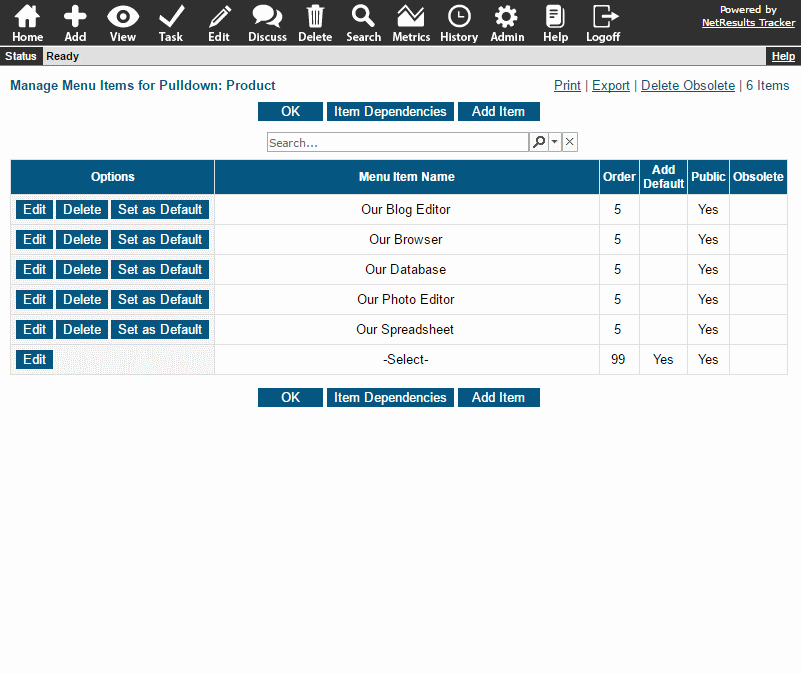
- Click on the Items button to the left of the History Pulldown.
- Click on the Add Item button to add a new item or click Edit to rename or make other changes to the item.
More information is available in the Customizing Menu Items section of the Online Help Guide.
Make it a Key Field
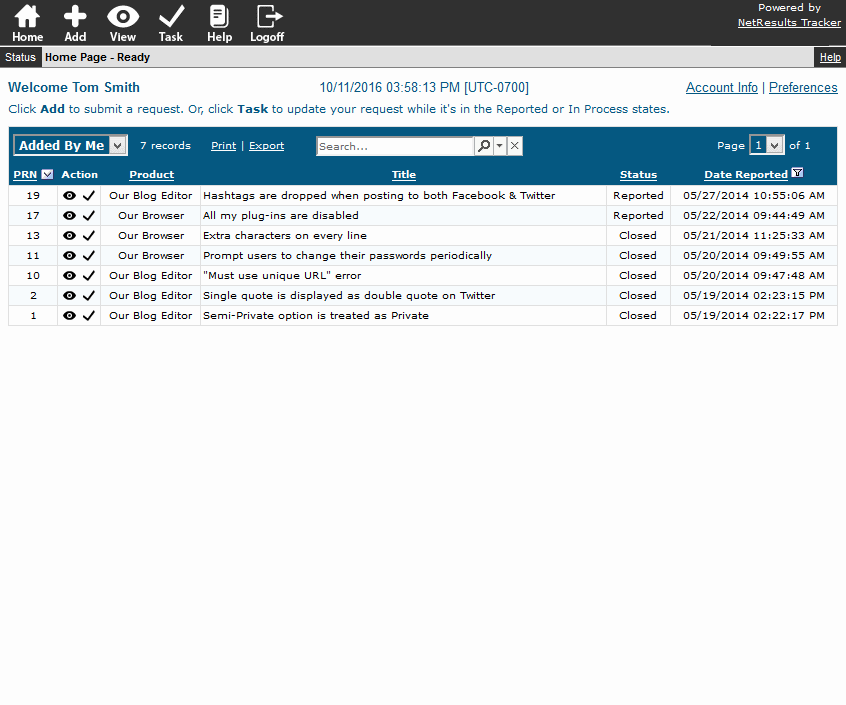
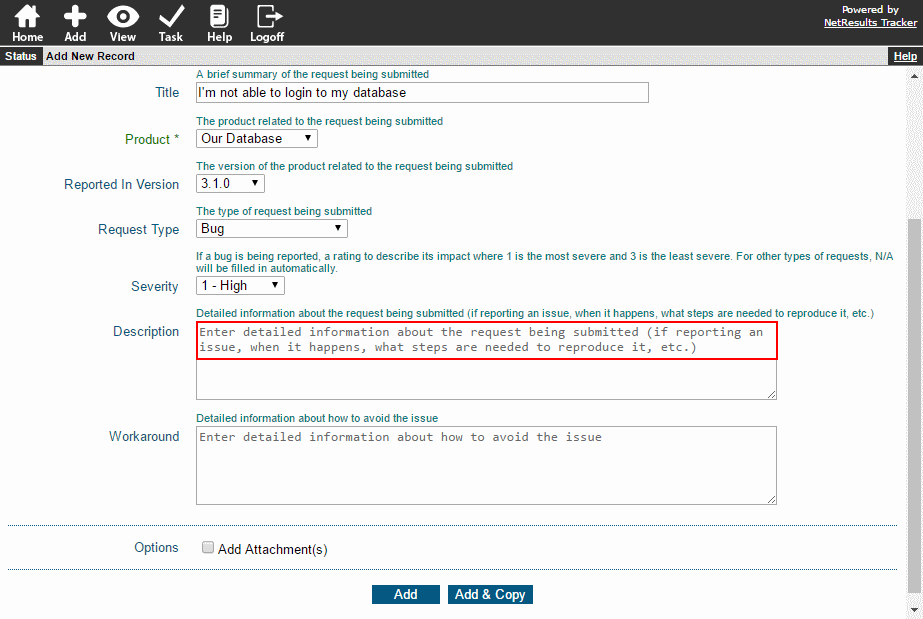
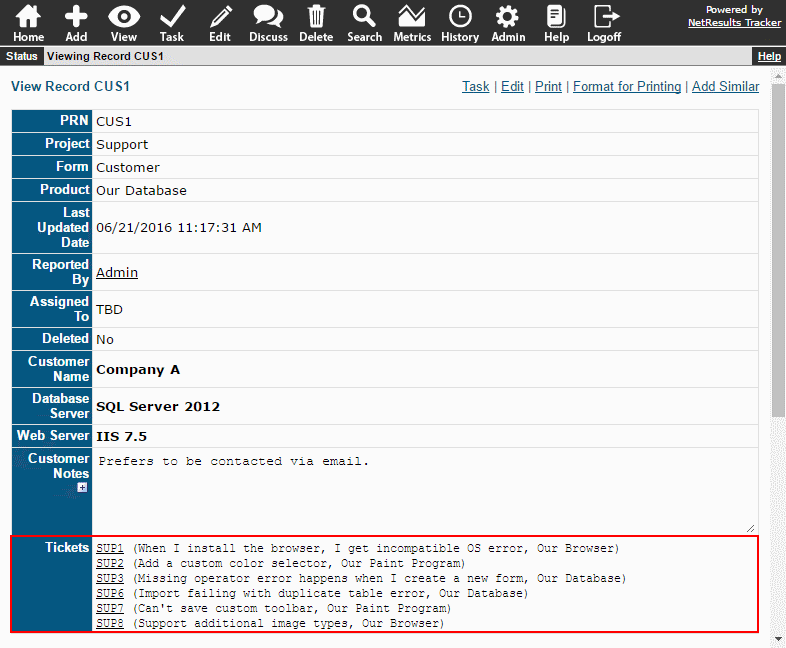
Selecting the History Pulldown as a key field will show the field when cross-referencing other records or forms. The sample below shows a customer's information with a list of all of the tickets they've reported. The ticket number, the title of the request and the product are displayed as key fields.
To select the History Pulldown as a key field:
- Login as Admin and click on the Admin icon.
- Click on the Forms link.
- Click on the Edit button to the left of a form.
- Select the History Pulldown as one of the Secondary Key Fields.
- Click OK to save the change.
More information about cross-referencing records is available in this post.
Assign or Route Records Based on the Field's Value
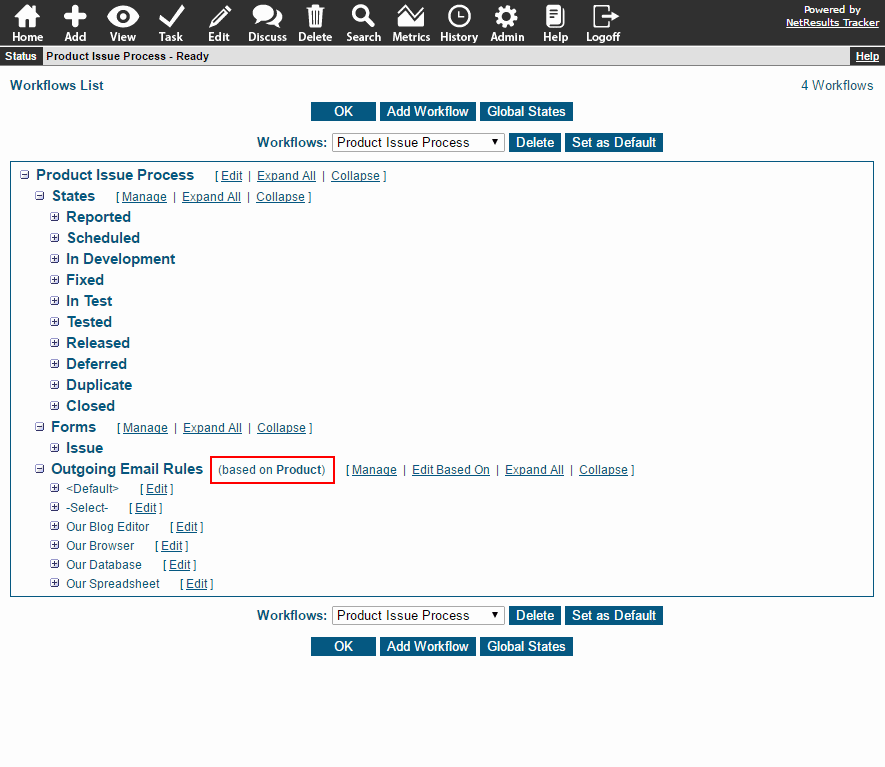
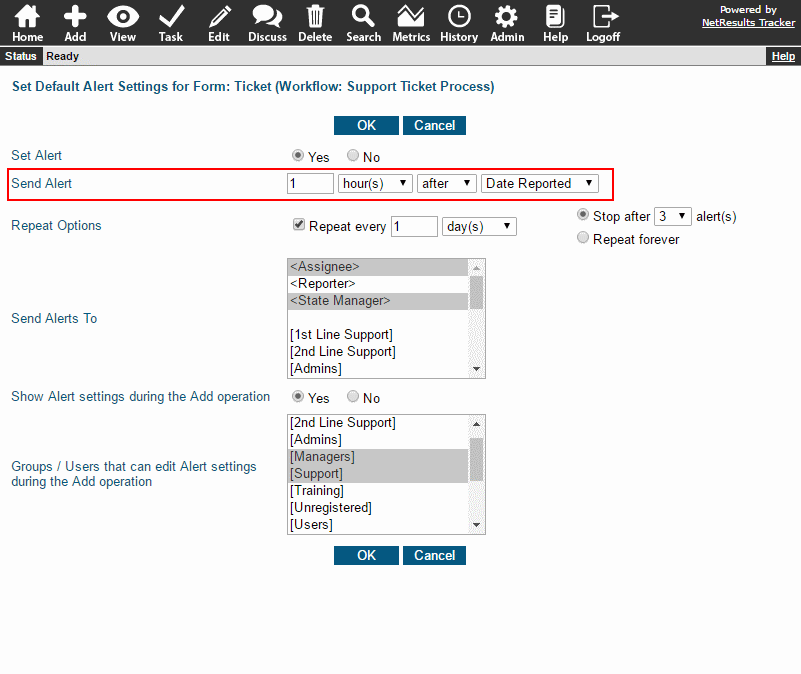
You can assign records, route to different workflow steps or make use of different email rules depending on the value of the History Pulldown by using the Based On property available for Alerts, Assignment, Workflow States or Email Rules.