Version 7.0.0 of NetResults Tracker has been released.

It includes a new metrics display engine which uses browser-native technologies, eliminating the requirement for a browser add-on (e.g. Java, Flash) to display charts. All Tracker operations can now be done with a standard web browser without any add-ons or plug-ins.

It adds support for the following DBMSs:

  • SQL Server 2017,
  • MySQL 5.7, and
  • Amazon Aurora.

It enables installation on Windows Server 2016 (IIS 10.0).

It includes the following technology previews:

  • webhooks (integrate Tracker with your own or third-party software; use Notification Rules to custom configure calls from Tracker to other applications at key points in your workflow), and
  • Google sign-on integration (use Google authentication for single sign-on with Tracker).

Please review the 7.0.0 feature list for details.

Upgrade instructions and download information are available on the downloads page.

Creating a new field is simple.

Add a Field

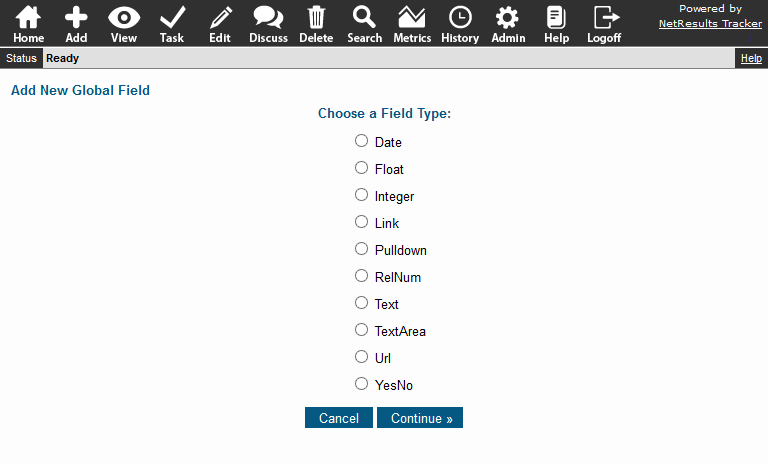
Choose a Field Type

  1. Login as Admin and click on the Admin icon.
  2. Click on the Fields link.
  3. Click on the Add Field button.
  4. Select the type of field you would like to add, then click on the Continue button.
  5. Enter a name and make selections for the properties available for the field type you selected. The fields at the bottom starting with the one called Add Page Visibility determine where the field will be displayed (e.g. Add Page, Edit Page, View Page, reports on Home & Query pages, and notifications) and which user groups can see and use the field in those areas. For example, you can set a field so that only Support Engineers will see it and fill it out on the Add Page and it will be hidden for all other groups. More information is available in the Field Visibility Help section.
  6. Click OK to save the field.
  7. To use the field on a form, click on the Manage Forms for This Field button.
  8. Select a form and click on the Add button.

Add Option Menu Items for Pulldowns

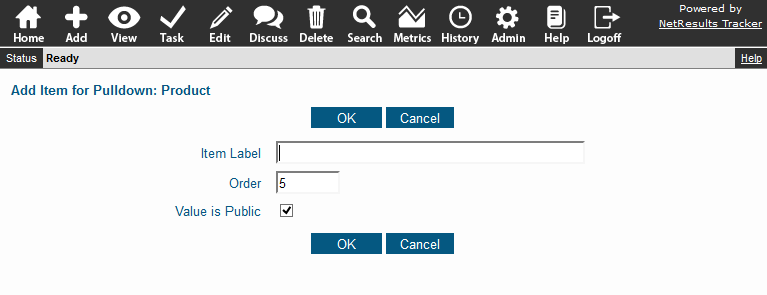
If the new field is a pulldown, configure the option menu items.

Add an Option Menu Item

Use the New Field in the Workflow

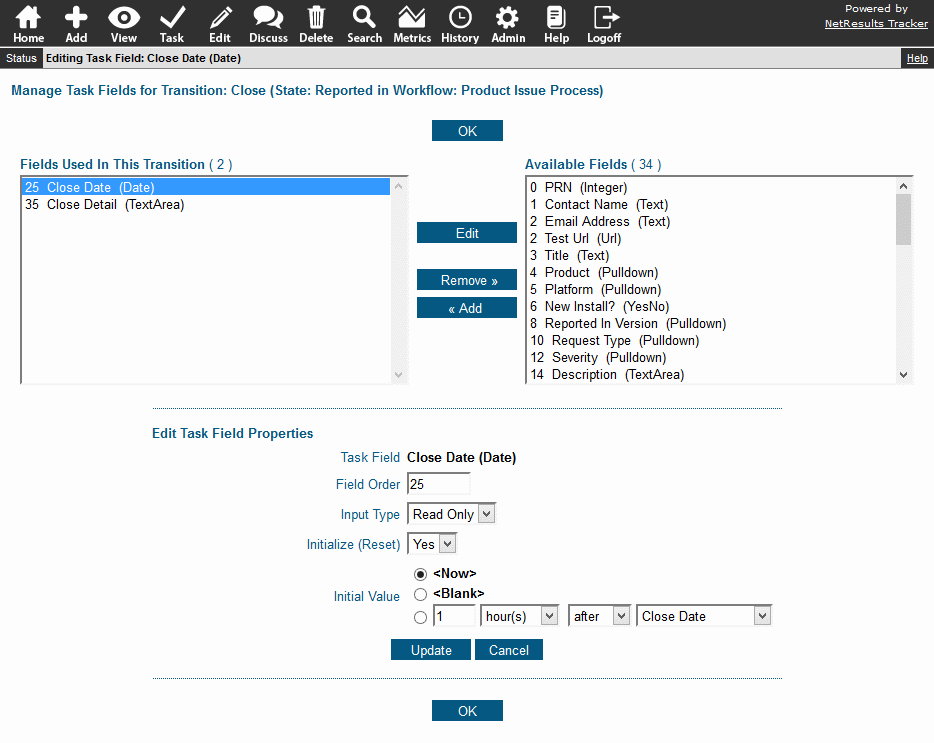
If the field should be updated or displayed during the workflow, configure it as a task field.

Add a Task Field

Add the Field to Reports

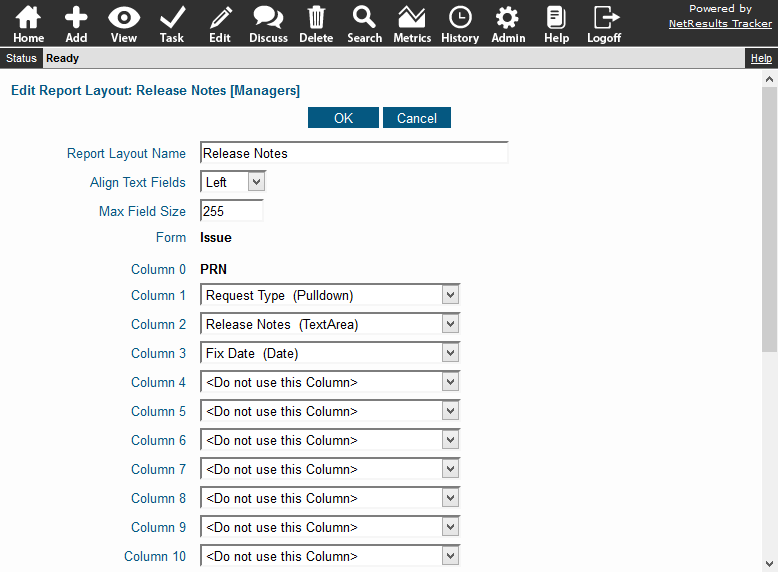
Use the field in report criteria or include it in report layouts.

Report Layout

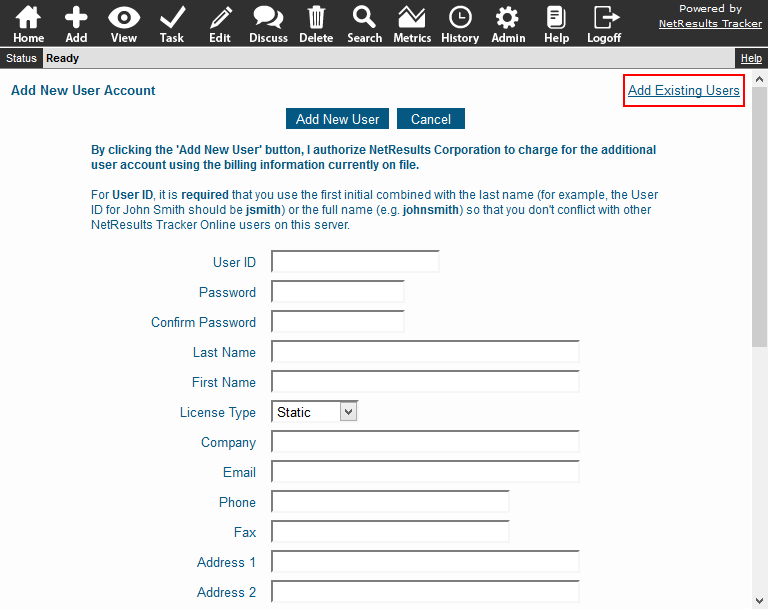
Sometimes when adding a new user, you might find that it already exists in the system.

User Already Added

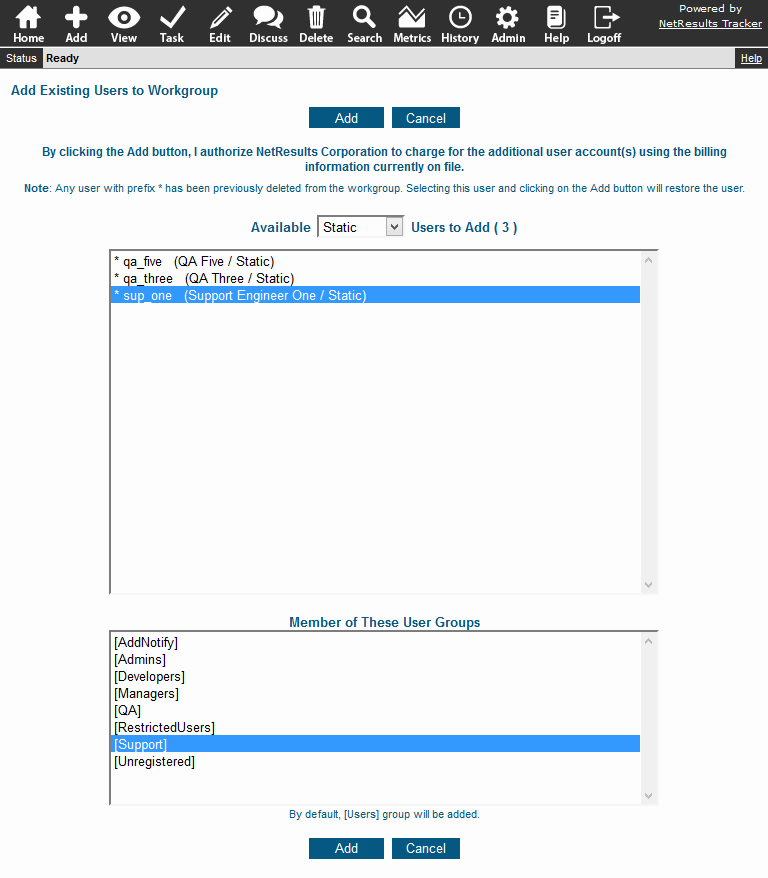
Look for the user in the Add Existing Users section.

Add Existing Users

To add an existing user:

  1. Login as Admin and click on the Admin icon.
  2. Click on the User Accounts link.
  3. Click on the Add User button.
  4. Click on the Add Existing Users link in the upper right.
  5. Click on the existing user you would like to add and select any user groups to which you want to add the user. To select multiple groups, hold down the Ctrl button on your keyboard while selecting the groups.
  6. Click on the Add button.
  7. Click OK to confirm.

Add Existing Users List

More information can be found in the User Accounts section of the Online Help Guide.

Streamline what your end users see in Tracker.

What end users see when they first login to Tracker can help keep them focused on what's important. These tips will help you guide them to do their part in your process as effectively as possible.

Display Only 1 Home Page Report

Up to 3 reports can be displayed on the Home Page. However, customers or other external users using the system to submit requests or perform a specific action can benefit from seeing a single report that shows only what needs their attention.
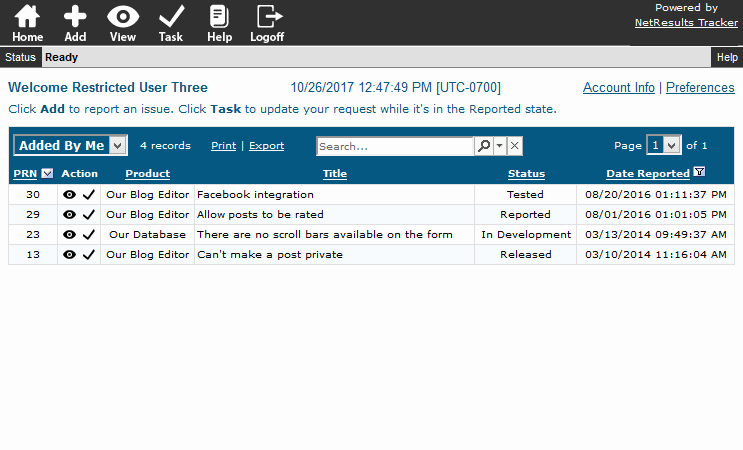
One Report

You can still give them access to additional reports. The users can click on the name of the report to see all of the reports you've made available to them.
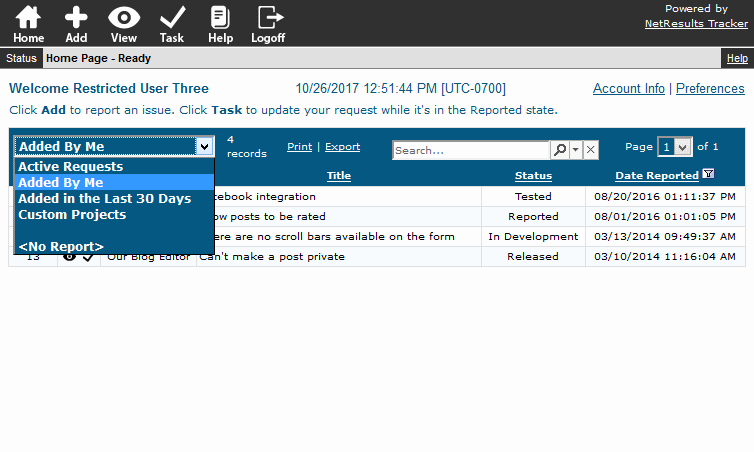
Report List

Minimize the Columns

It's also useful to keep the number of columns to a reasonable number such as 5 or 6. To see the full details of a request, the user can click on the View icon next to the request. This blog post explains how to set the fields displayed in a report.

Show the First Few Results

Just show the first 10 records to keep the view uncluttered. Having good sort options will ensure the most important items are displayed at the top.

To set the Maximum Records Per Page option:

  1. Login as Admin and click on the Admin icon.
  2. Click on the User Preferences link.
  3. Select the user type and click Continue.
  4. Set the Maximum Records per page option and click on the "Update & Push to Selected User Groups" button to apply the change to the users.
  5. Select a user group. To select multiple groups, hold down the Ctrl button on your keyboard as you select the groups.
  6. Uncheck the options that should not be changed, then click OK.
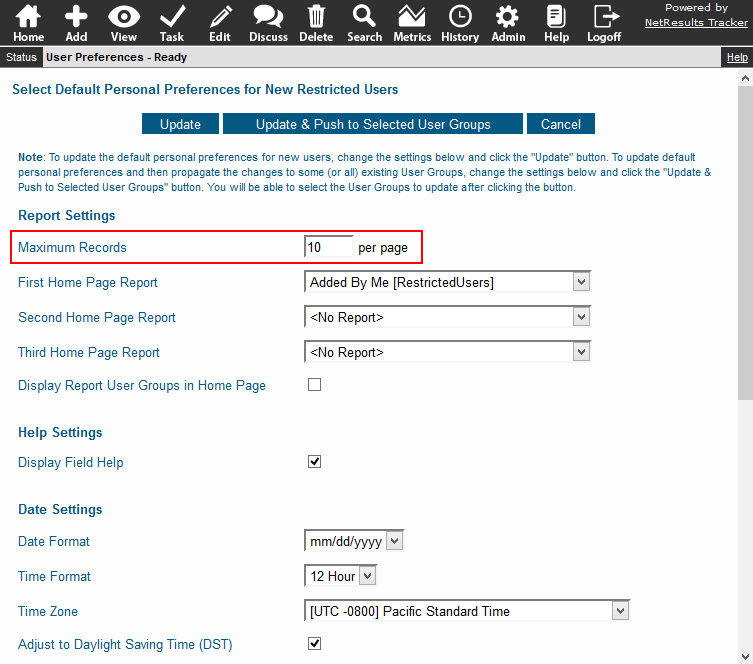
Maximum Records Per Page

To set the sort options in a report:

  1. Login and click on the Search icon.
  2. In the Saved Queries pulldown at the top, select the report you wish to modify, then click on the Edit button to the right.
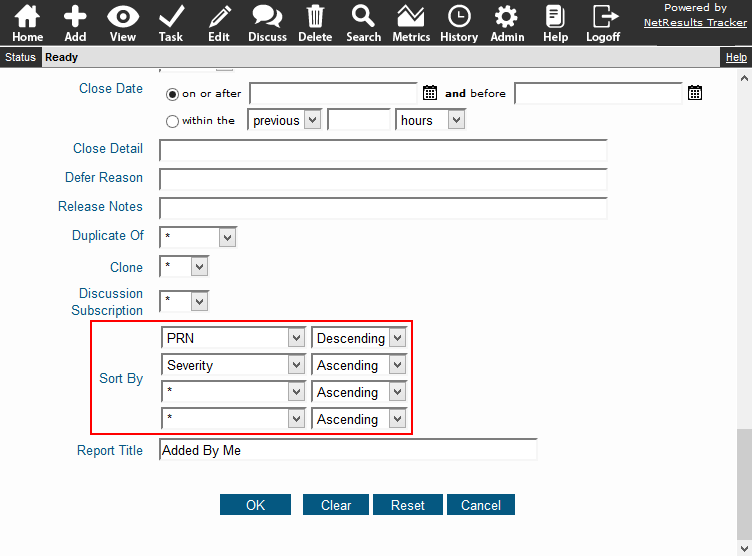
  3. Scroll down to the bottom to set the Sort options.
  4. Click OK to save the changes.

Sort Options

More tips for optimizing the end user experience can be found in this post.

Make use of the Checkbox style option available for YesNo fields.

Checkbox

To create a YesNo field and display it as a checkbox:

  1. Login as Admin and click on the Admin icon.
  2. Click on the Fields link.
  3. Click on the Add Field button.
  4. Select YesNo and click Continue.
  5. Enter a name for the field in "Label". Set the Display Style to "Checkbox" and set the other available options.
  6. Click OK to save the field.
  7. Click on the Manage Forms for this Field button to add the field to the desired form.
  8. Click on a form and click on the Add button.