Display saved searches on the KB Search Page for end users to easily access key information.

The Quick Links section on the Knowledge Base Search Page lets you save a Knowledge Base search and display a link so users can access the results in one click. You can use a quick link to display an FAQ list or some other group of articles that you want to make available.
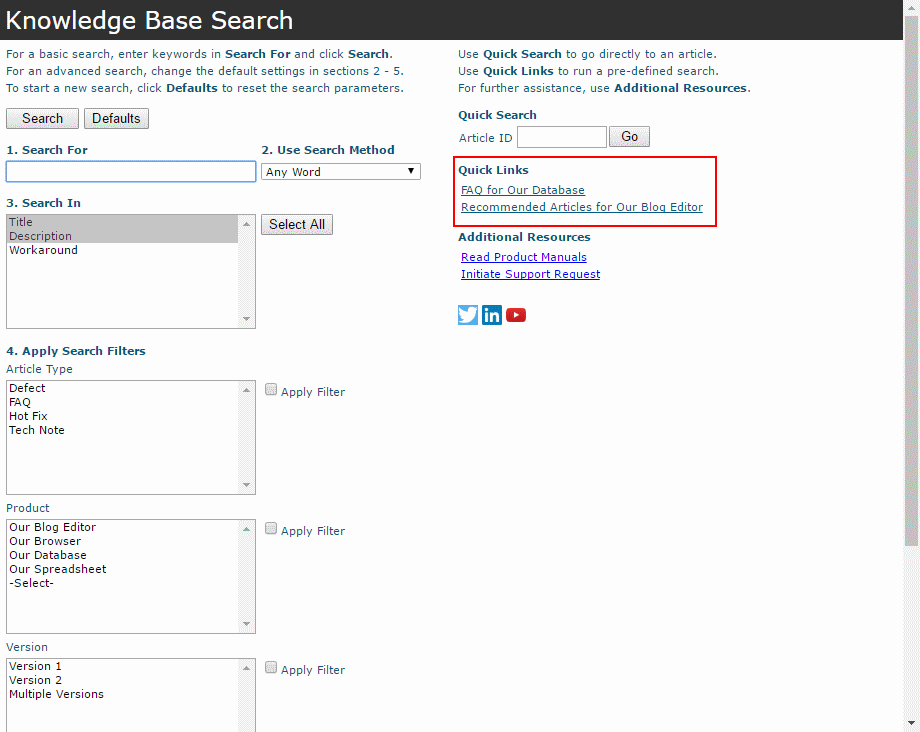
Sample Quick Links

Create a Quick Link

  1. Login as Admin and click on the Admin icon.
  2. Click on the Knowledge Base link.
  3. Click on the Contents button to the left of Search Page.
  4. Click on the Modify Links button to the left of Quick Links.
  5. Enter a name in Quick Link Label.
  6. Set the order with respect to other quick links.
  7. Set the search criteria for the Quick Link.
  8. Click Add to save it.

The quick link below will return KB articles that are set with "FAQ" and "Our Database".
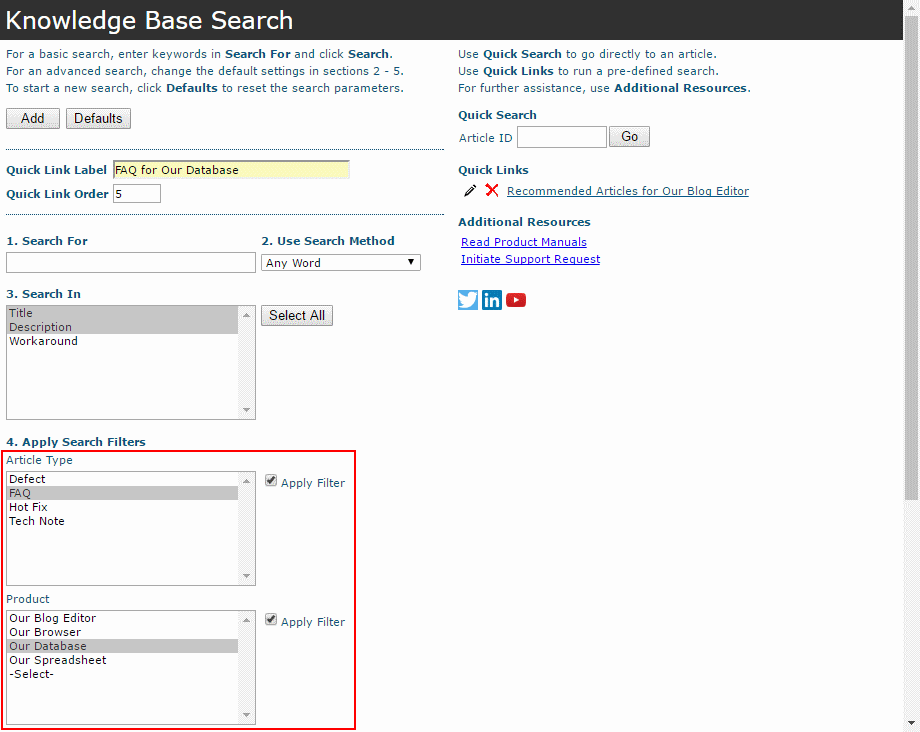
Criteria

Check out the Online Help Guide for more information about the Knowledge Base.

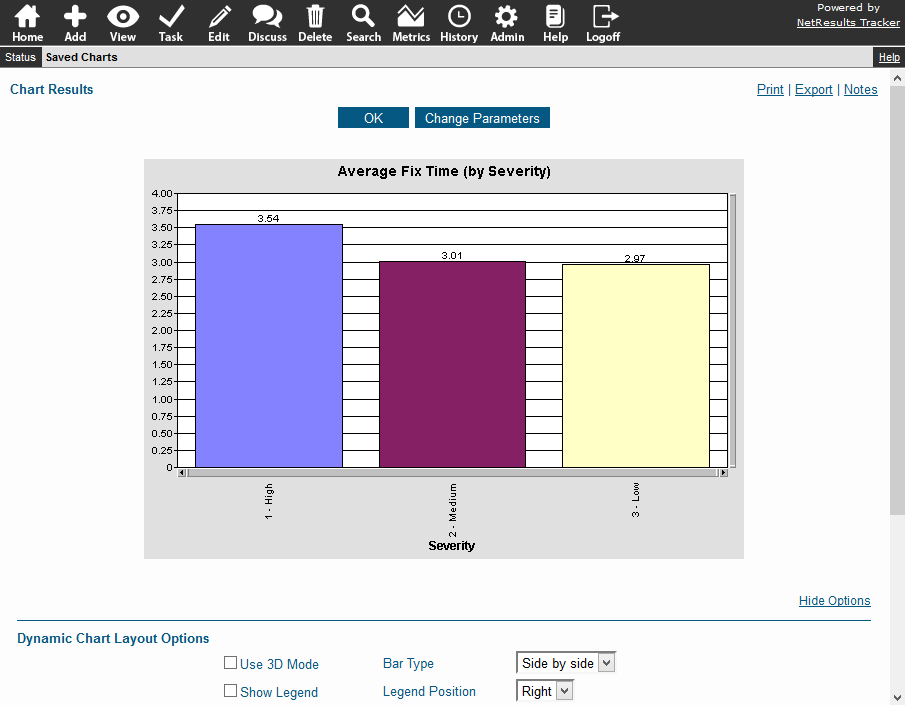
Monitor performance by running reports that compare dates via the Metrics feature.

Chart Comparing Two Dates

Collect Data as Records are Processed

Time stamp date fields at key points of your process. Then, use this data to generate performance metrics. For example, several date fields are configured in the Product Development template included with Tracker:

  • Date Reported - notes when an issue was created
  • Fix Date - the date and time an issue was fixed
  • Test Date - documents when the fix was tested

To ensure a date is entered into the field, you can either make the field required, forcing a user to enter a date, or you can make use of the field's configuration settings to fill in a date automatically.

When a Record is Added

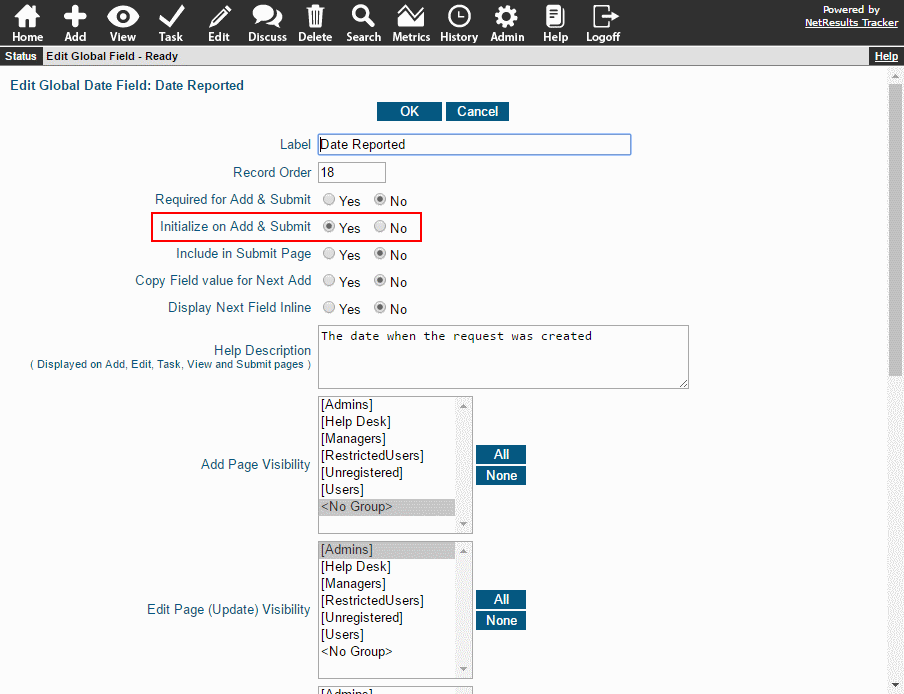
A date can be captured automatically when a record is added by setting the option called Initialize on Add & Submit to "Yes".

Initialize on Add

When Records Are Processed Using the Task Operation

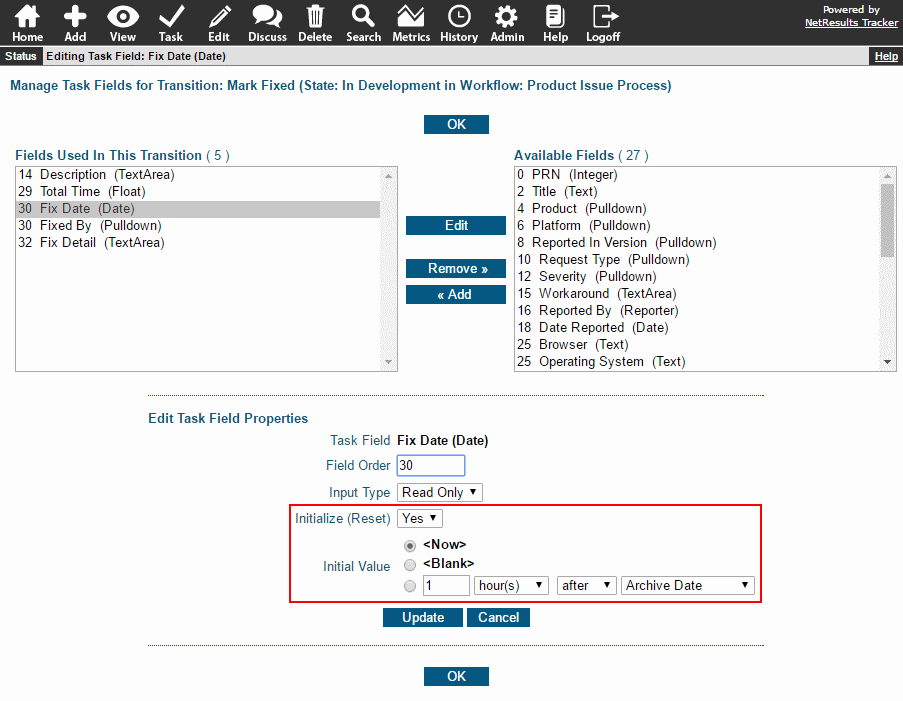
A date can be set during the Task operation via the Initialize (Reset) option. Set the Initial Value to <Now>.

Initialize on Task

Create Metrics that Compare Date Fields

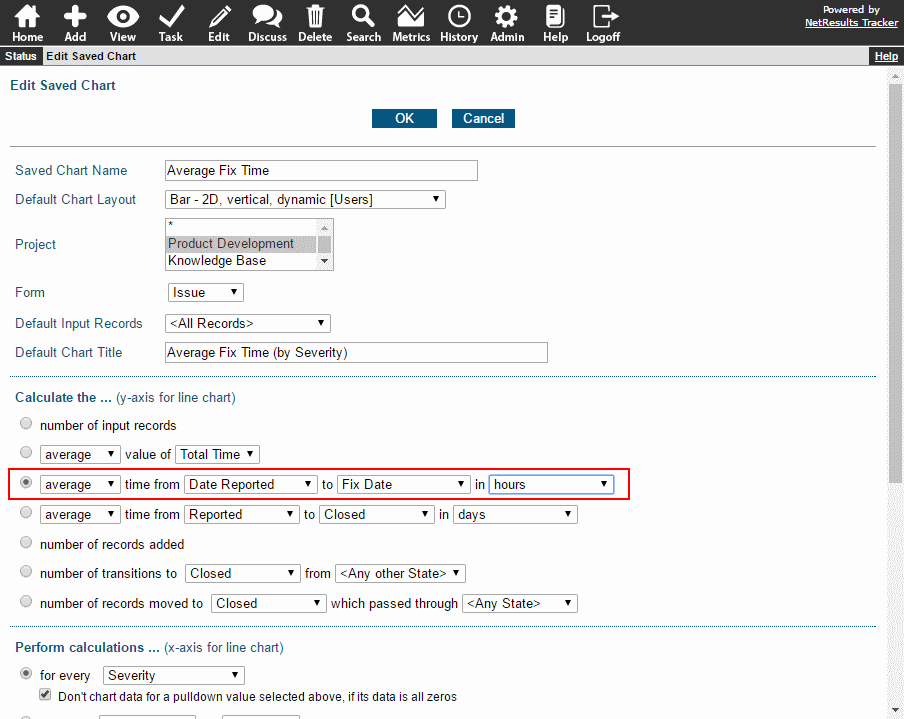
The Calculate... section of a chart has the option to compare 2 date fields.

Chart option

The Metrics section of the Online Help Guide has more information about creating and running charts.

Find out about the features TextArea fields have for saving and searching conversations, comments and other big chunks of data.

1. Add a Date & Time Stamp When Someone Adds Something New

Use the Annotate feature to add a date & time stamp that includes the user's name when new information is added to the field. This makes it easy to follow the conversation where multiple people have commented. The annotation can be done automatically or manually.

Multiple Annotations

2. Add Instructions for a Field

The Instruction Text feature allows you to provide information to your users within the field. These instructions can be configured to disappear when the user clicks on the field to enter data.

Instruction Text

3. Set an Initial Value

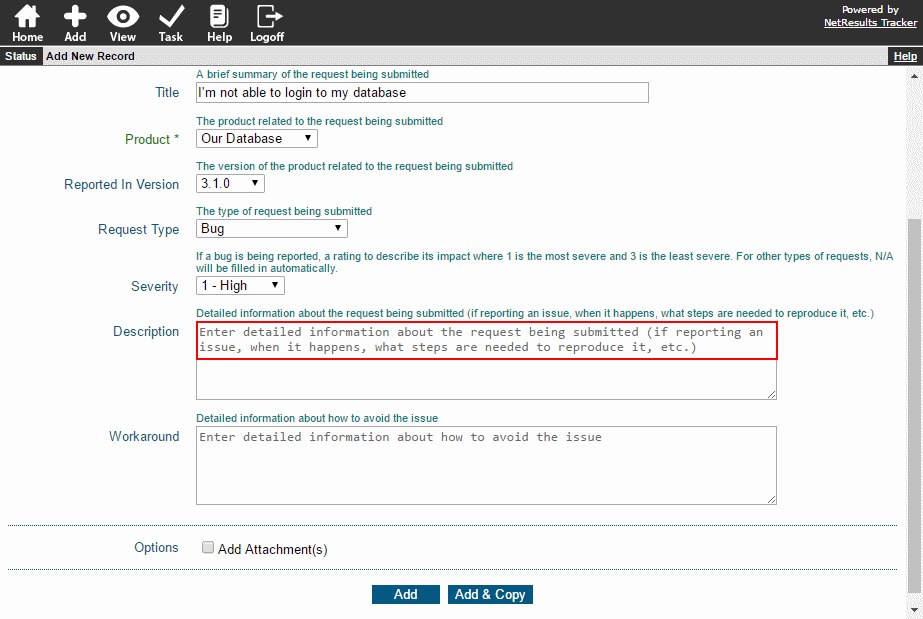
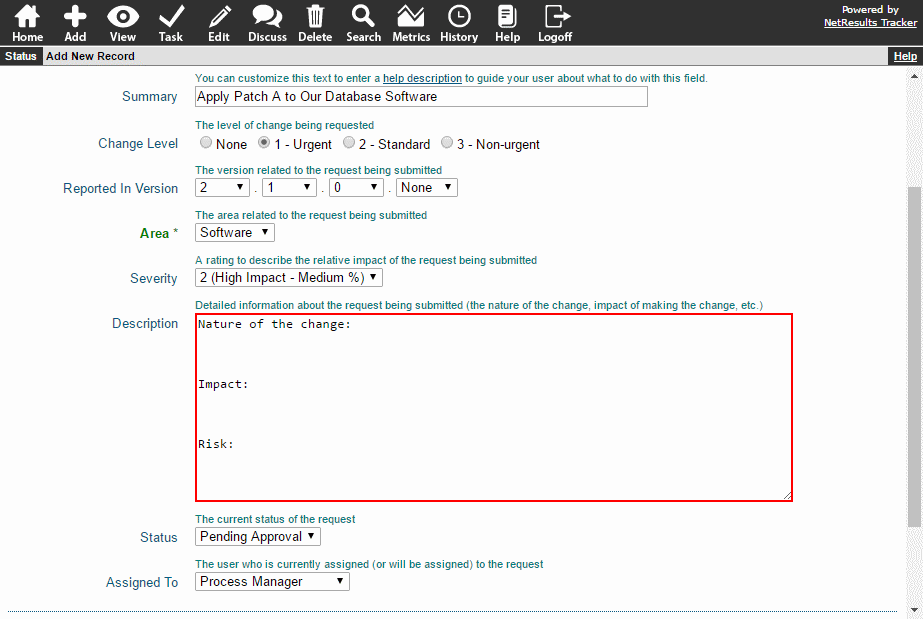
You can have a value saved in the field automatically. For example, if you want users to enter information using a particular format, you can save the format in the Initial Value field.

Initial Value

4. Protect Information That's Already in There

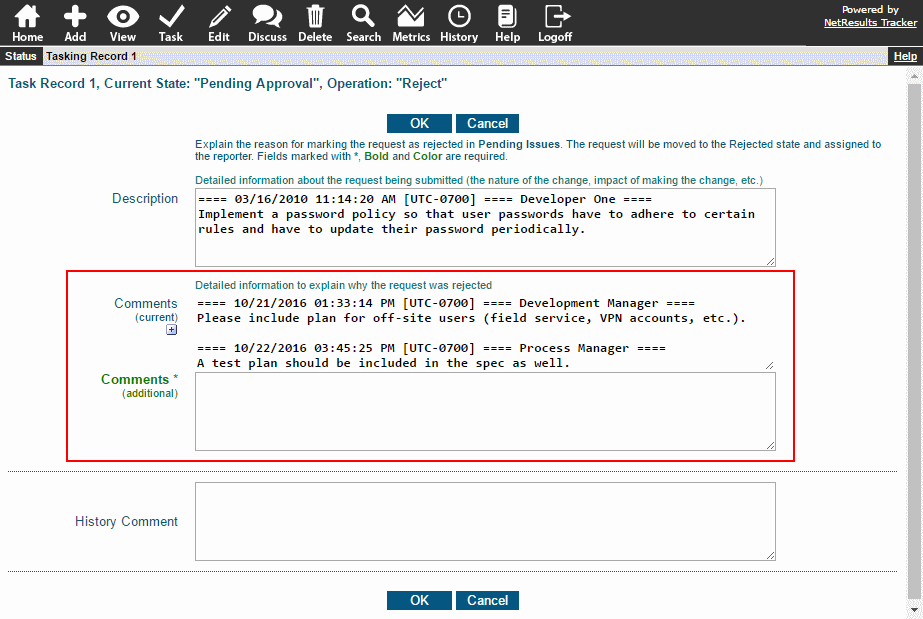
The Append option will protect the data that's already entered into a field. There's also an option to Show Current Text so the user entering new information can see what was added previously.

Append Text

To configure the properties described above, use the link below that corresponds to the page where the field is used:

5. Do a Key Word Search

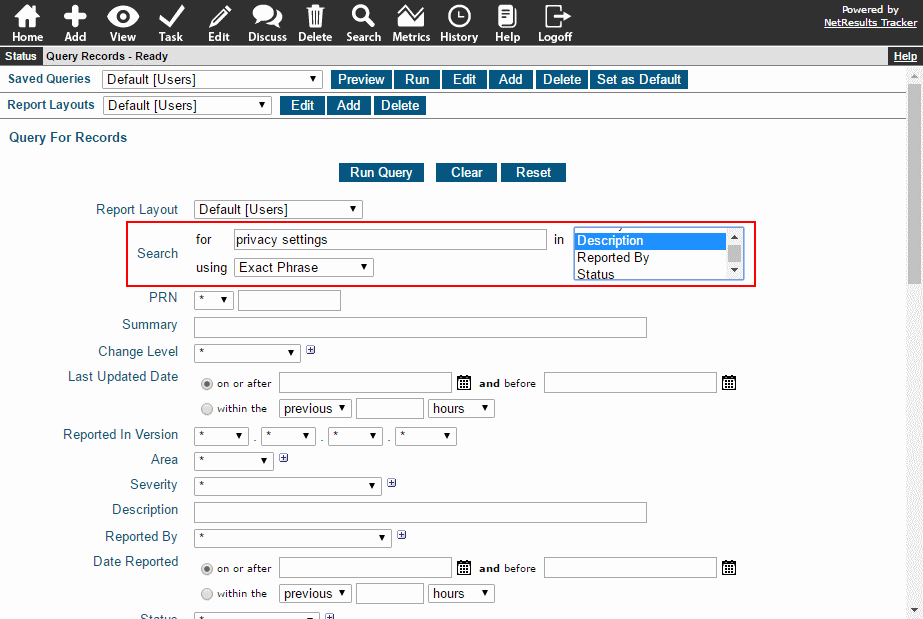
You can search the data for key words on the Search Page.

Text Search

6. Search for Fields That Are Empty

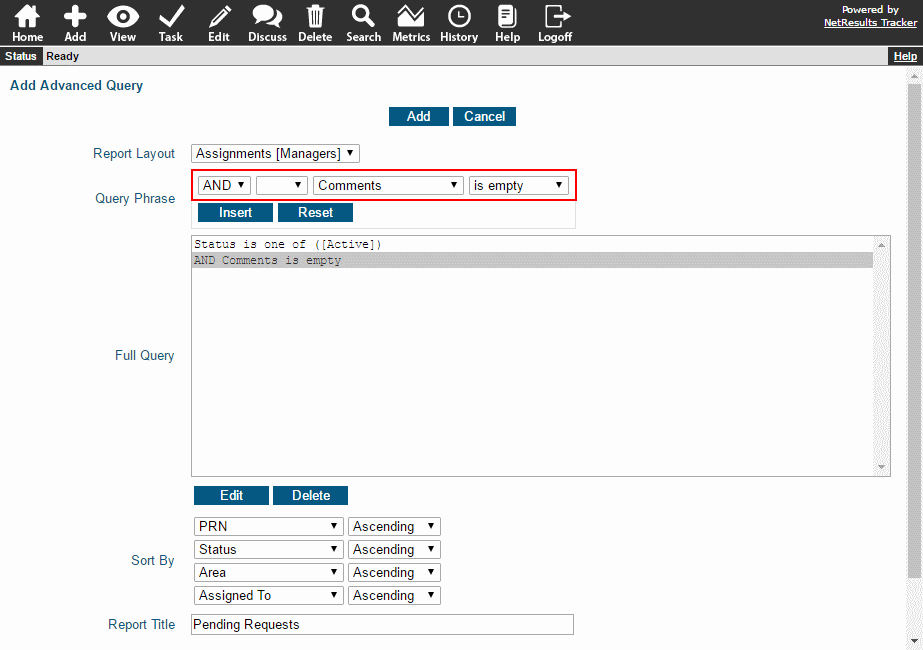
Advanced queries have the option to search for fields that don't have data entered using the is empty option for TextArea fields.

Search for Empty Fields

Connect pulldown fields such that when you make a selection in one, it shows only the corresponding values in another using dependent pulldowns.

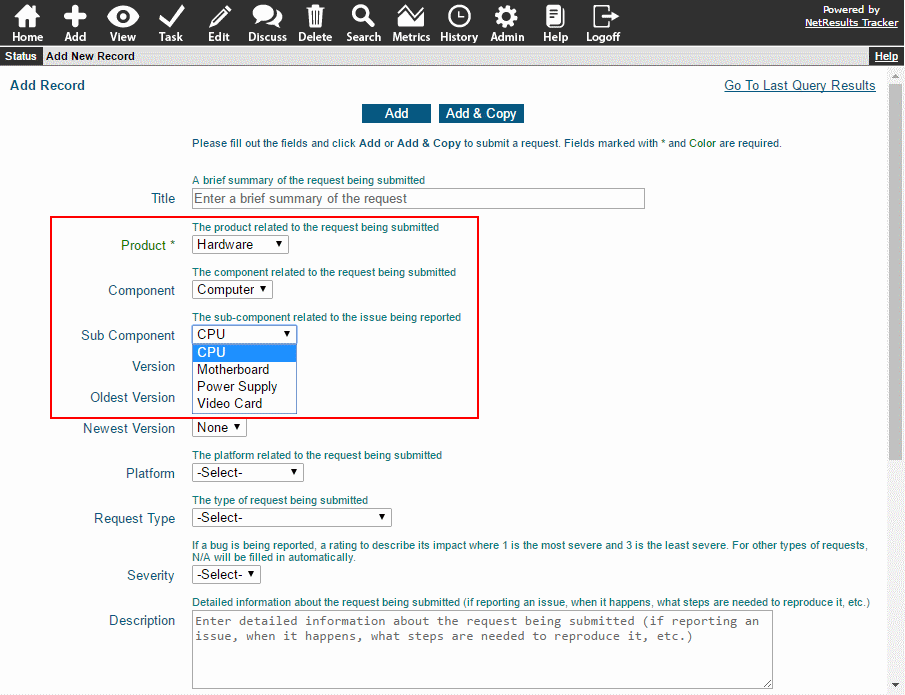
Pulldown dependencies can span multiple levels. For example, select a Product, then the Component and Sub-Component fields are updated to show the related values.

Multiple Levels

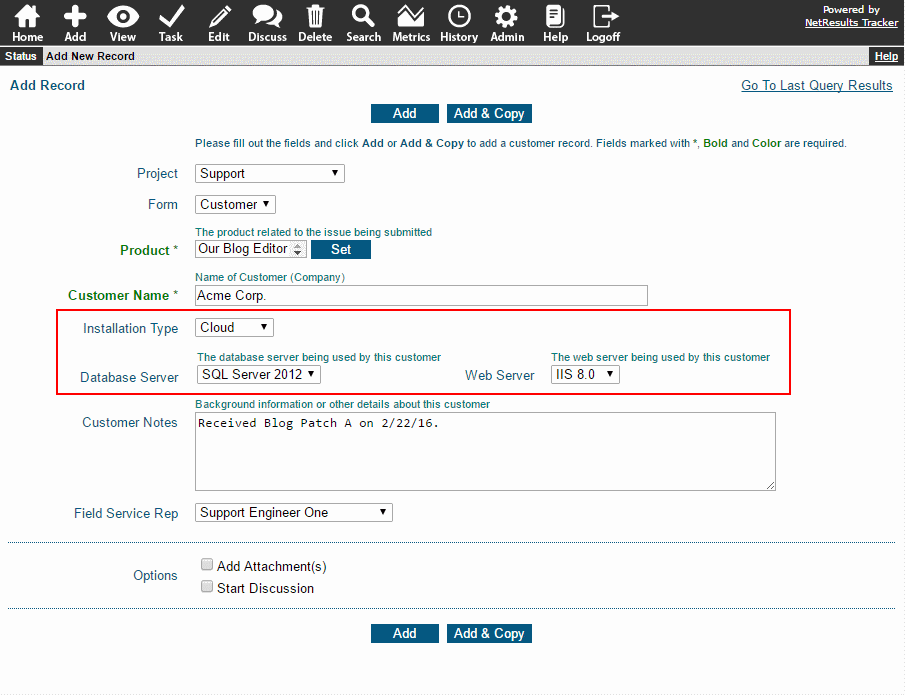
Or, a pulldown can be parent to multiple child fields.

Multiple Children

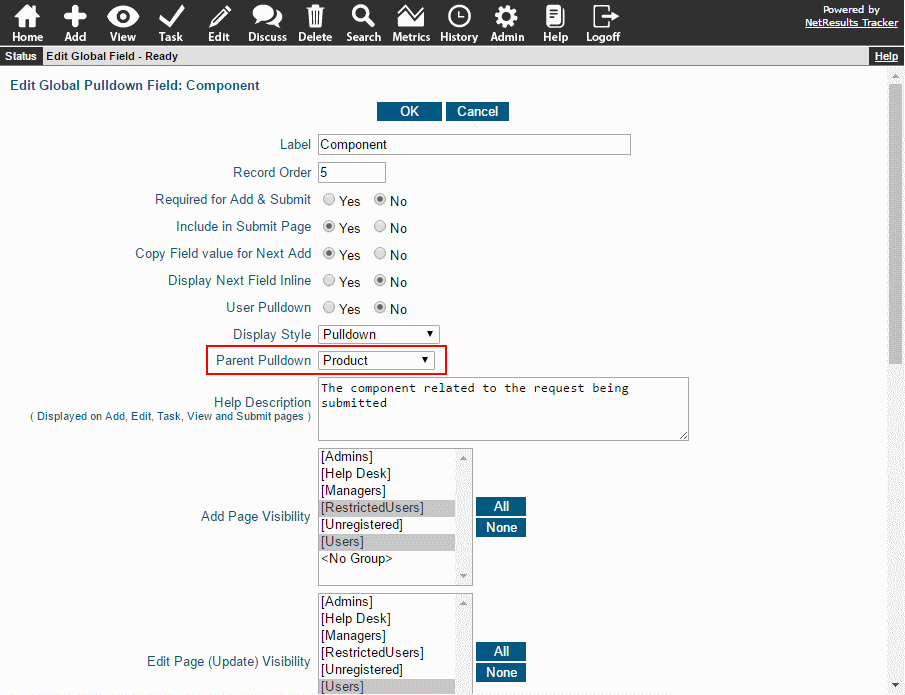
To make a pulldown dependent on another, edit the field to select a Parent Pulldown.

Parent Pulldown Option

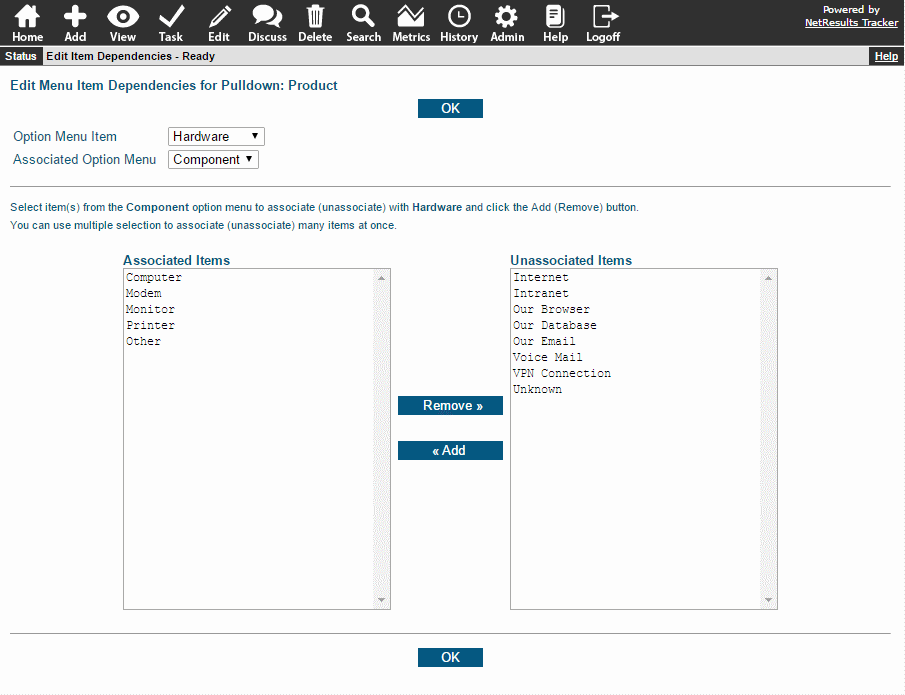
Then, map the values that are related between the parent and child option menu items.

Mapping Pulldown Values

The Dependent Pulldowns Help section contains steps for configuring this feature.

Choose which fields are displayed in email notification messages.

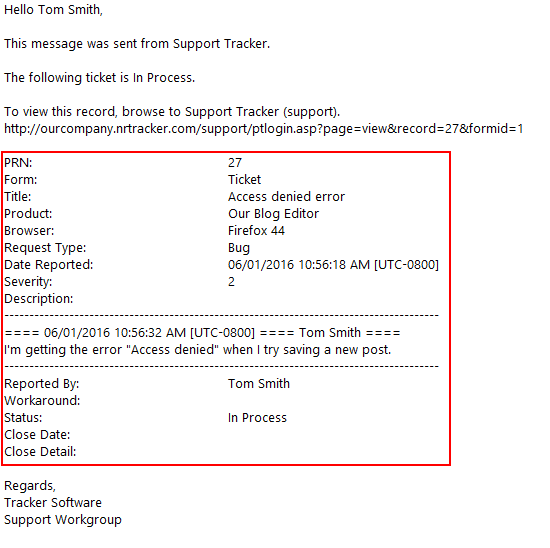
You control which fields are included in the body of the email notification messages sent from Tracker. They are configured by user group so you can include/exclude fields based on who's receiving the message.

Sample Email

Make Changes to the Fields Included in Email Notifications

  1. Login as Admin and click on the Admin icon.
  2. Click on the Fields link.
  3. Locate the field you want to include or exclude from email notifications. Check the Forms column. If this field is on more than one form and you only want to change it for one form, use the Multiple Forms steps instead.
  4. Click on the Edit button to the left of the field.
  5. Scroll down to find the Email Visibility field. Hold down the Ctrl button on your keyboard as you select the user groups that should have this field included in the email notification message. Or, de-select user groups who should not see the field included in the email message.
  6. Click OK to save the changes.

Fields Included in Multiple Forms

If a field is included on more than one form and you only want to make changes for one form:

  1. Login as Admin and click on the Admin icon.
  2. Click on the Fields link.
  3. Locate the field you want to include or exclude from email notifications.
  4. Click on the Forms button to the left of the field.
  5. Click on the form, then click on the Edit button.
  6. UNcheck the box for the option Use Global Field Properties.
  7. Scroll down to find the Email Visibility field. Hold down the Ctrl button on your keyboard as you select the user groups that should have this field included in the email notification message. Or, de-select user groups who should not see the field included in the email message.
  8. Click OK to save the changes.