Doing one quick step before creating a user will ensure they start with a good setup.

Check Default User Preferences

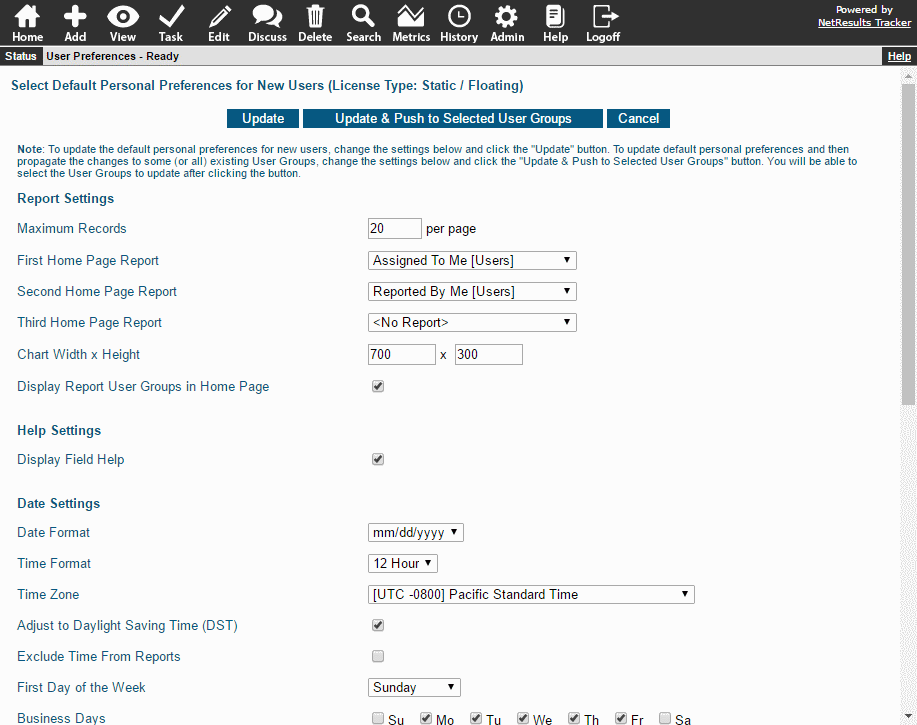
Take a look at the default reports, time zone settings, etc. the new user will inherit. This step is especially important if you're adding a large block of new users.
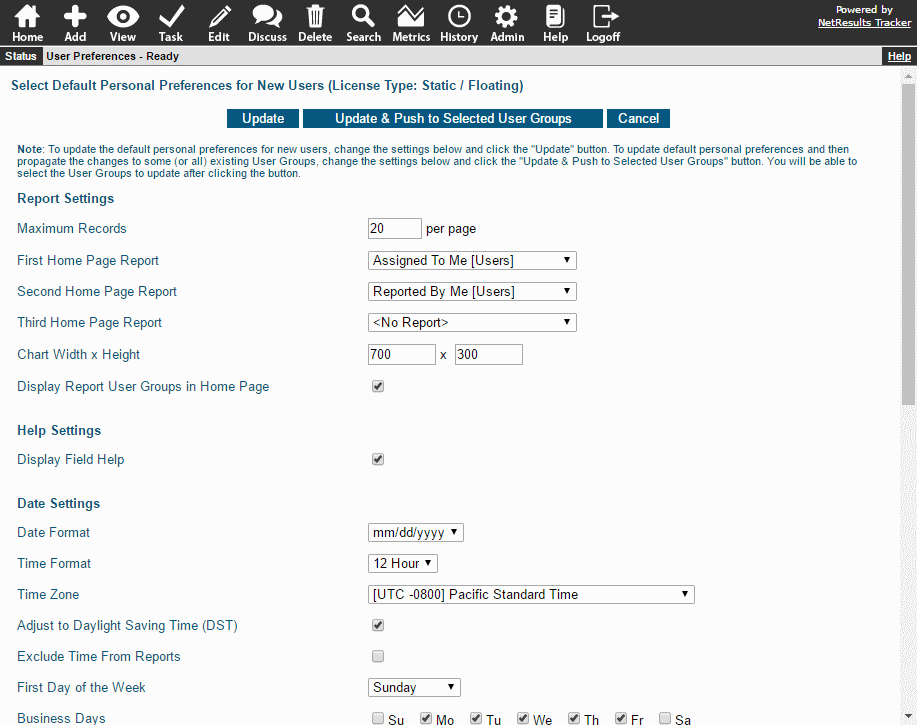
Default User Preferences

To check the Default User Preferences:

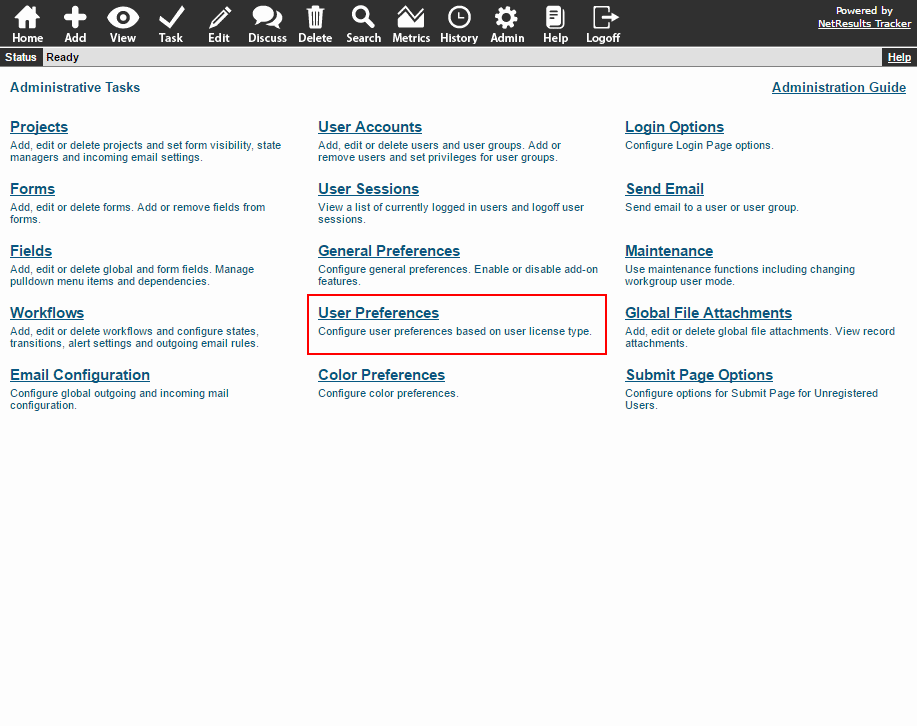
  1. Login as Admin and click on the Admin icon.
  2. Click on the User Preferences link.
  3. Select the User License Type, then click Continue.
  4. Check the settings. Make any desired changes and click Update. If you want to change the settings to what they were before, you can add the new users, then come back and use these steps to change the settings back.

Add a User

  1. Login as Admin and click on the Admin icon.
  2. Click on the User Accounts link.
  3. Click on the Add User button.
  4. Fill out the profile information. User ID, Password, First Name are required fields. Email Address is not required, but is recommended so the user can receive email notifications.
  5. Click the Add New User button to save the user.

Adding a User

More information is available in the Users section of the Online Help Guide.

Configure users such that they can perform a different set of actions on each available form.

When you manage multiple forms in Tracker, users can be granted different privileges on each form. This is done via non-global privileges, which are all of the privileges below that do not have an asterisk. Non-global privileges are applied only to forms where the user group has access.

User Group Privileges

Example

A support organization has 2 forms:

  • a Ticket form for reporting issues. Anyone in the organization can add a ticket (customers, QA, developers, managers, etc.).
  • a Customer form for tracking information about each customer. Only Support can add a new customer.

This is done by:

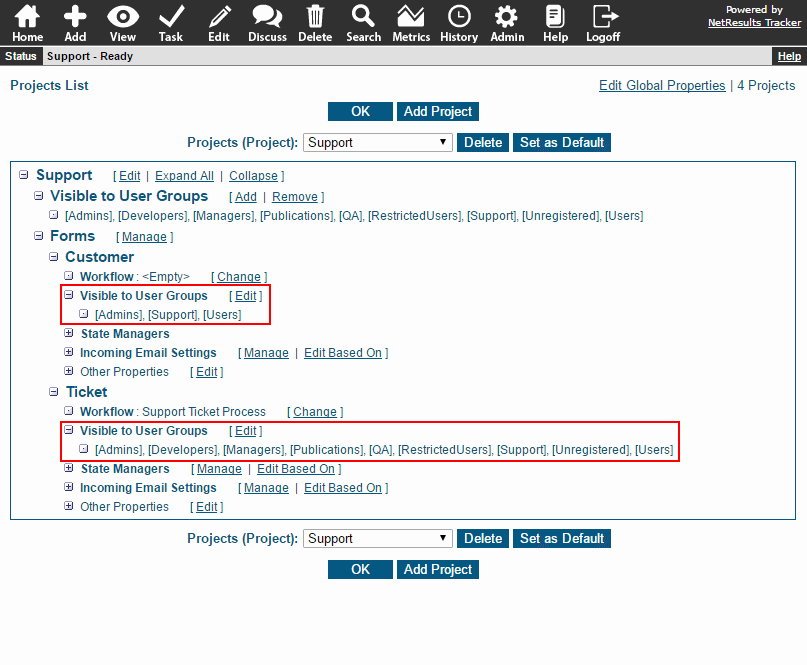
Making the forms visible to the appropriate user groups.

Visibility Settings

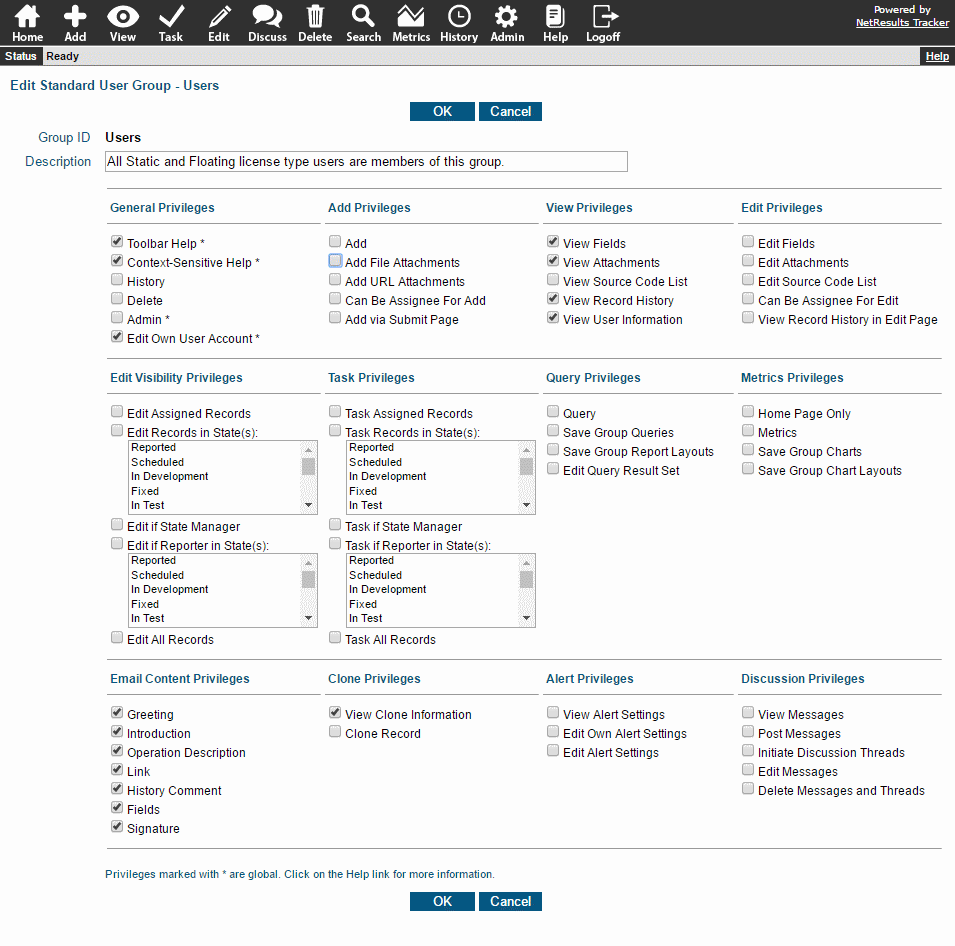
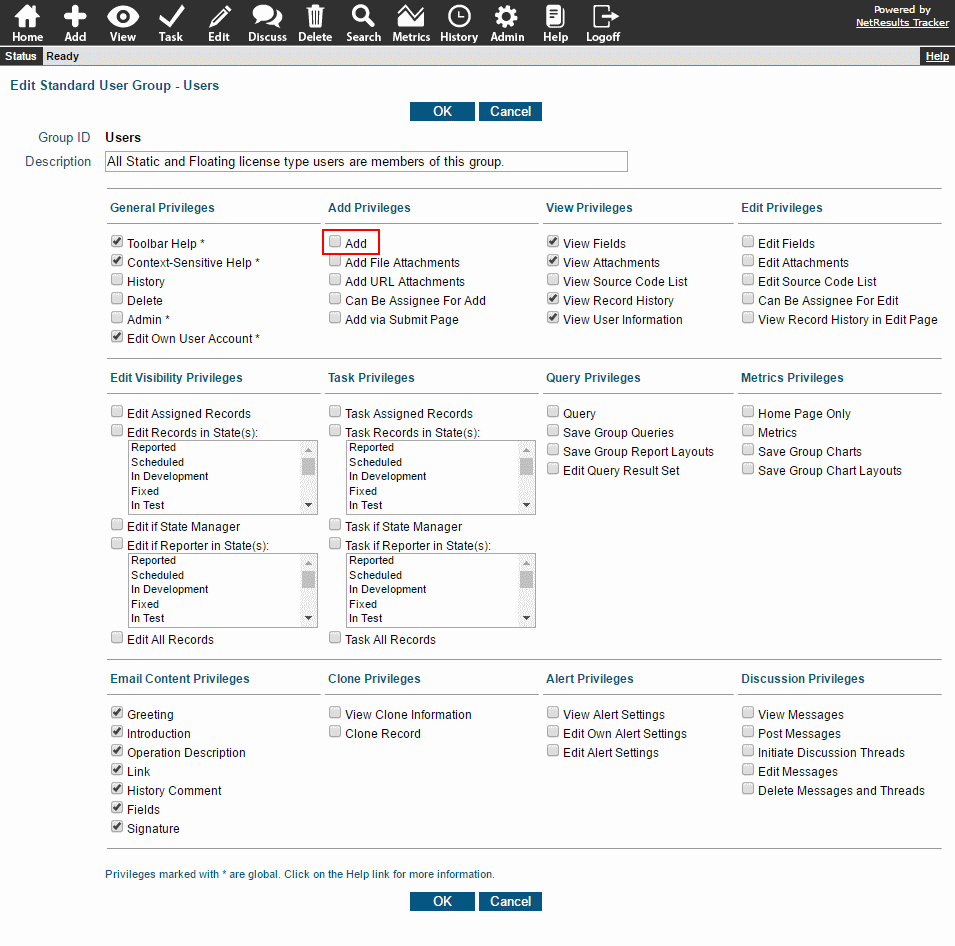
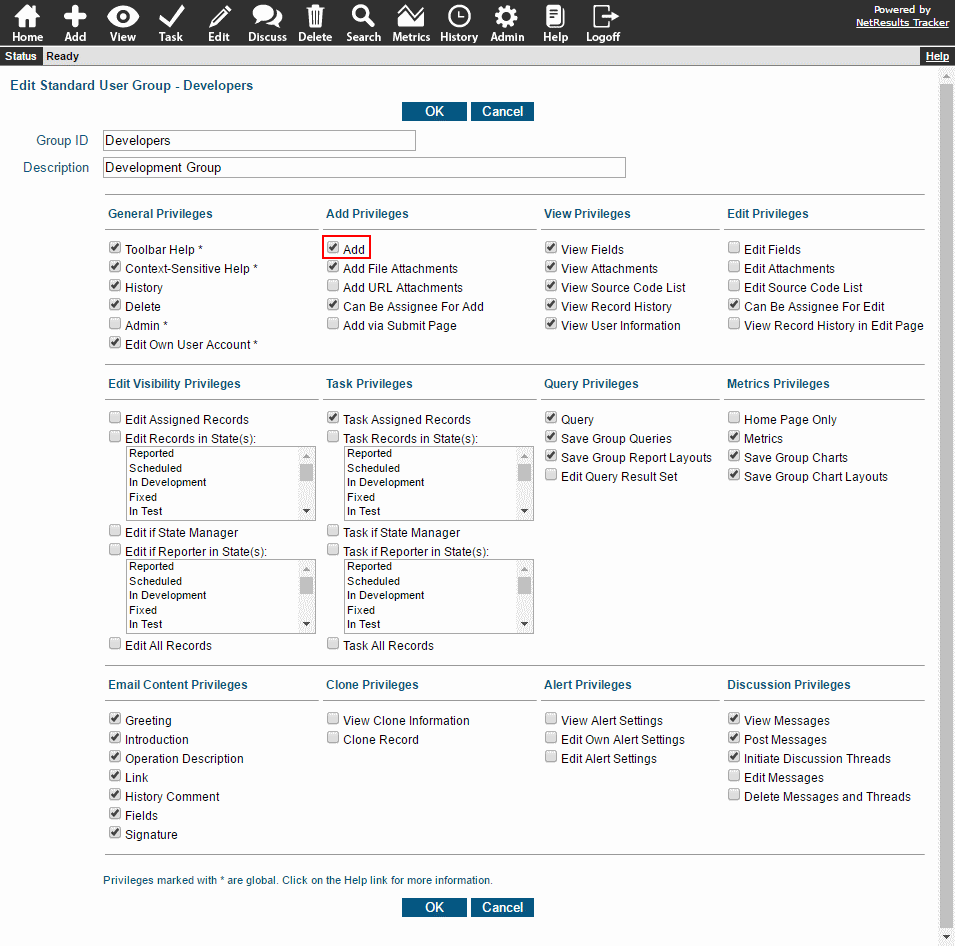
The Add operation is disabled for the Users group.

Add Privilege Disabled

The Add operation is enabled for the Developers group, but the Customer form is not visible to this group. Any user that is not a member of Admins or Support will only have the privileges enabled for the Users group when accessing the Customer form.

Add Privilege Enabled

More information about global and non-global User Group Privileges can be found in the Online Help Guide.

Give your customers, partners or vendors the ability to check the status of their tickets at any time.

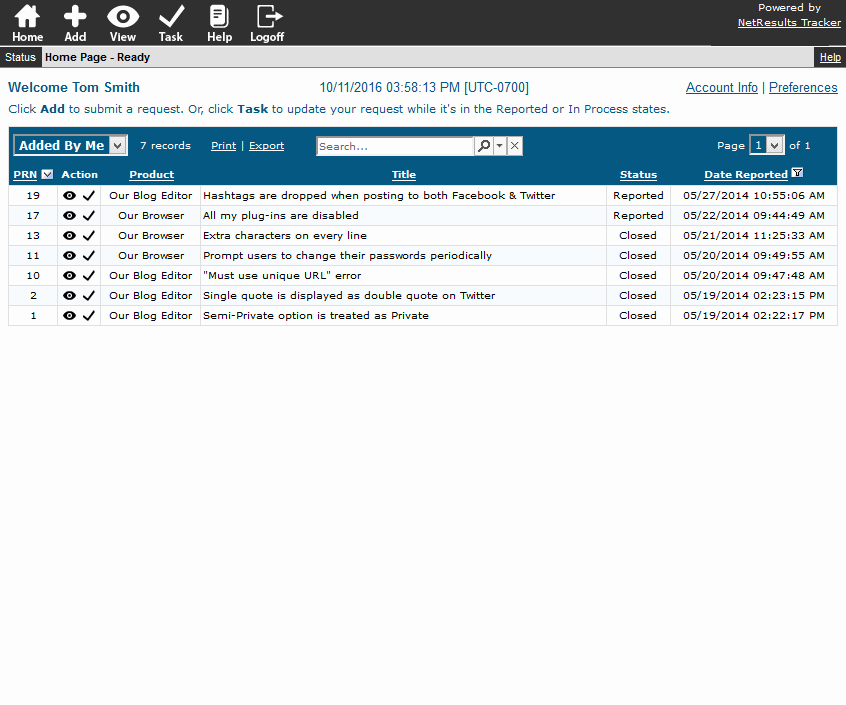
End users that need to monitor the progress of the tickets they've reported can make use of Restricted user accounts. Restricted users are automatically set up to show only them the tickets they've reported, preventing users from seeing tickets that belong to other customers or contain internal information. This is done without any extra set up by the Administrator.

Restricted User Home Page

You can customize the fields displayed on the Add Page and these can be different than what internal users see (e.g. have these user fill out fewer fields than internal users).

Restricted User Add Page

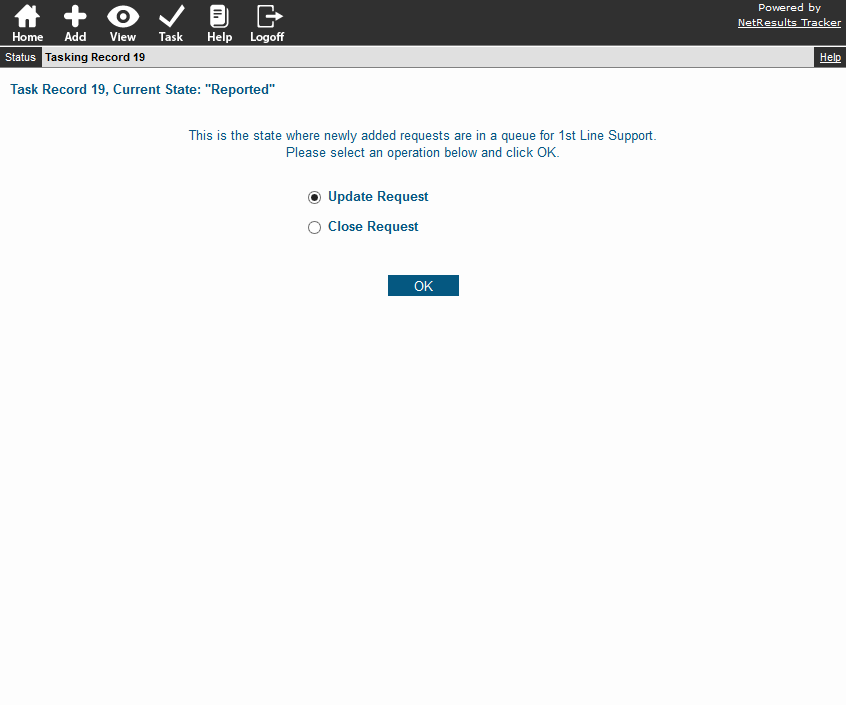
Provide options for these users to provide more information or close a request that's no longer needed.

Restricted User Transitions

Check out the following video for more information about Restricted Users.

Options for re-assigning records and deactivating accounts belonging to stale users.

Re-Assign Records

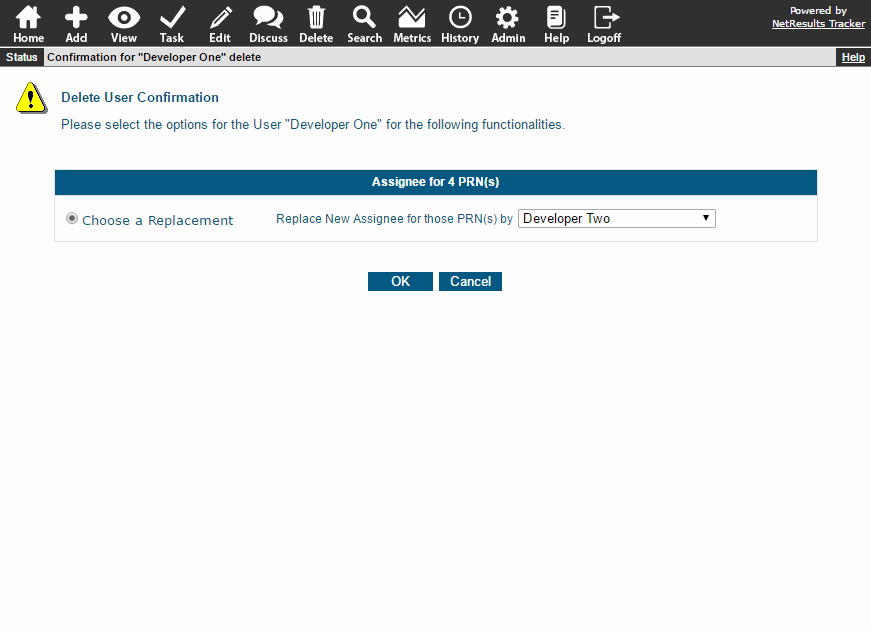
If a new user is replacing an old one, add the new user account before you delete the old one so that you can select the new user as the replacement for any records assigned to the old user. We recommend adding the new user instead of renaming the old one so that the audit trail will reflect the actions of the old user because if you rename the user, all the actions performed by the old user will have the new user's name.

Selecting a Replacement

Lock a User Account

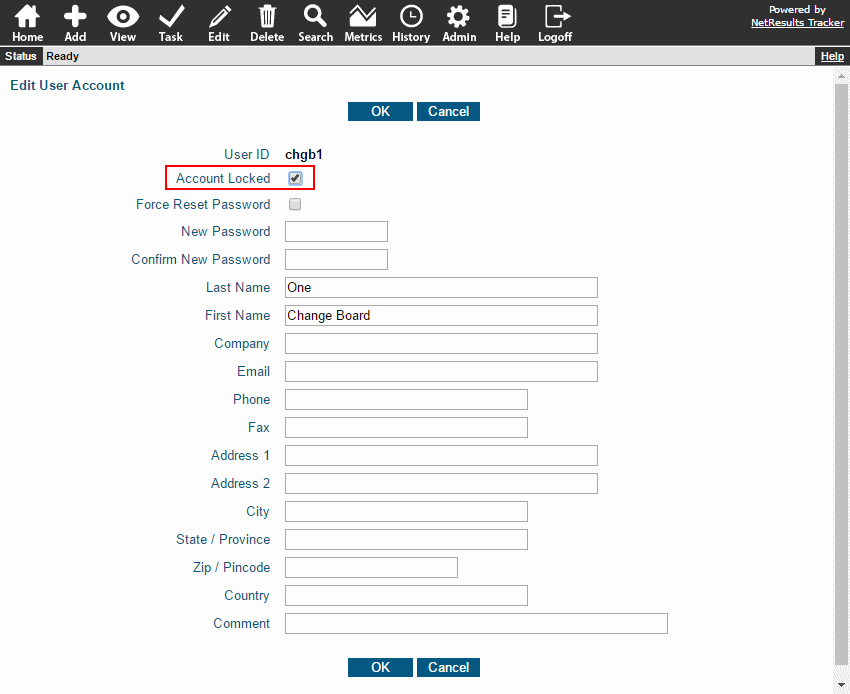
If a user account needs to be deactivated temporarily (e.g. seasonal or contract employee who might/will return), you can lock the account instead of deleting it. A user is not able to login when their user account is locked.

Lock Account Option

Passwords

If the stale user had access to the password for a workgroup's Admin account, reset the password. For on-premises Tracker installations (not applicable to cloud service customers): The passwords for the Administrator accounts for the Workgroup Management System and User Management System should also be reset if the stale user had access to those.

When a new user is added to Tracker, the time zone, date settings and reports applied to their account by default are based on what's set in the User Preferences section of the Admin interface.

User Preferences Link

So if you expect to add a number of users from a particular location or area, you can change the time zone and other related settings.

To Check Settings and Change the Defaults

  1. Login as Admin and click on the Admin icon.
  2. Click on the User Preferences link.
  3. Select the user license type: either "Standard/Floating" or "Restricted" and click Continue.

User Preferences for Standard/Floating Users

Information on making changes can be found in the User Preferences section of the Online Help Guide.
Existing Users Can Change Their Preferences

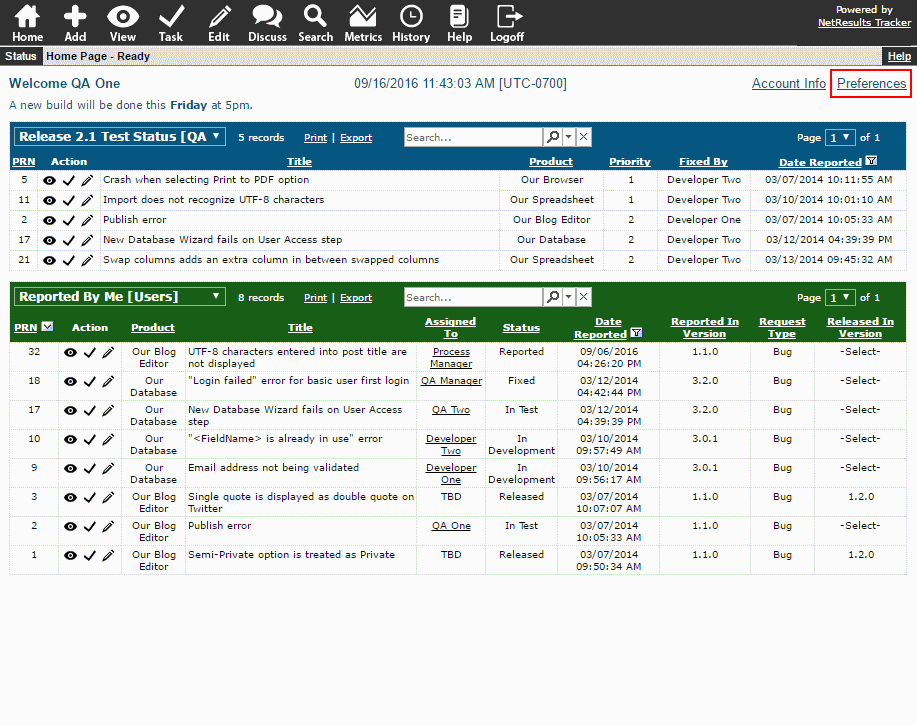
Users that have already been added to the system can change their settings using the Preferences link in the upper right of the Home Page.

Set Personal Preferences